
Dandelion Wine

I told someone that I had made dandelion wine and they said, “that’s really a thing?”. Yes, it’s a thing. I have always wanted to make dandelion wine - not sure where the desire came from (maybe because how even the sound of it delightfully rolls of the tongue?), but it aches all the same. So finally this spring I set forth on the task and have several delicious looking bottles put up to age from 6-12 months. My plan in to try them in 6 (because I won’t be able to resist) and drink some with others on the Winter Solstice.

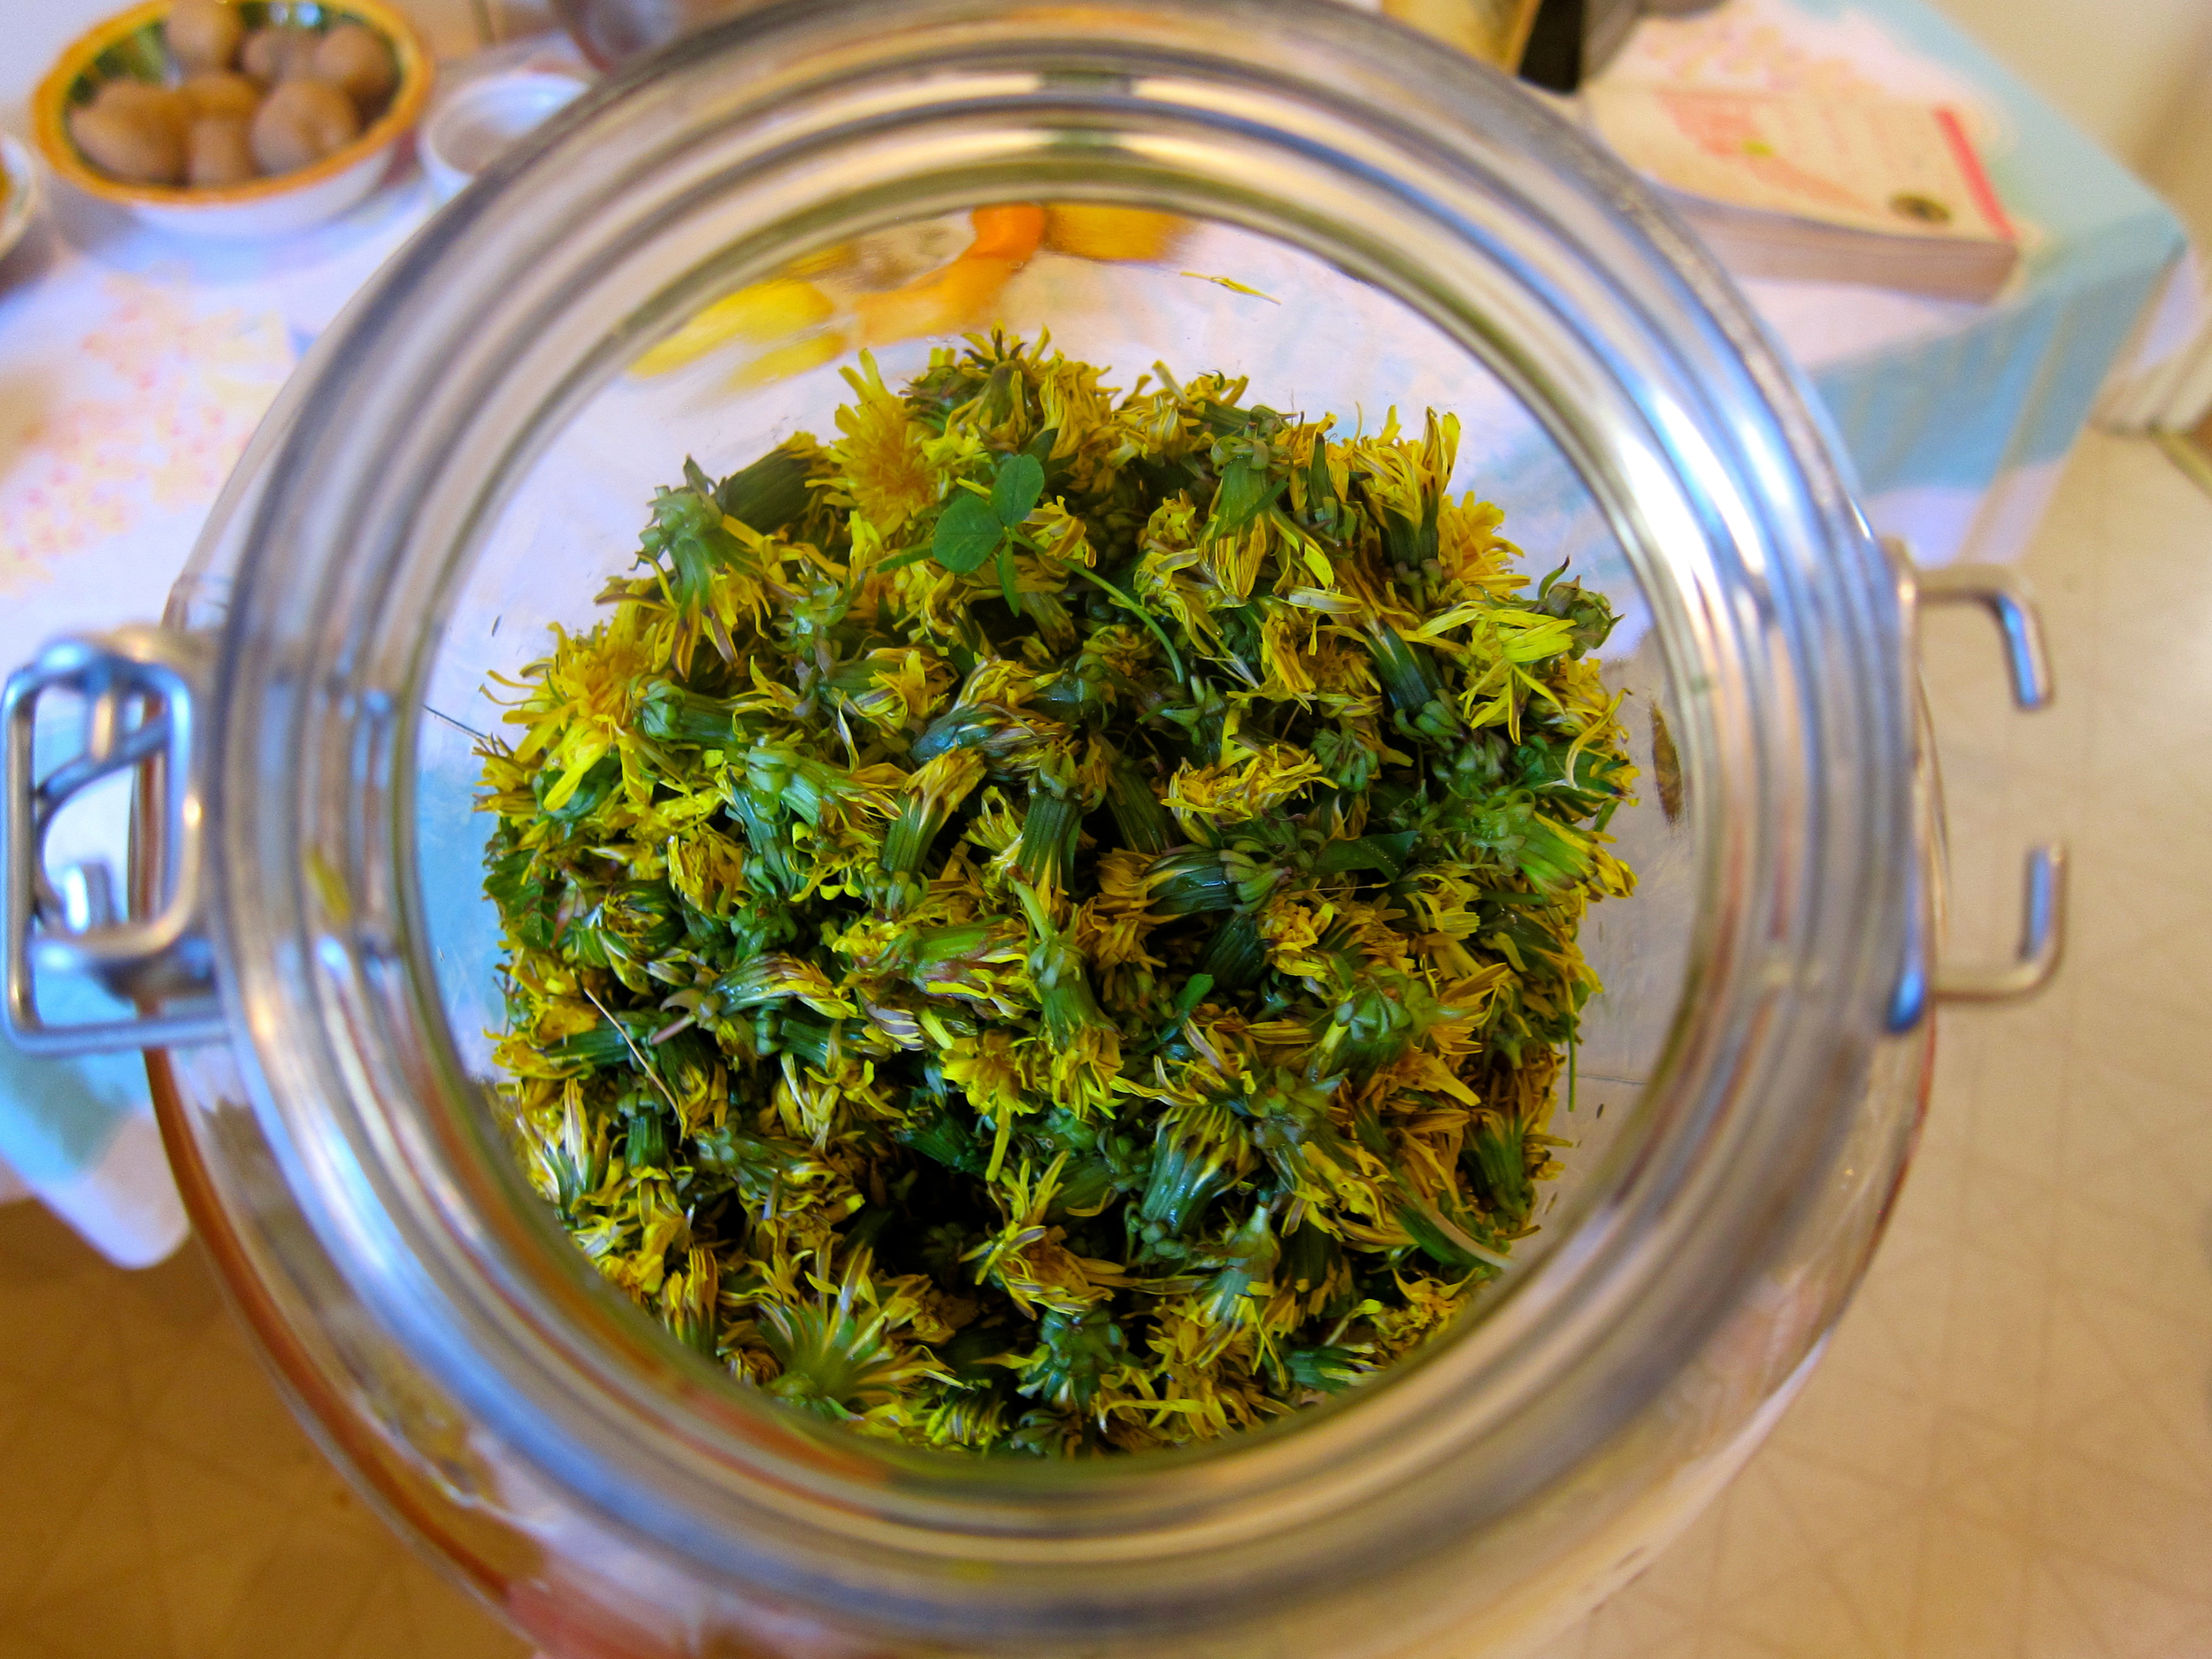
1 gallon dandelion flowers, can leave ends of flowers on, but remove stems (your leg muscles may or may not be sore for a few days after this excursion)
2 cups turbinado sugar*
1 1/3 cup honey*
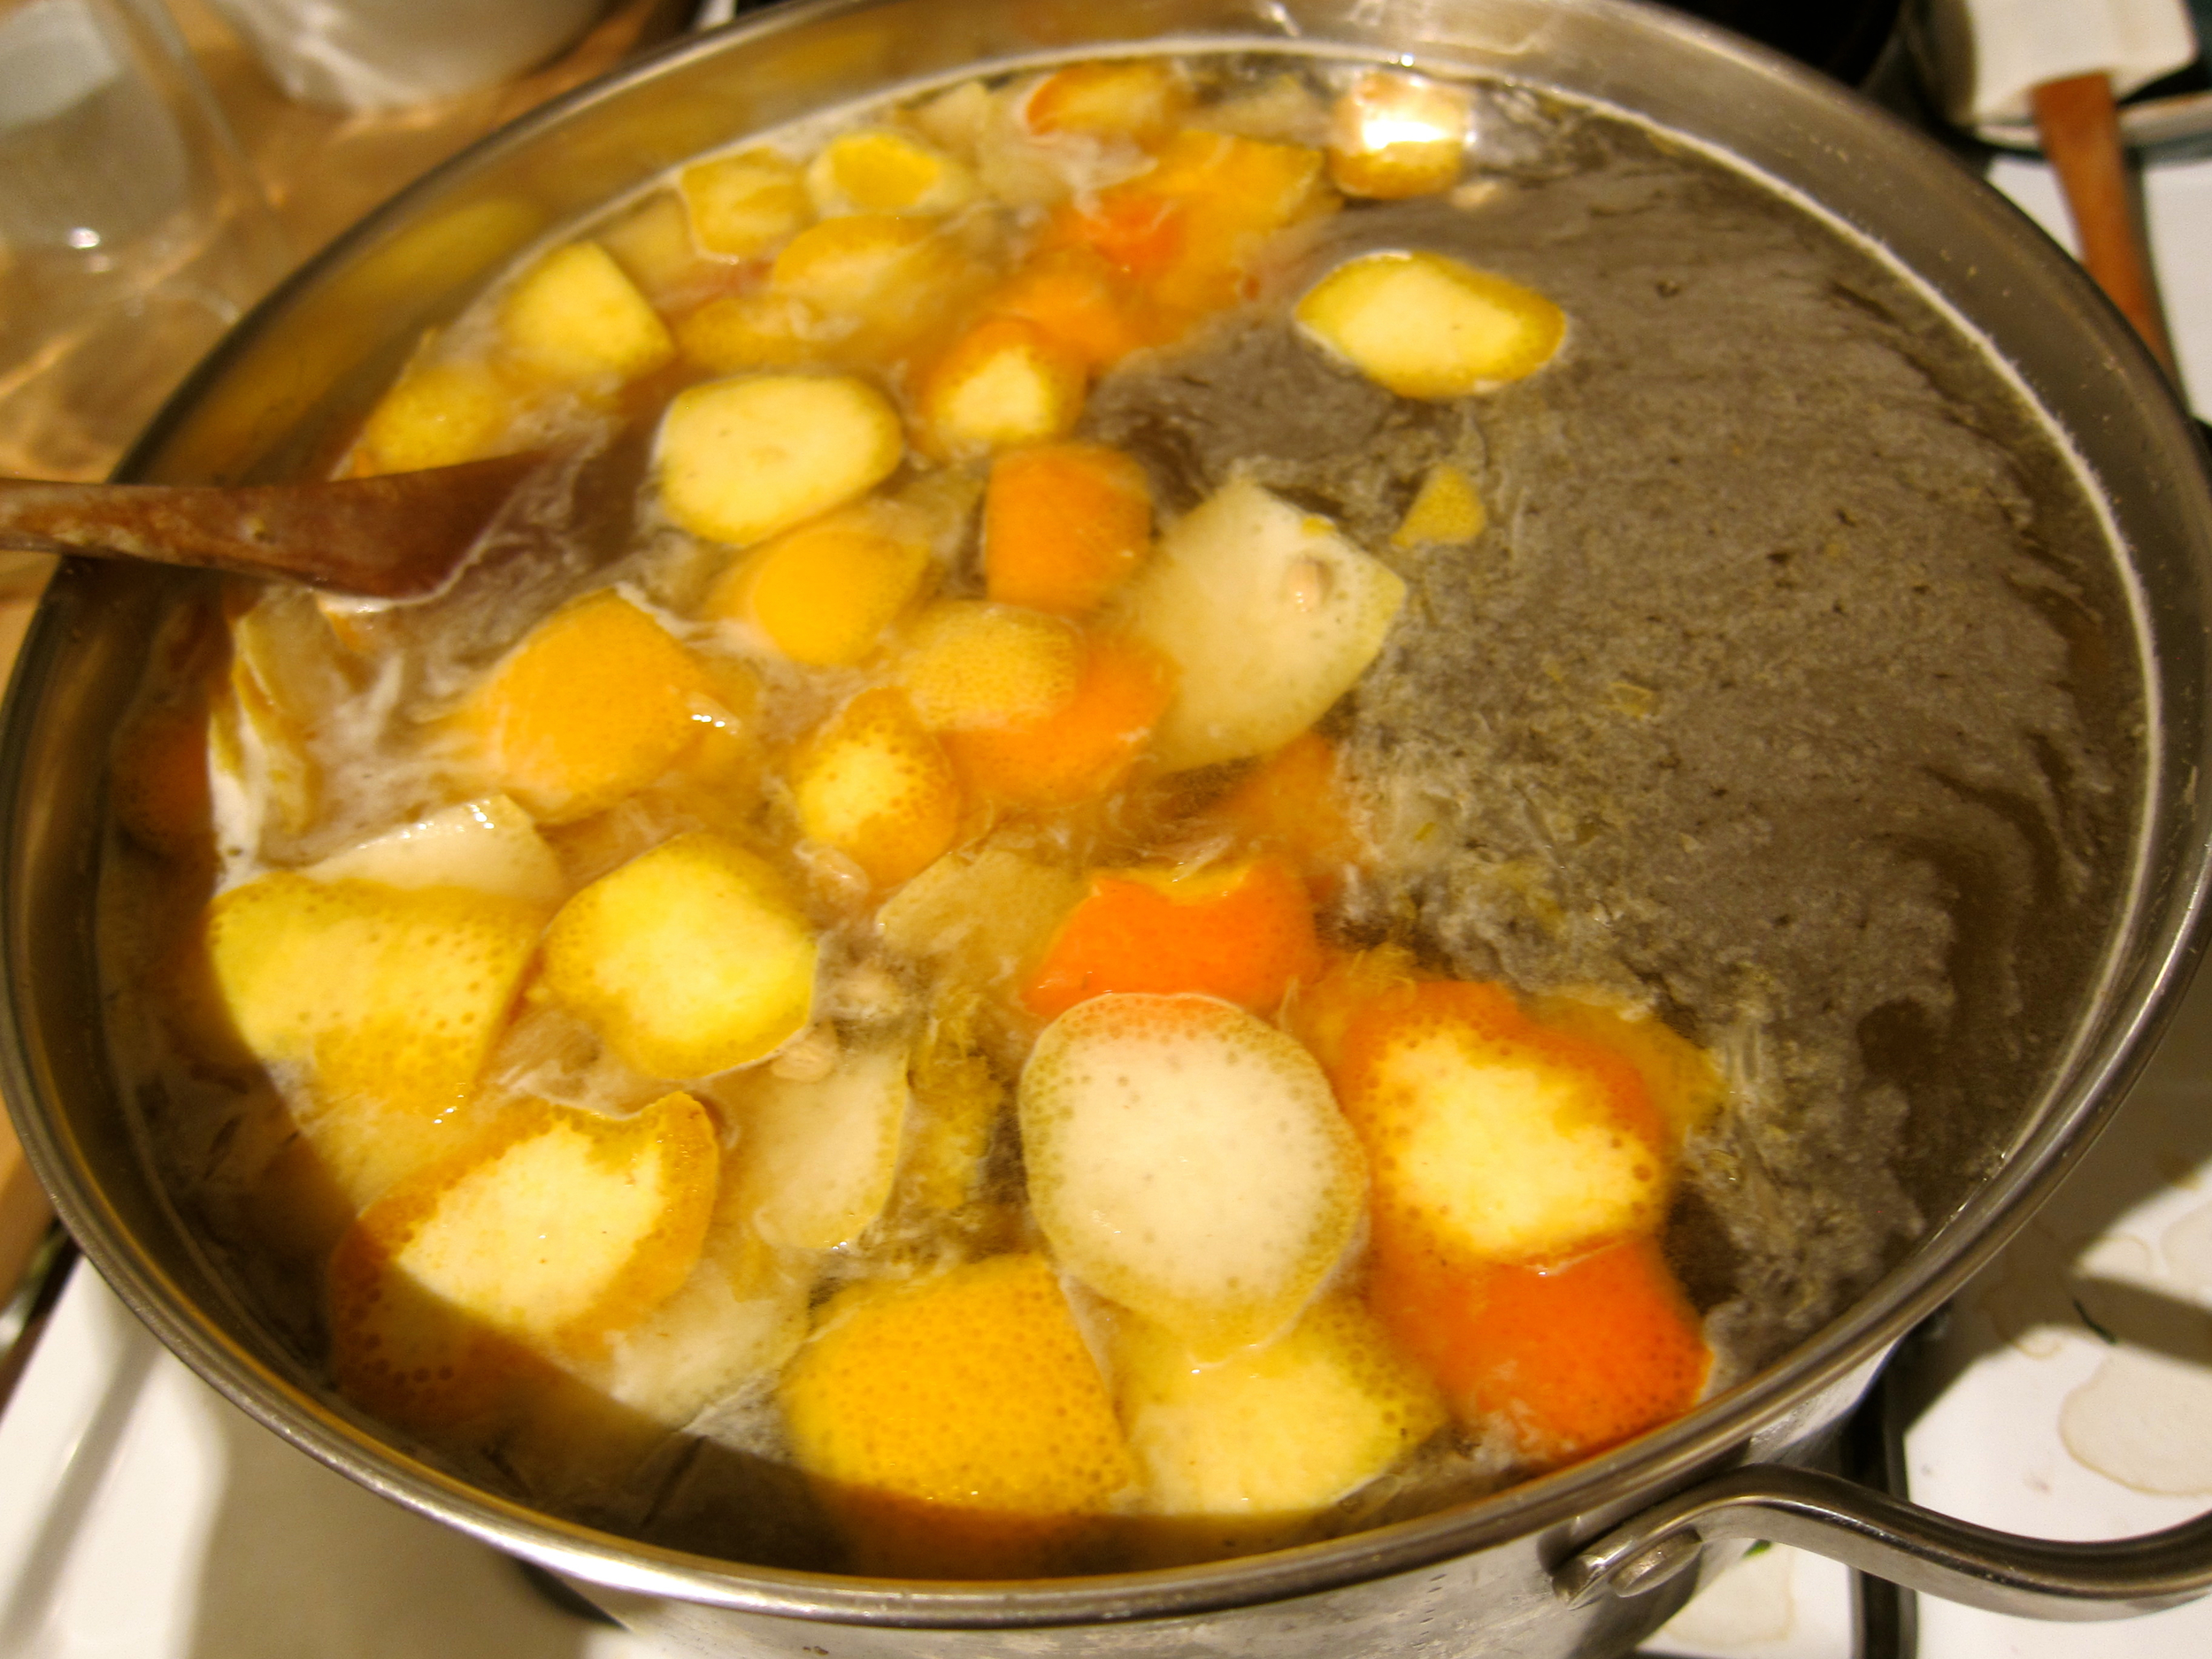
3-4 oranges
2-3 lemons
1-2 teaspoons/1/2 packet yeast (I used champagne yeast for dry, delicate flavor. Bread yeast is not recommended)
Few pinches of yeast nutrient (not necessary, but recommended)
*Sugar quantity will determine potential alcohol and potential sweetness, use more or less depending on your preferences.
Process One (2 days) - Make Dandelion Infusion
Boil 1 gallon of water, pour over dandelion flowers in glass or food-grade plastic container at least 1.25 gallons large.
Cover and let sit for 48 hours.
Strain out liquid, squeeze flowers to extract remaining liquid.
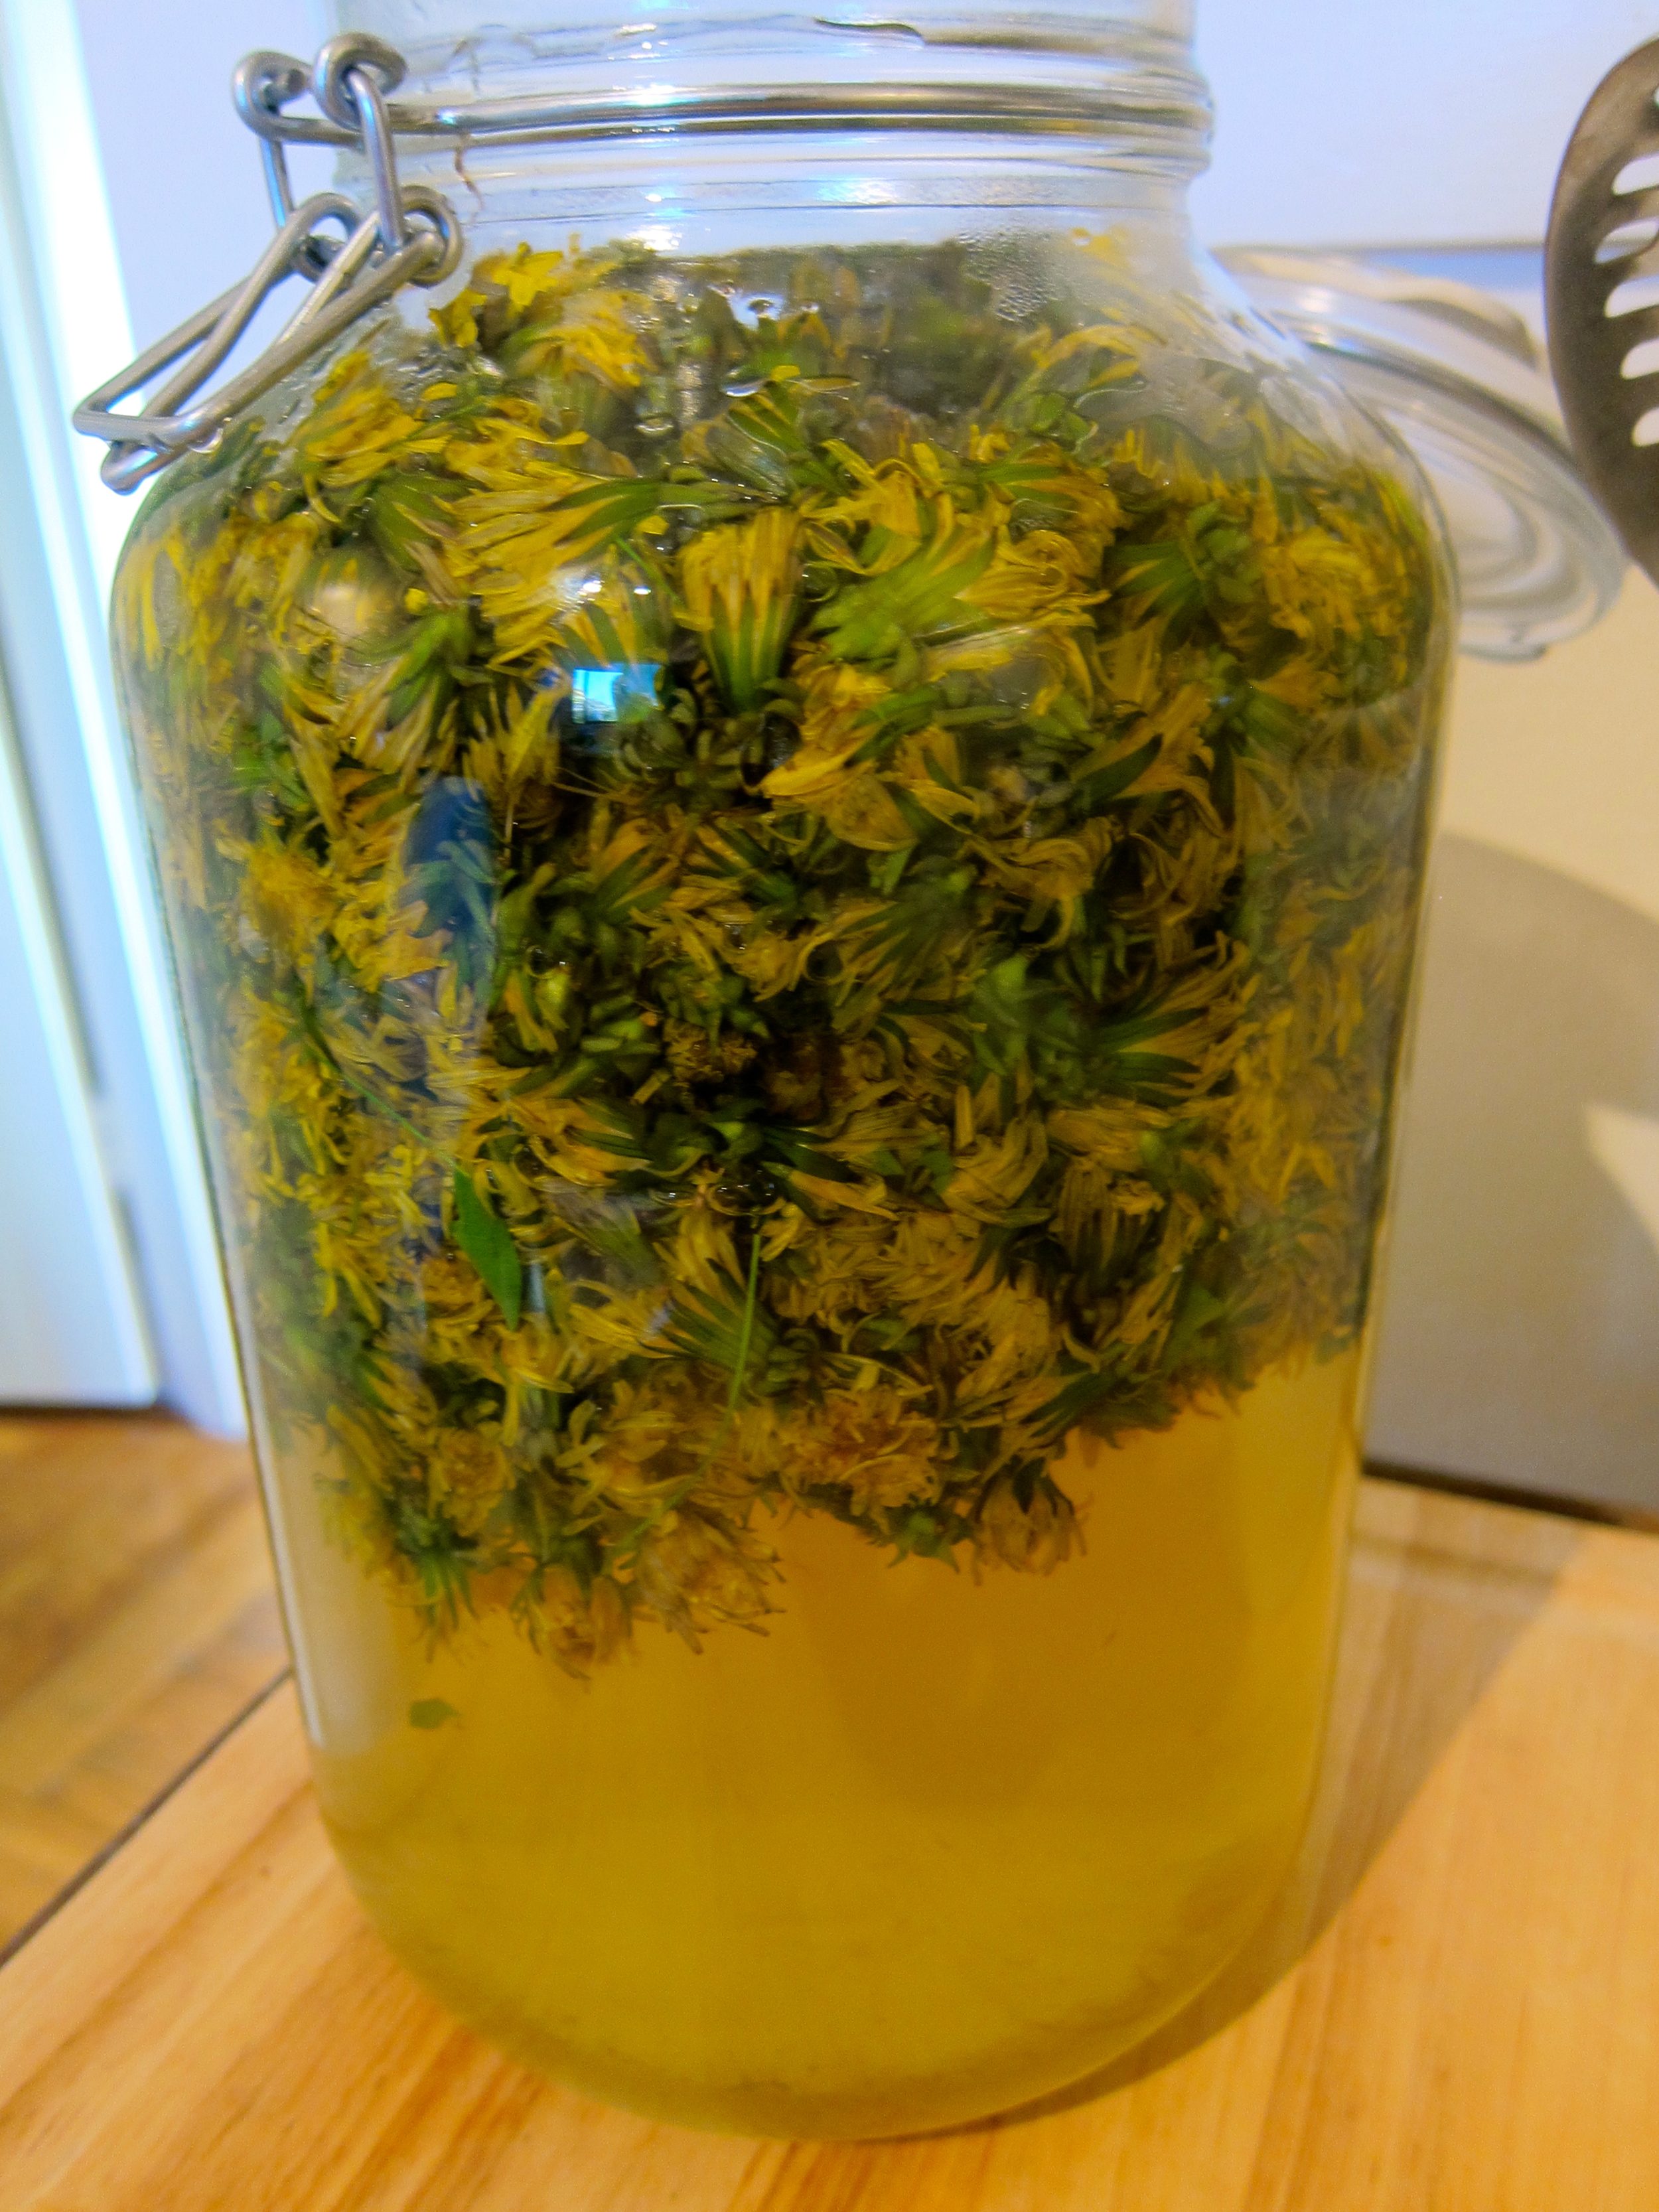
Process Two (2-3 weeks) - Fermentation
Heat dandelion liquid with sugar, honey, and the juice and skin from the citrus (cut the skin off and slice prior to juicing) for 30 minutes on medium heat, stirring occasionally to dissolve sugar. Cool to lukewarm.
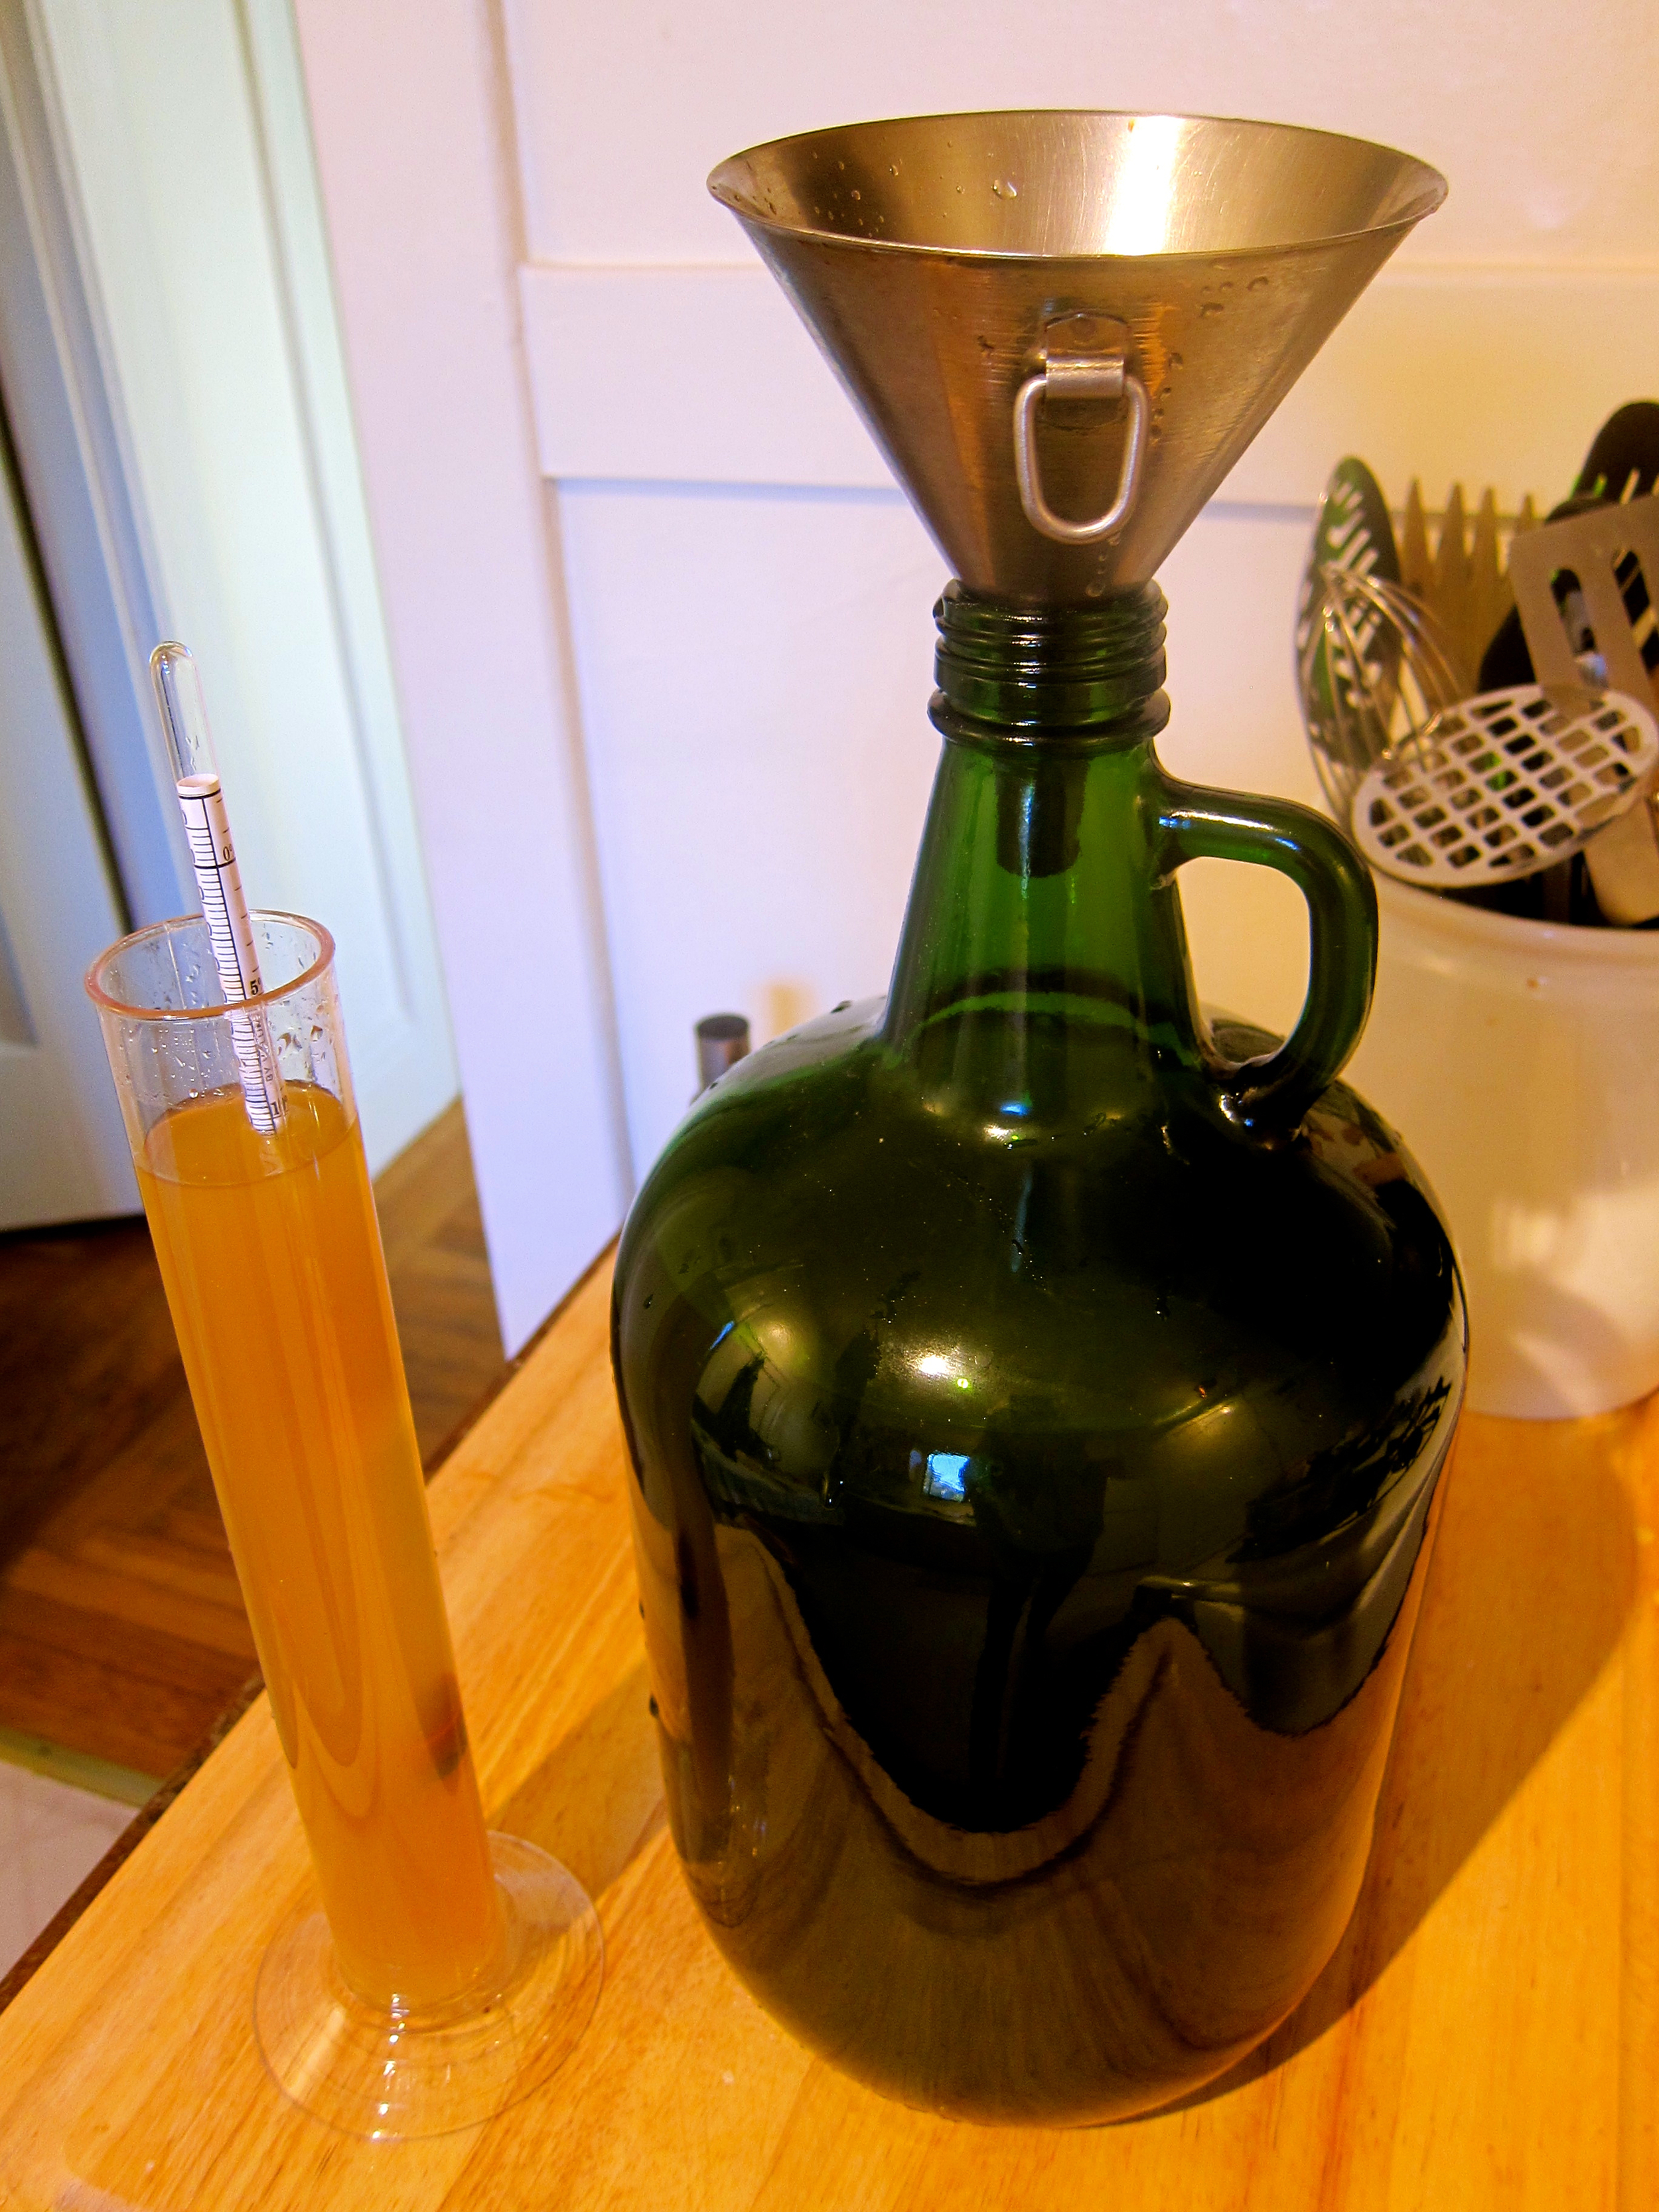
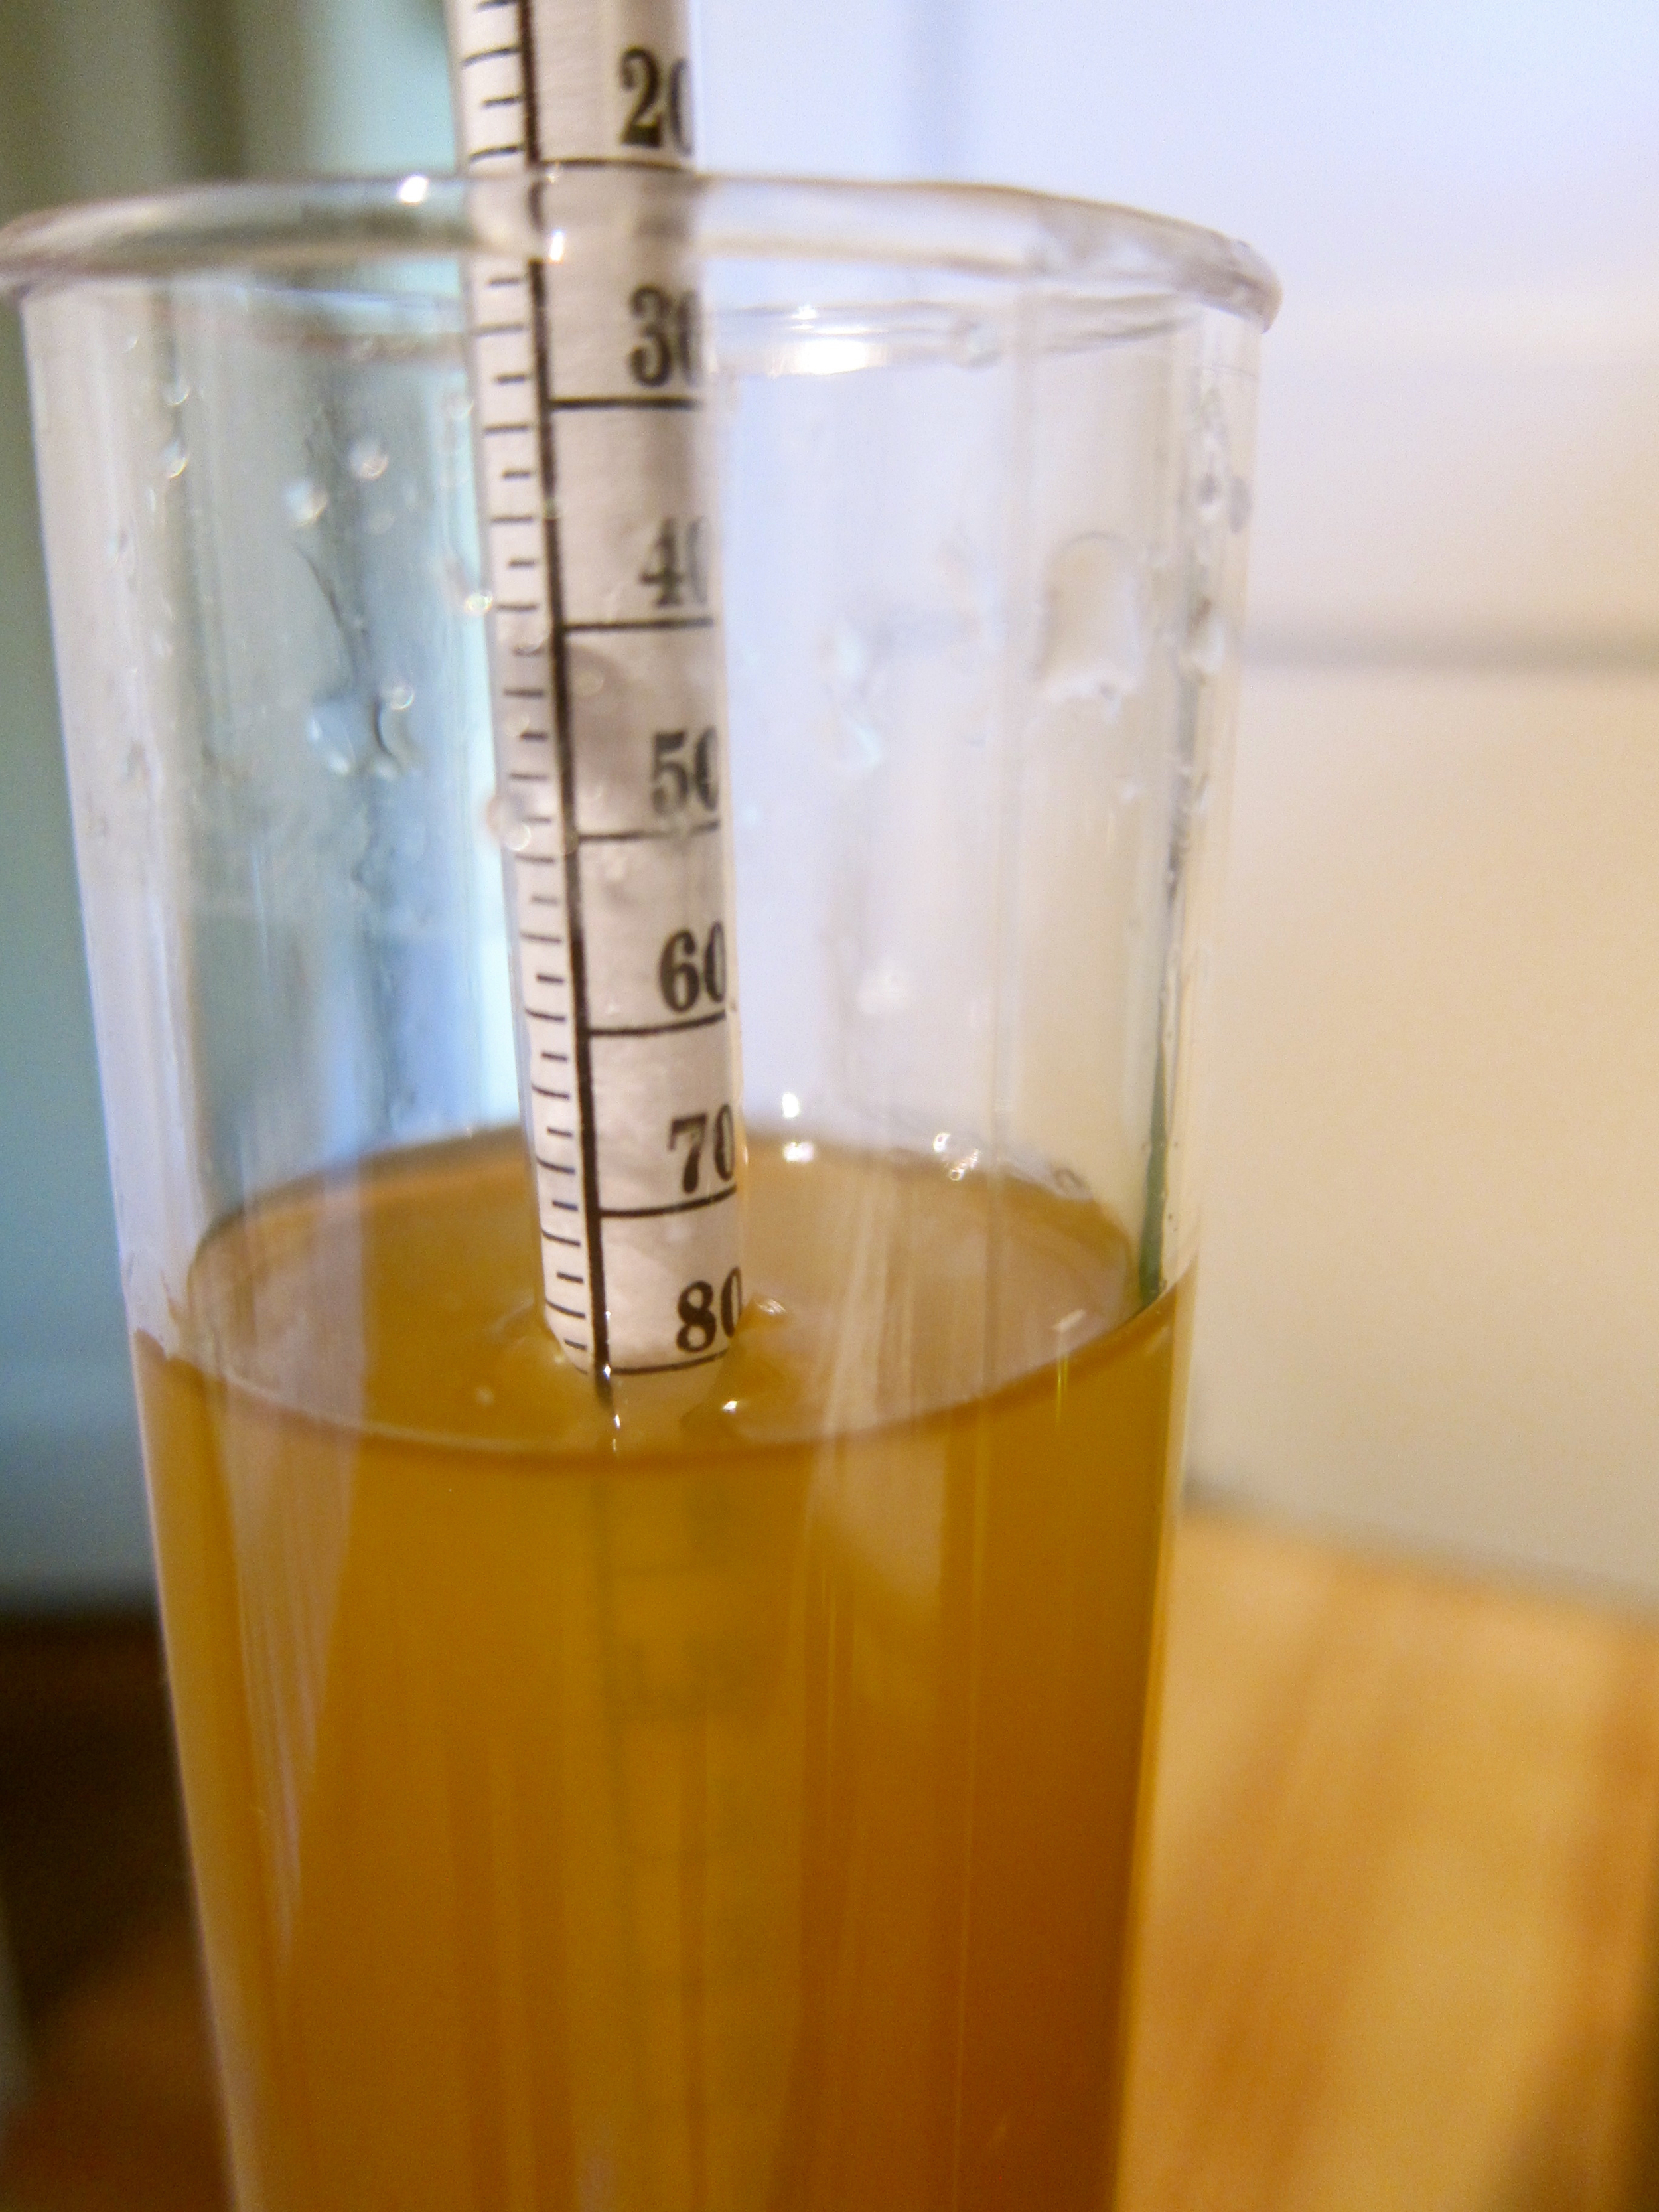
Take the specific gravity or brix to determine your “Potential Alcohol”. Essentially, by measuring the sugar content, you can determine how much nutrient is available for the yeast to turn into alcohol, but depending on where you stop fermentation, your wine will have more or less alcohol. My specific gravity at this point was 1.08 (Brix = 20%), which is a PA of 11%. There’s a calculation that I got really excited about, but ended up using this table.
Put in jug with yeast and nutrient, cork with fermentation lock or cover with cheesecloth (more risky bacteria-wise, I used lock) for 1-3 weeks, or until bubbling stops. You can stop the process anywhere you’d like, depending on desired alcohol content and sweetness (longer=more alcohol, less sweet). I stopped mine after bubbling stopped.
Take specific gravity/brix again so you can determine the alcohol %. My specific gravity was 1.00, or 0% alcohol, meaning that all of the sugar had been eaten by the yeast. This took about 2 weeks because the weather was quite warm. To determine the total alcohol, I just subtract this from the PA, 11-0 = 11%. No residual sugar, which I prefer.
Process Three - Aging (6 months - 1 year)
When your wine has reached the desired alcohol/sugar content, remove from large jug and bottle. I tasted it at this point - definitely tastes like ridiculously young (and not so good wine - but has potential!)
Age 6 months - 1 year in cool place.
See you at the winter solstice!
Update: Here's how it tasted after 6 and 12 months. An 8 month fermentation may be optimal!