

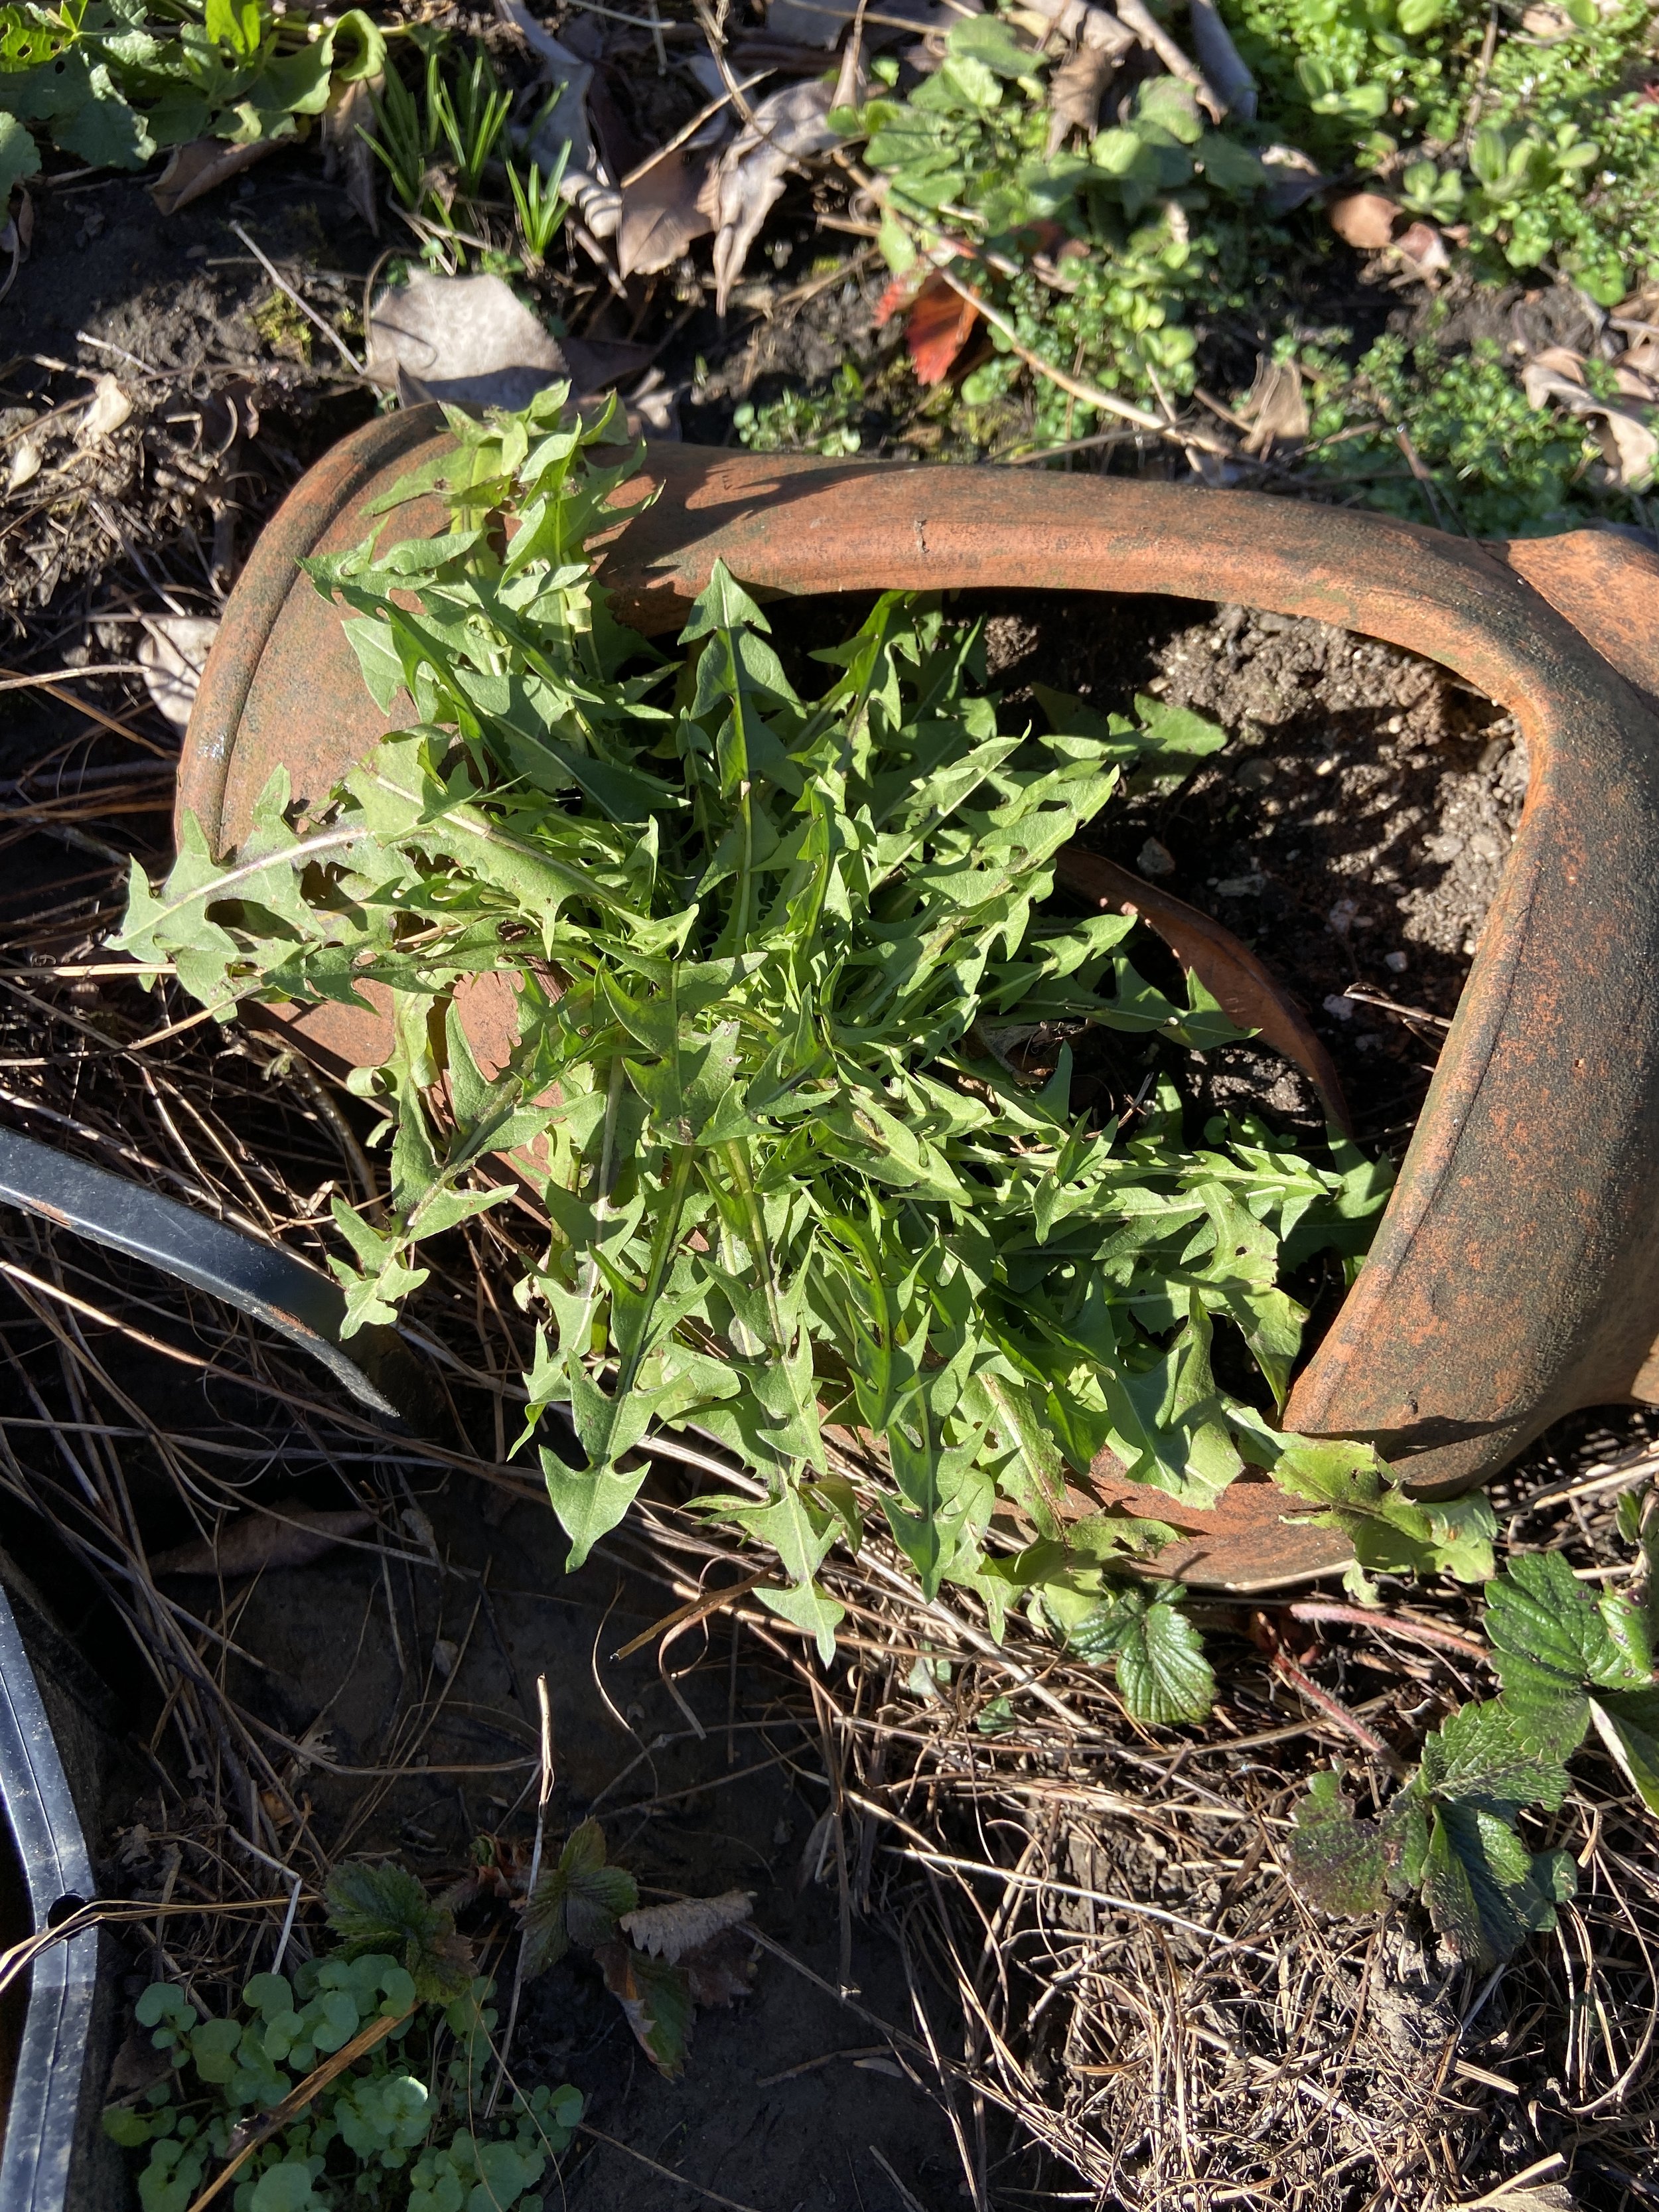
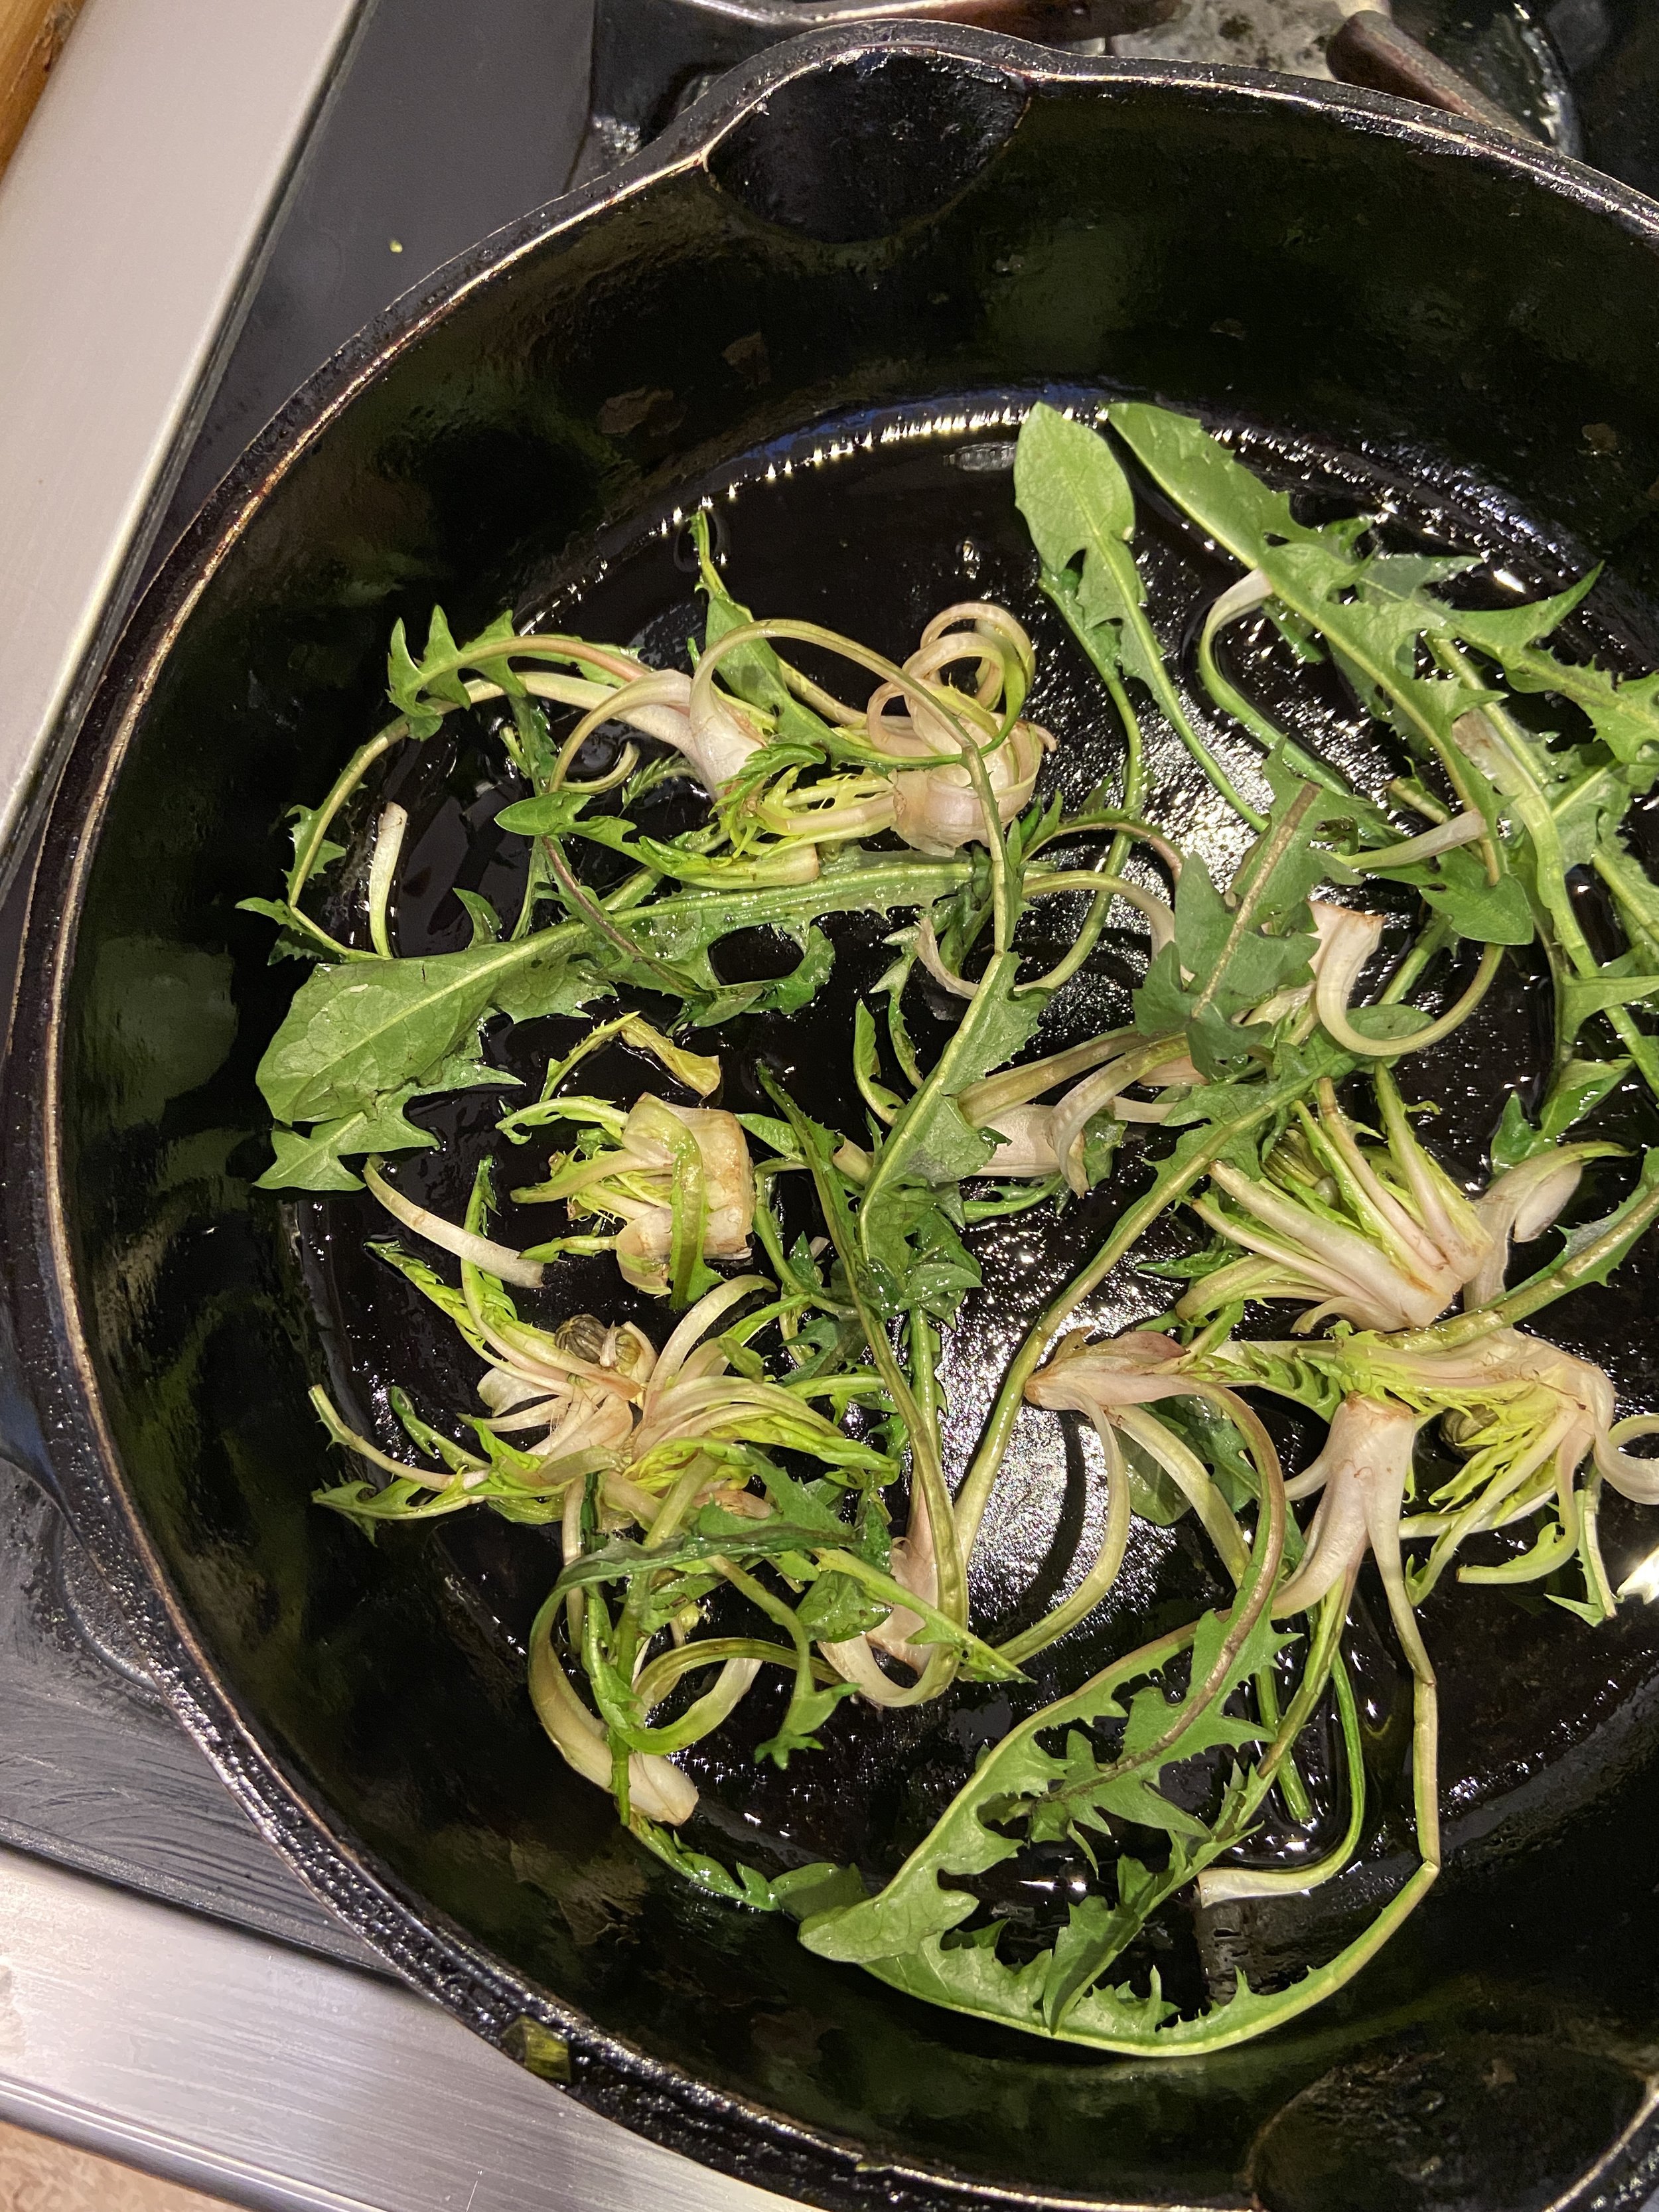
Seared Dandelion Hearts

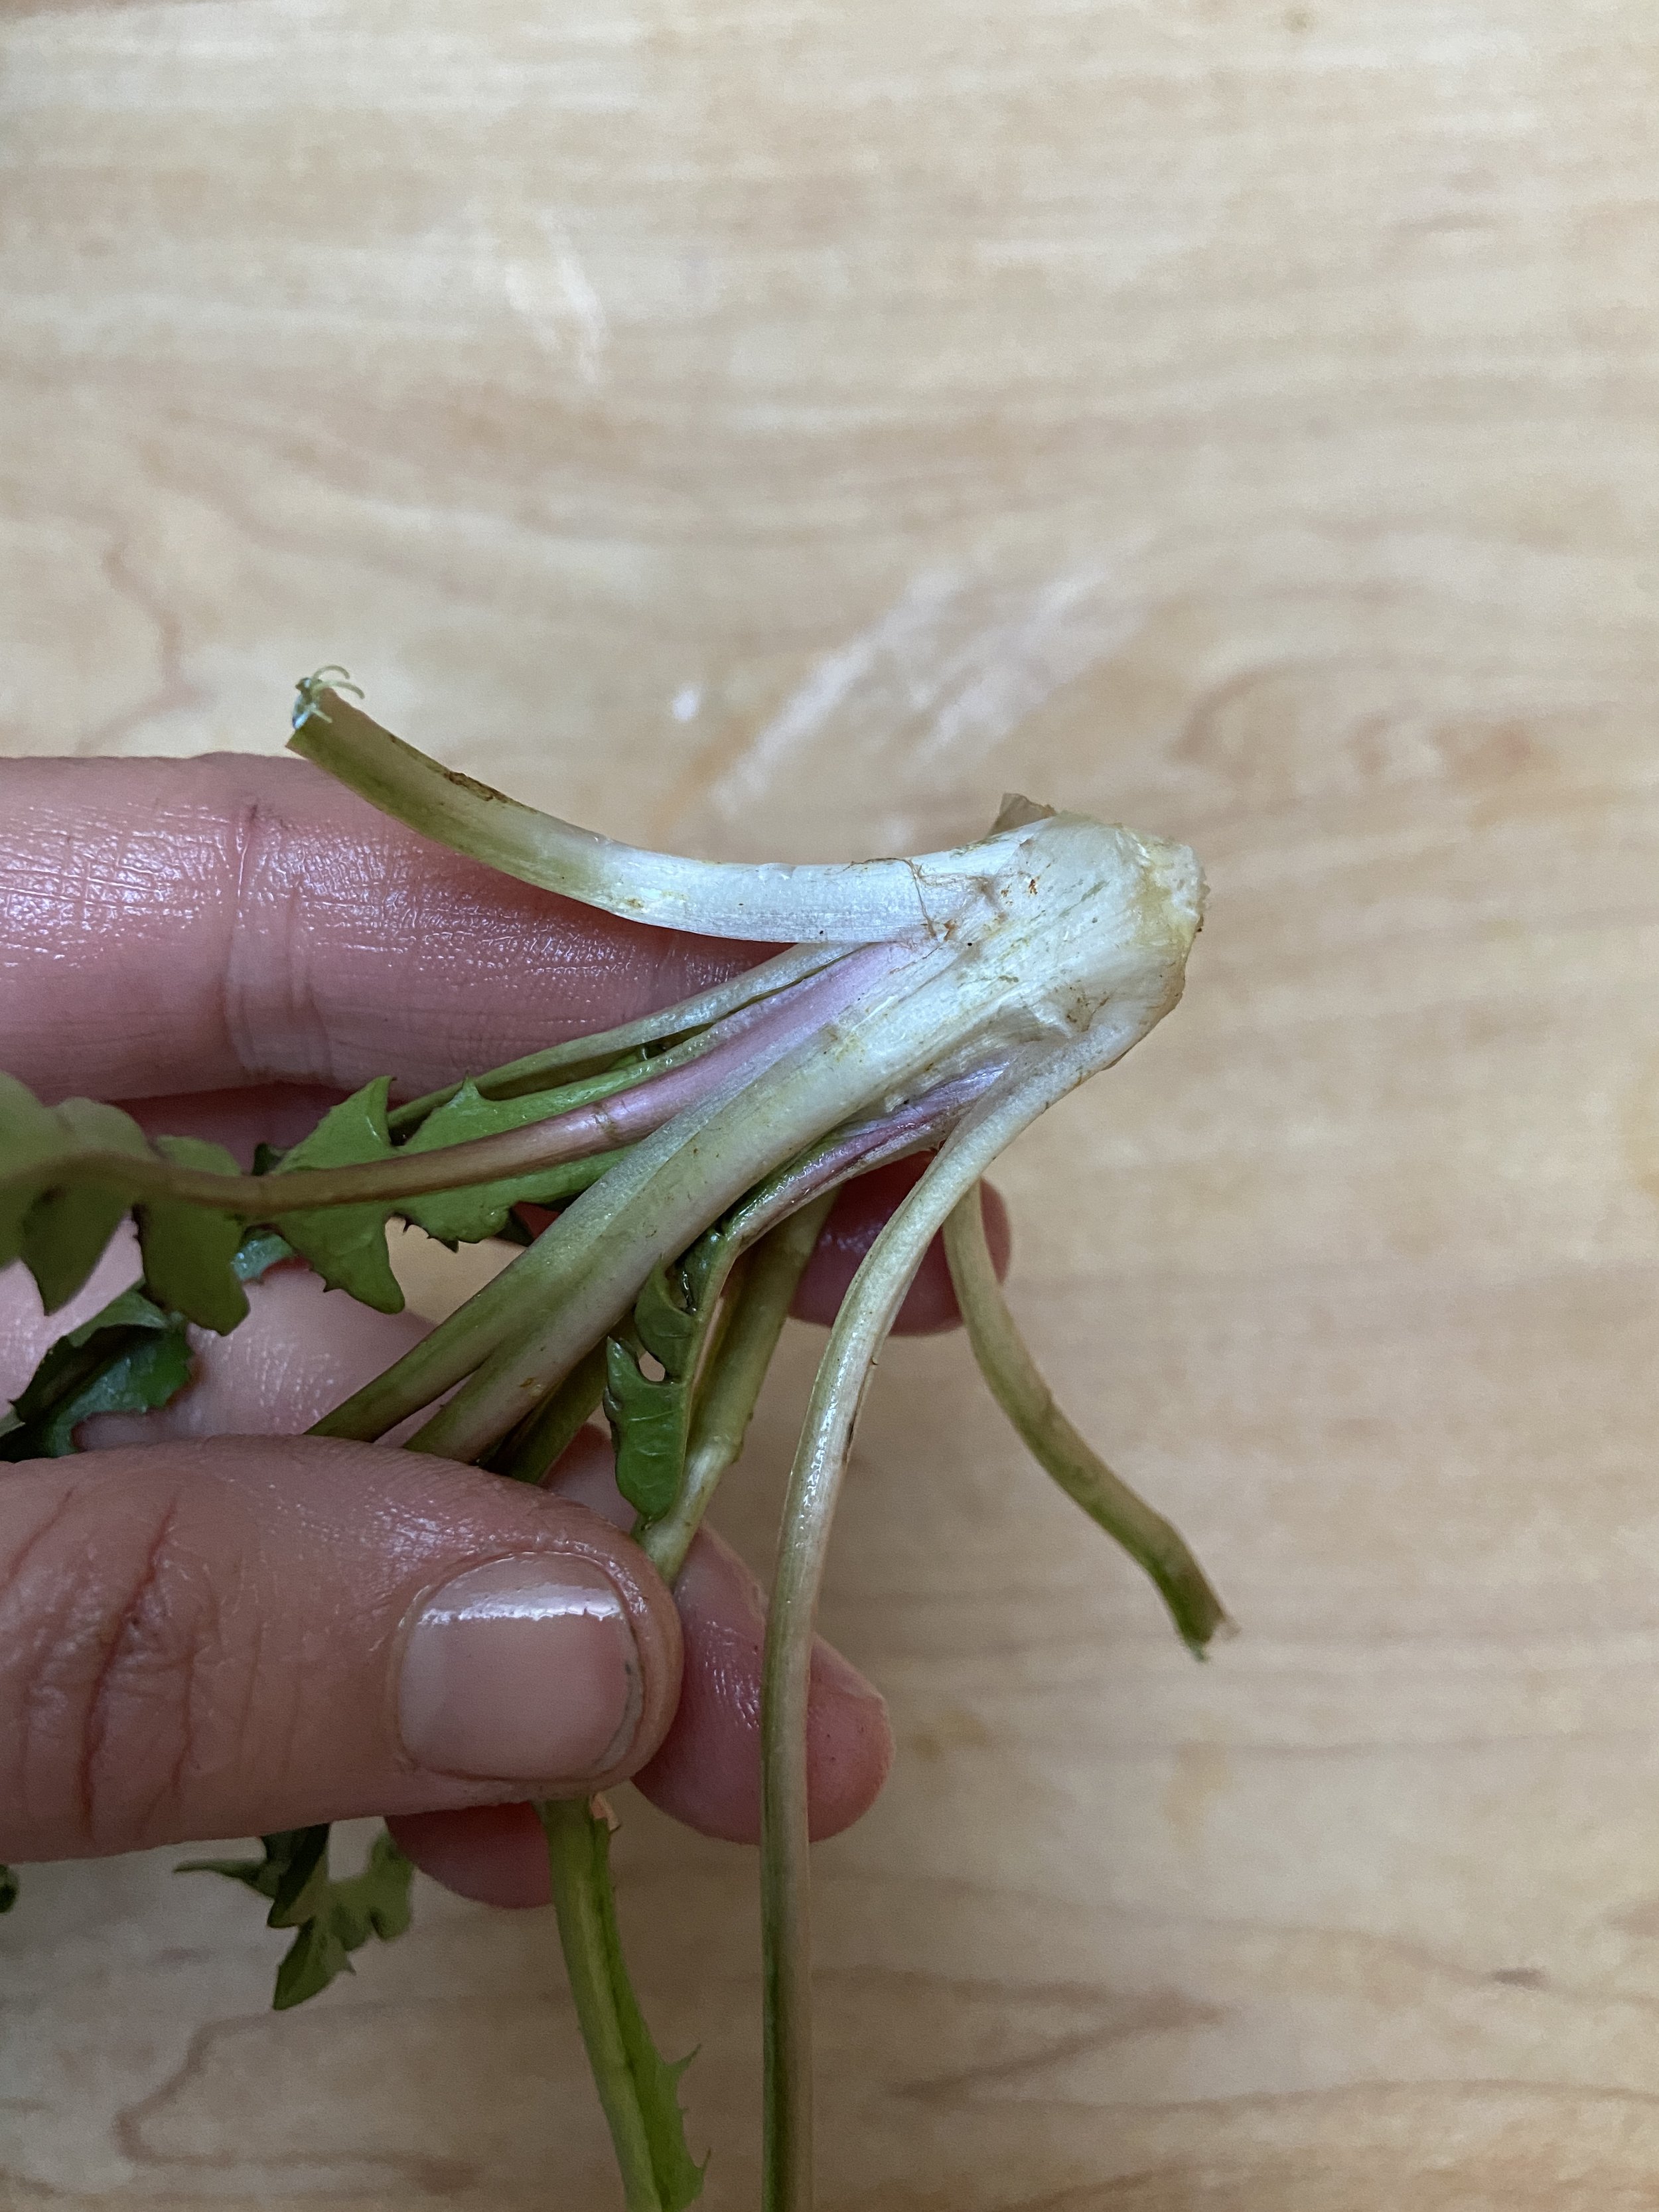
Dandelion hearts (aka dandelion crowns) are even more under-appreciated than dandelion greens, but they are really incredible - kind of like eating an artichoke heart vs. the artichoke leaves. They have the best texture and more mild/less bitter flavor when harvested in the early spring/late winter (or from young plants). It does take a bit of digging to unearth them, but they’re worth it! Because they have similar properties as something like chicory or raddichio, I think they are most delicious seared or wilted with a salty umami dressing with citrus zest. This recipe calls for anchovy, but it can easily be substituted with miso. Would pair beautifully atop polenta or in pasta/ramen noodles!
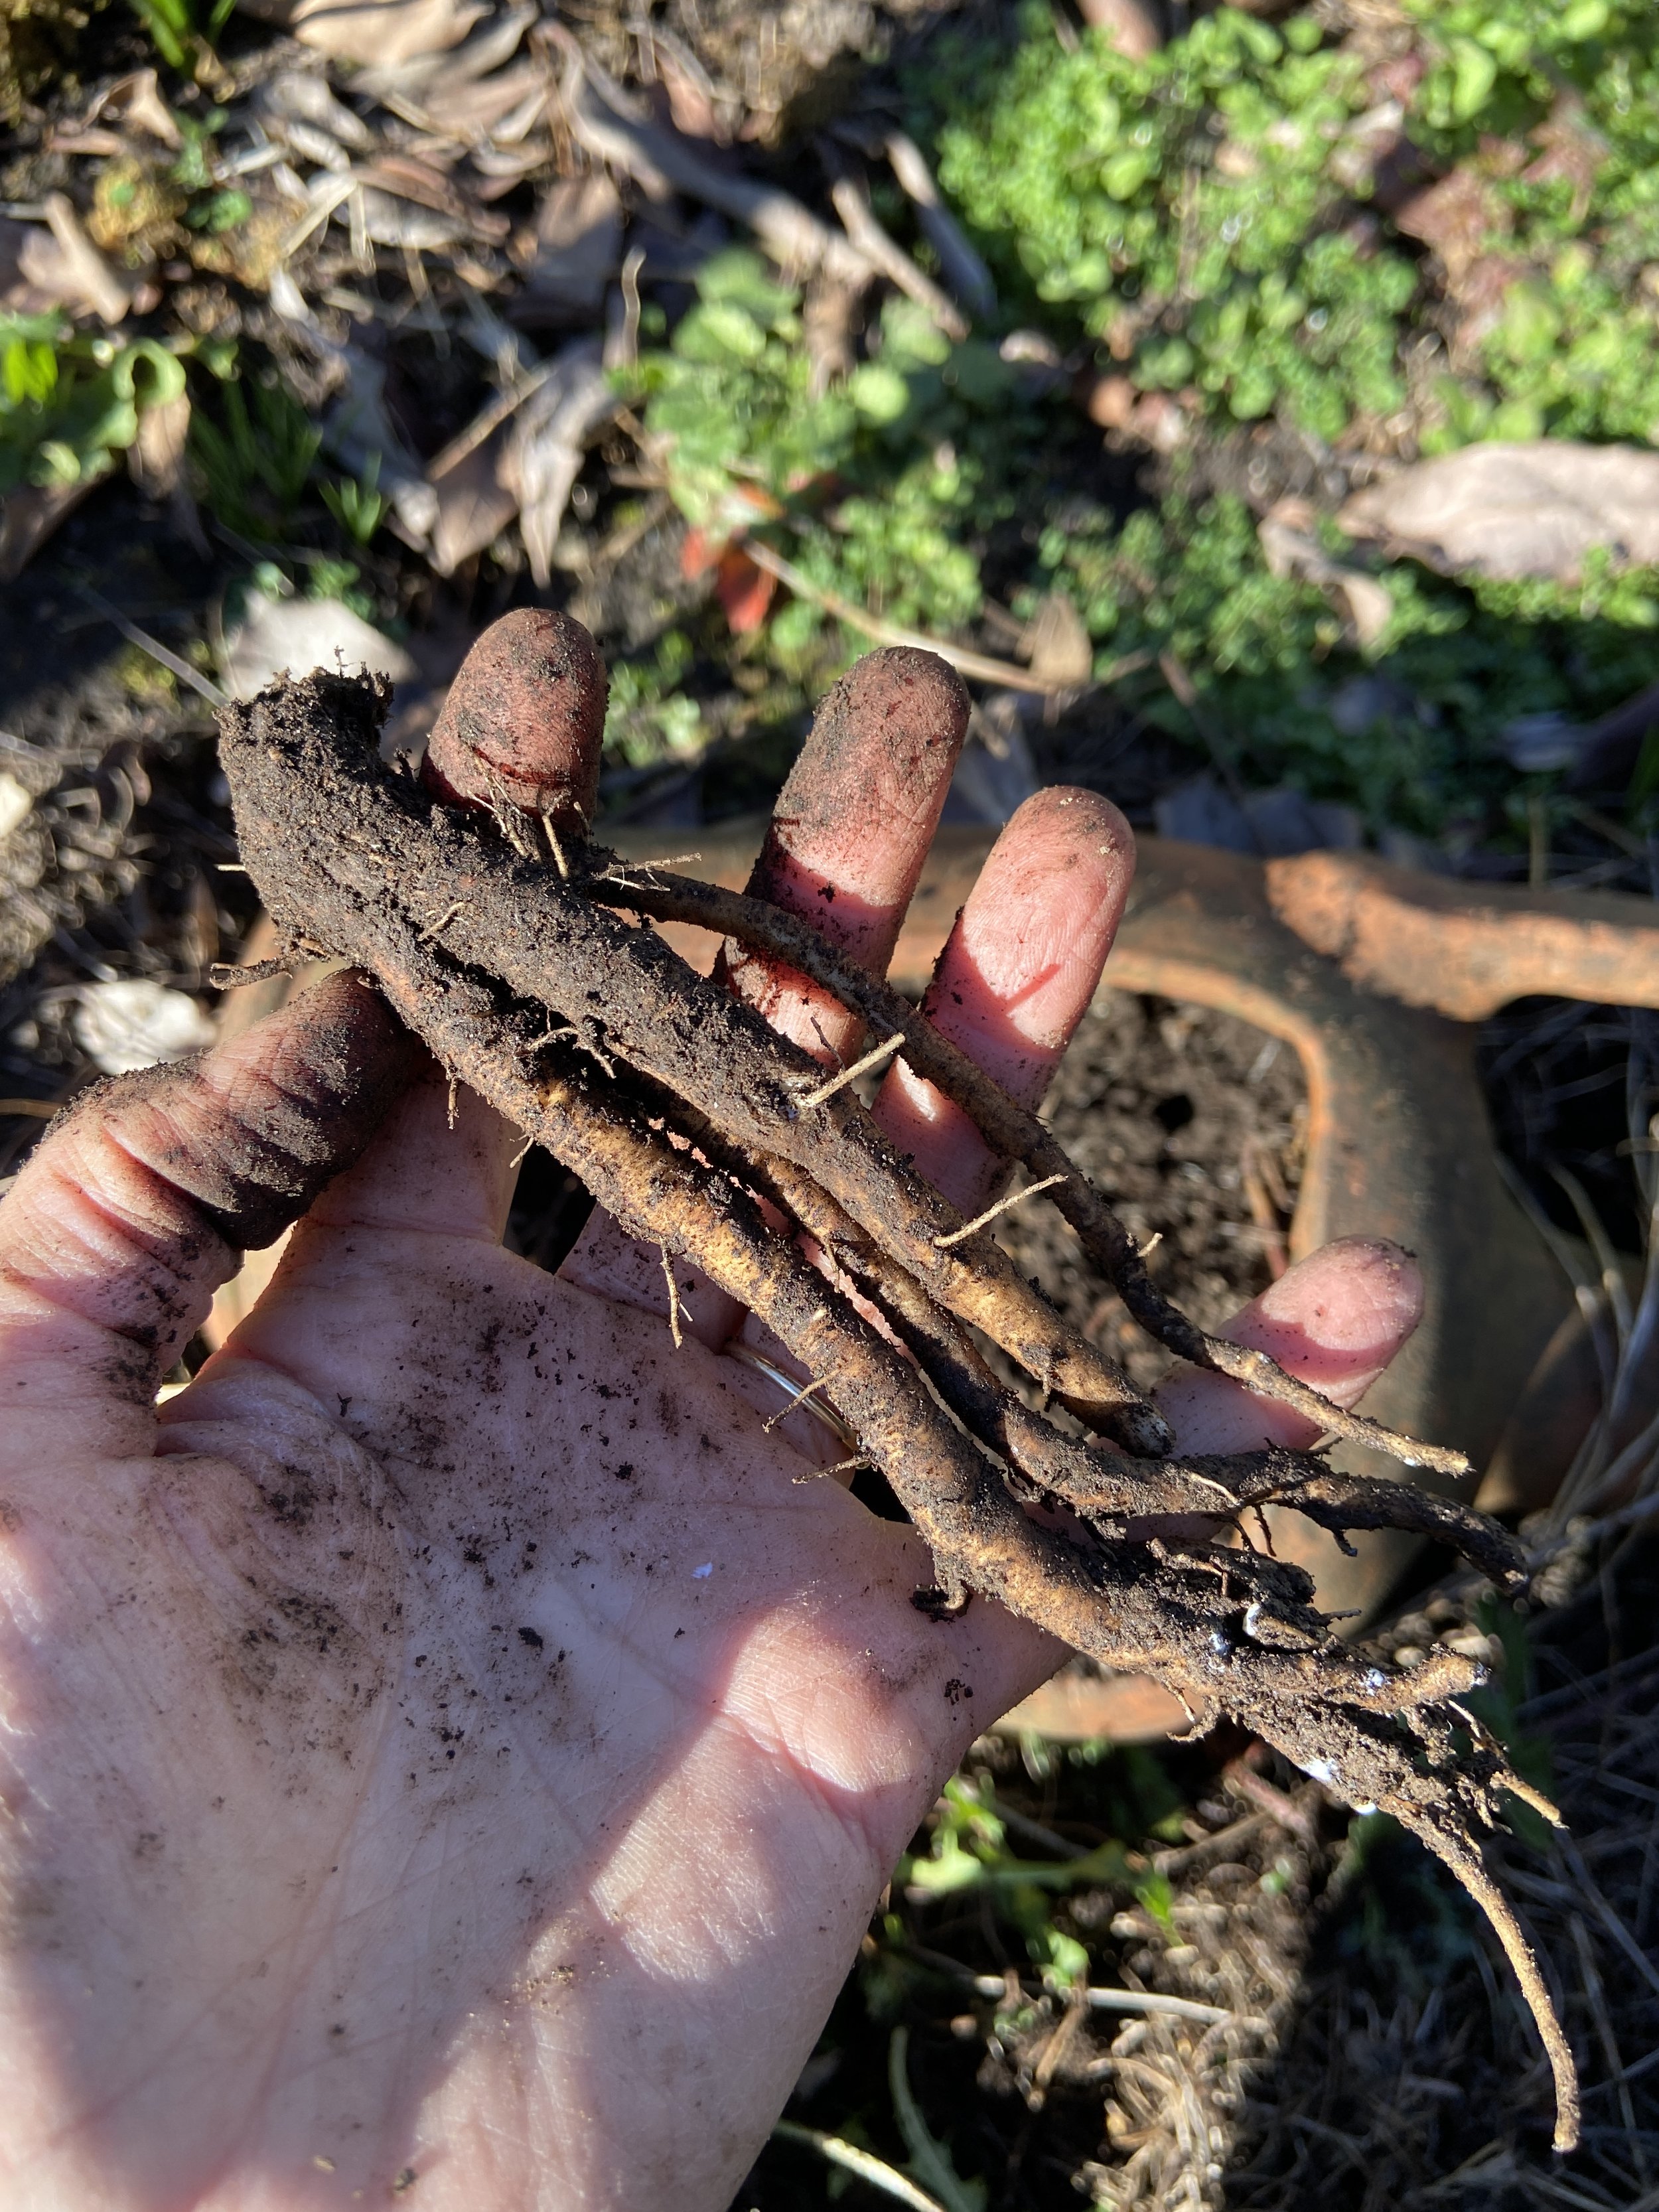
To harvest: Dig out the dandelion so that you remove the entire base or “heart”. You can also dig up the roots at this point if you want to use them or if you’re in a situation where you’re also weeding a garden and don’t want the dandelion to grow back. Unlike some other foraged wild ingredients, dandelion doesn’t not need to be rationed:) I keep meaning to make dandelion bitters, so maybe I finally will(?)

Ingredients:
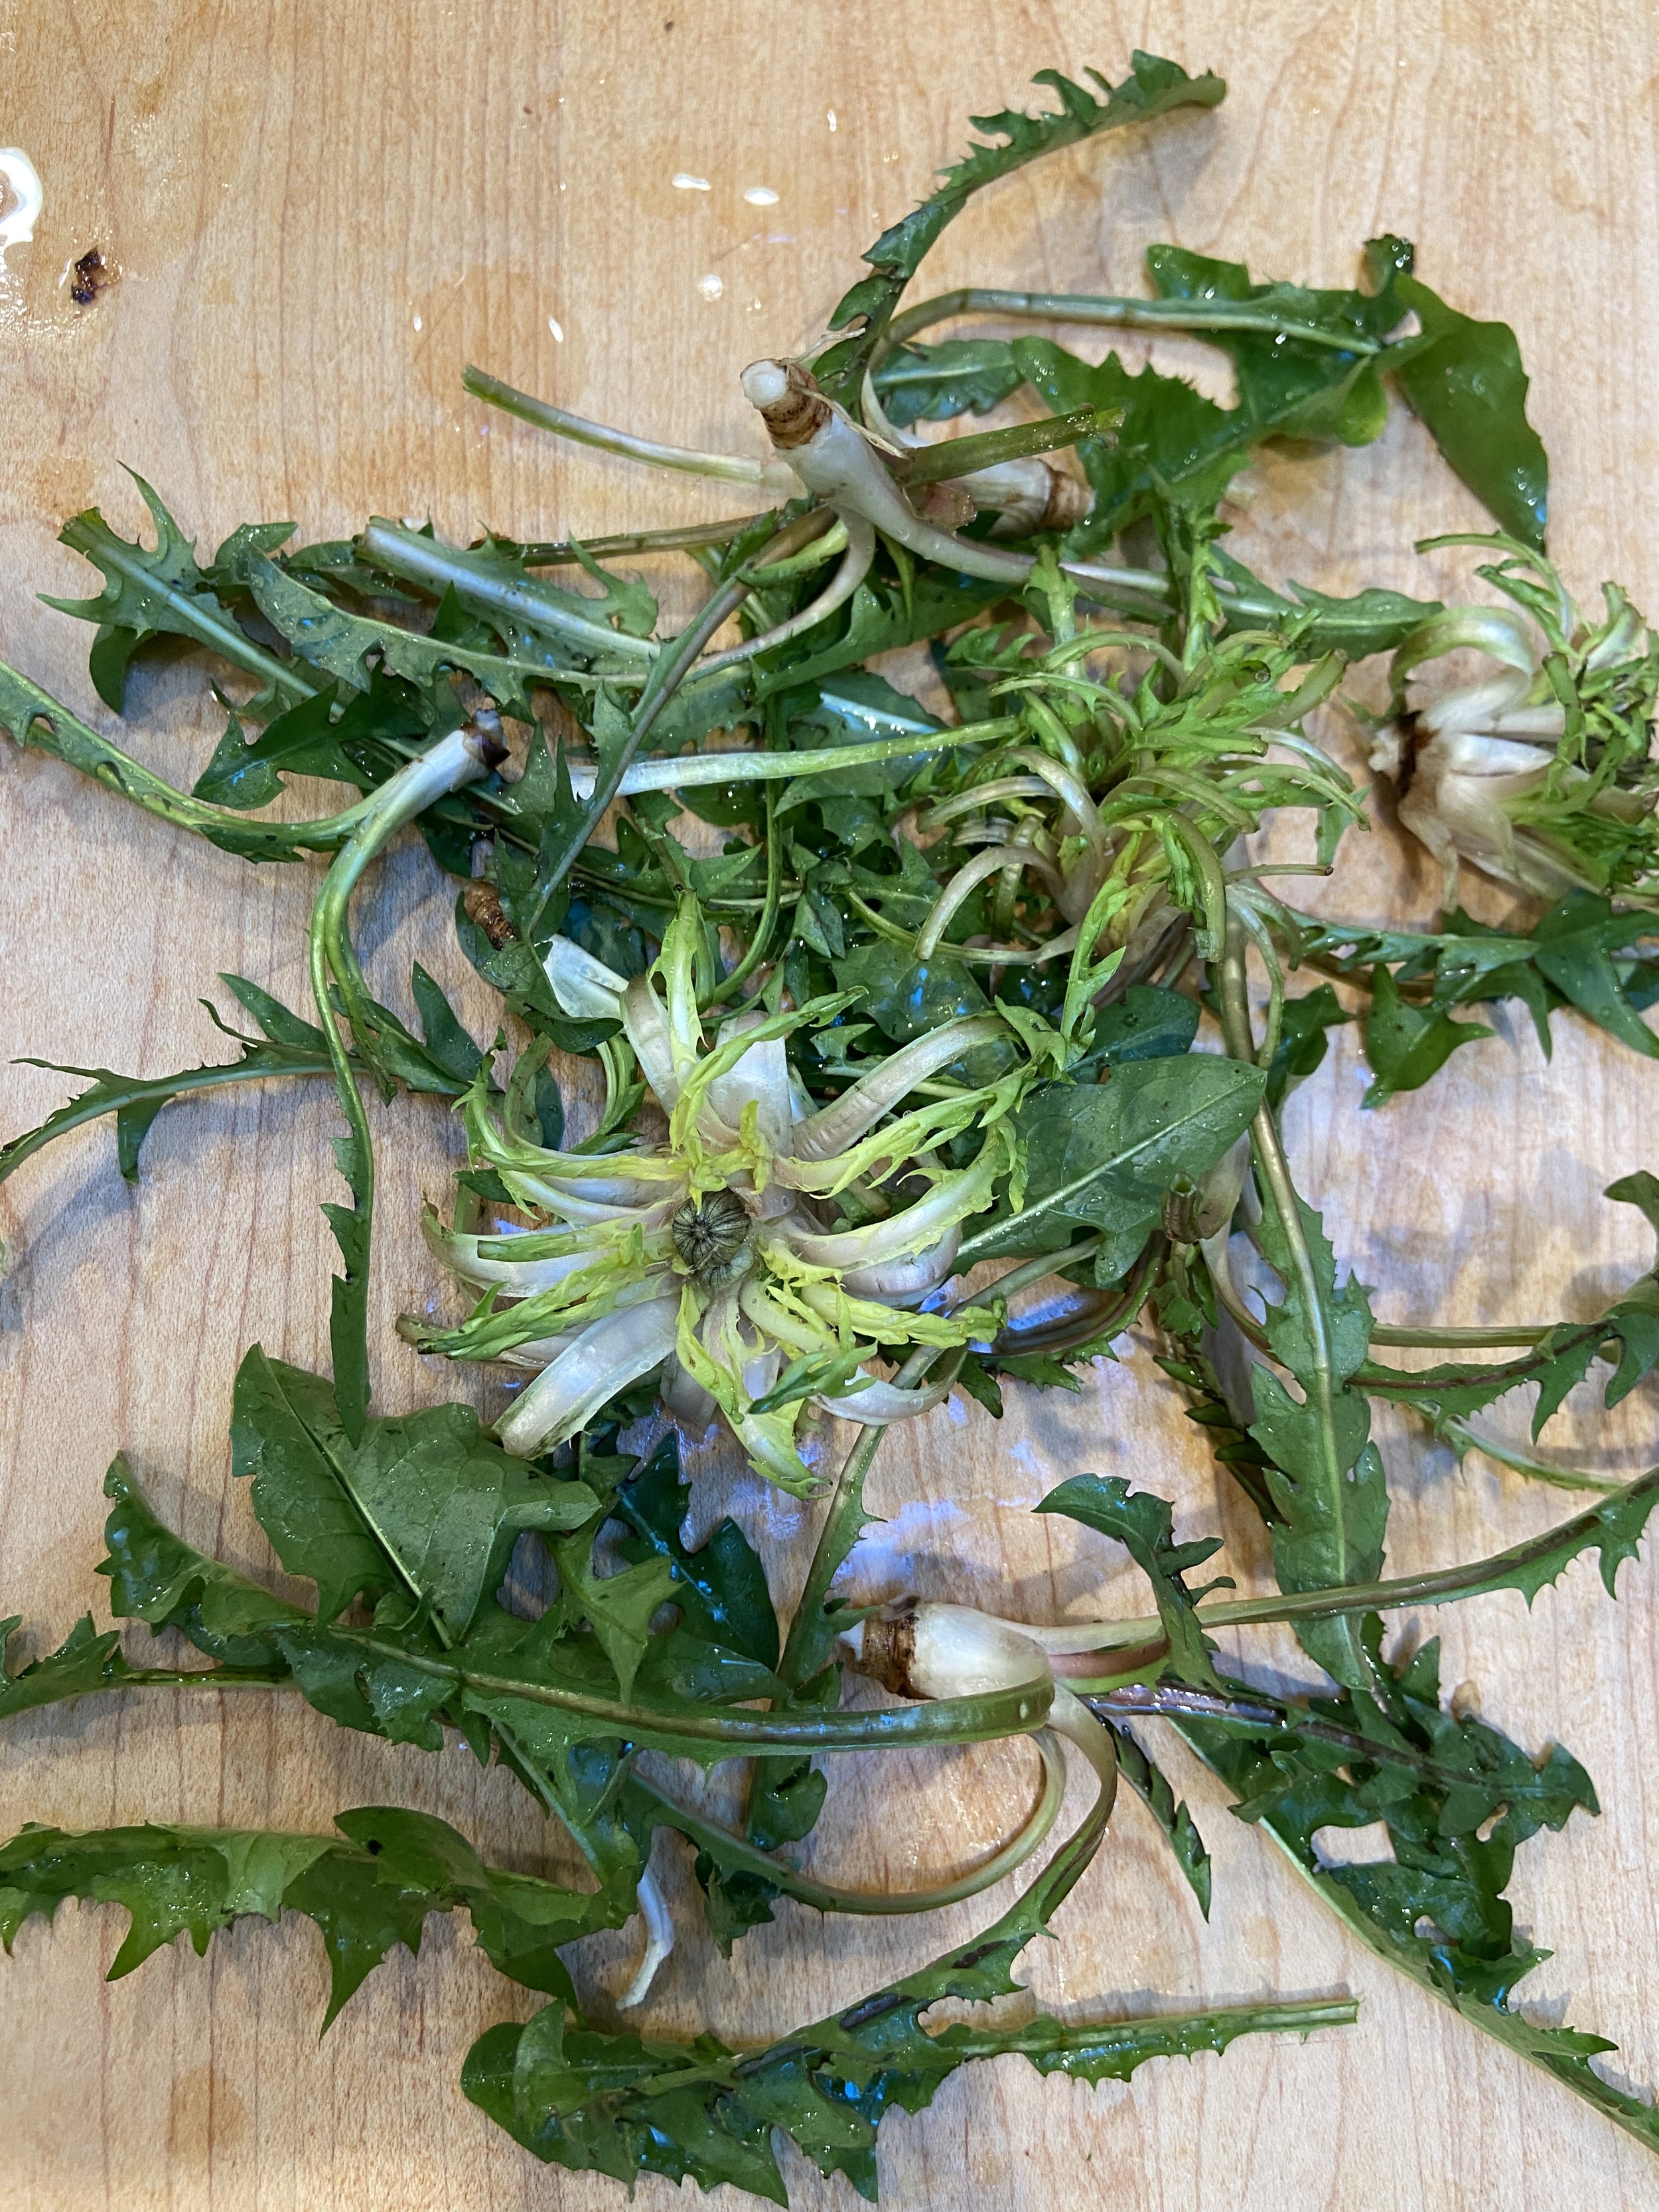
6-8 dandelion hearts + tops (you can save the tops for something else if you want)
3 anchovies or 1 tablespoon miso
Juice from 1 lemon or 1-2 tablespoons red wine vinegar
2-3 tablespoons olive oil, separated
Citrus zest - I used orange this time
Black pepper (optional)
Clean dandelion hearts well - I soaked in water a few times and checked between the crevices to make sure dirt was removed.
Chop anchovies and mix with lemon juice using a fork until it creates a paste (a few chunks of anchovy is a-okay). I like to do this in a jar so I can shake it with the olive oil.
Add 1 tablespoon olive oil, mix/shake in jar, and set aside.
Drizzle olive oil in pan (I like to use cast iron for browning) on medium-high. Once hot, add dandelion crowns. Toss for a few minutes, tossing occasionally, until softened and slightly browned. Toward the end, add the dandelion greens and dressing (shake dressing first if it has separated). Toss and remove from heat onto plate.
Top with Citrus zest and black pepper. Add another drizzle of olive oil if needed.

Voila.

Dandelion Greens Pesto
Put some wild in your pesto spread.

Put some wild in your pesto spread. The added dandelion greens make a lighter, bitterer tasting version of a classic cheese-free pesto. Up the ratio of greens to other ingredients if you desire an even lighter, less rich pesto. Makes about 3/4 cup.
1/2 cup raw pine nuts
1 bunch fresh basil leaves, plucked and chopped
3-4 tablespoons olive oil
1/4 - 1/2 teaspoon salt
2-3 cups chopped dandelion greens
Juice from 1/2 lemon
Combine pine nuts with basil, 3 tablespoons of olive oil, and 1/4 teaspoon salt in a food processor.
Once blended, incorporate dandelion greens and more oil and salt as needed to create desired texture and flavor. Blend in juice from 1/2 lemon.
Pesto may be frozen for up to 1 year, refrigerated for up to 1 week, or used immediately.

Dandelion Greens
Nature's bitter bounty.

Foraged dandelion is the “bread and butter” of wild greens. I am not exaggerating when I say any time I walk farther than a block in my neighborhood (and beyond) I come across delicious tufts of dandelion. Oh yes, people stare, but it’s worth coming home with the makings of a salad or ingredients to sauté with some garlic.
They’re rather bitter, which some don’t like but others, such as myself, greatly appreciate. If the bitterness is too much for you, try drizzling with lemon or vinegar.
Suggested uses: Any time you use greens such as in soups and savory porridge, salads, pesto, stir-frys, etc.
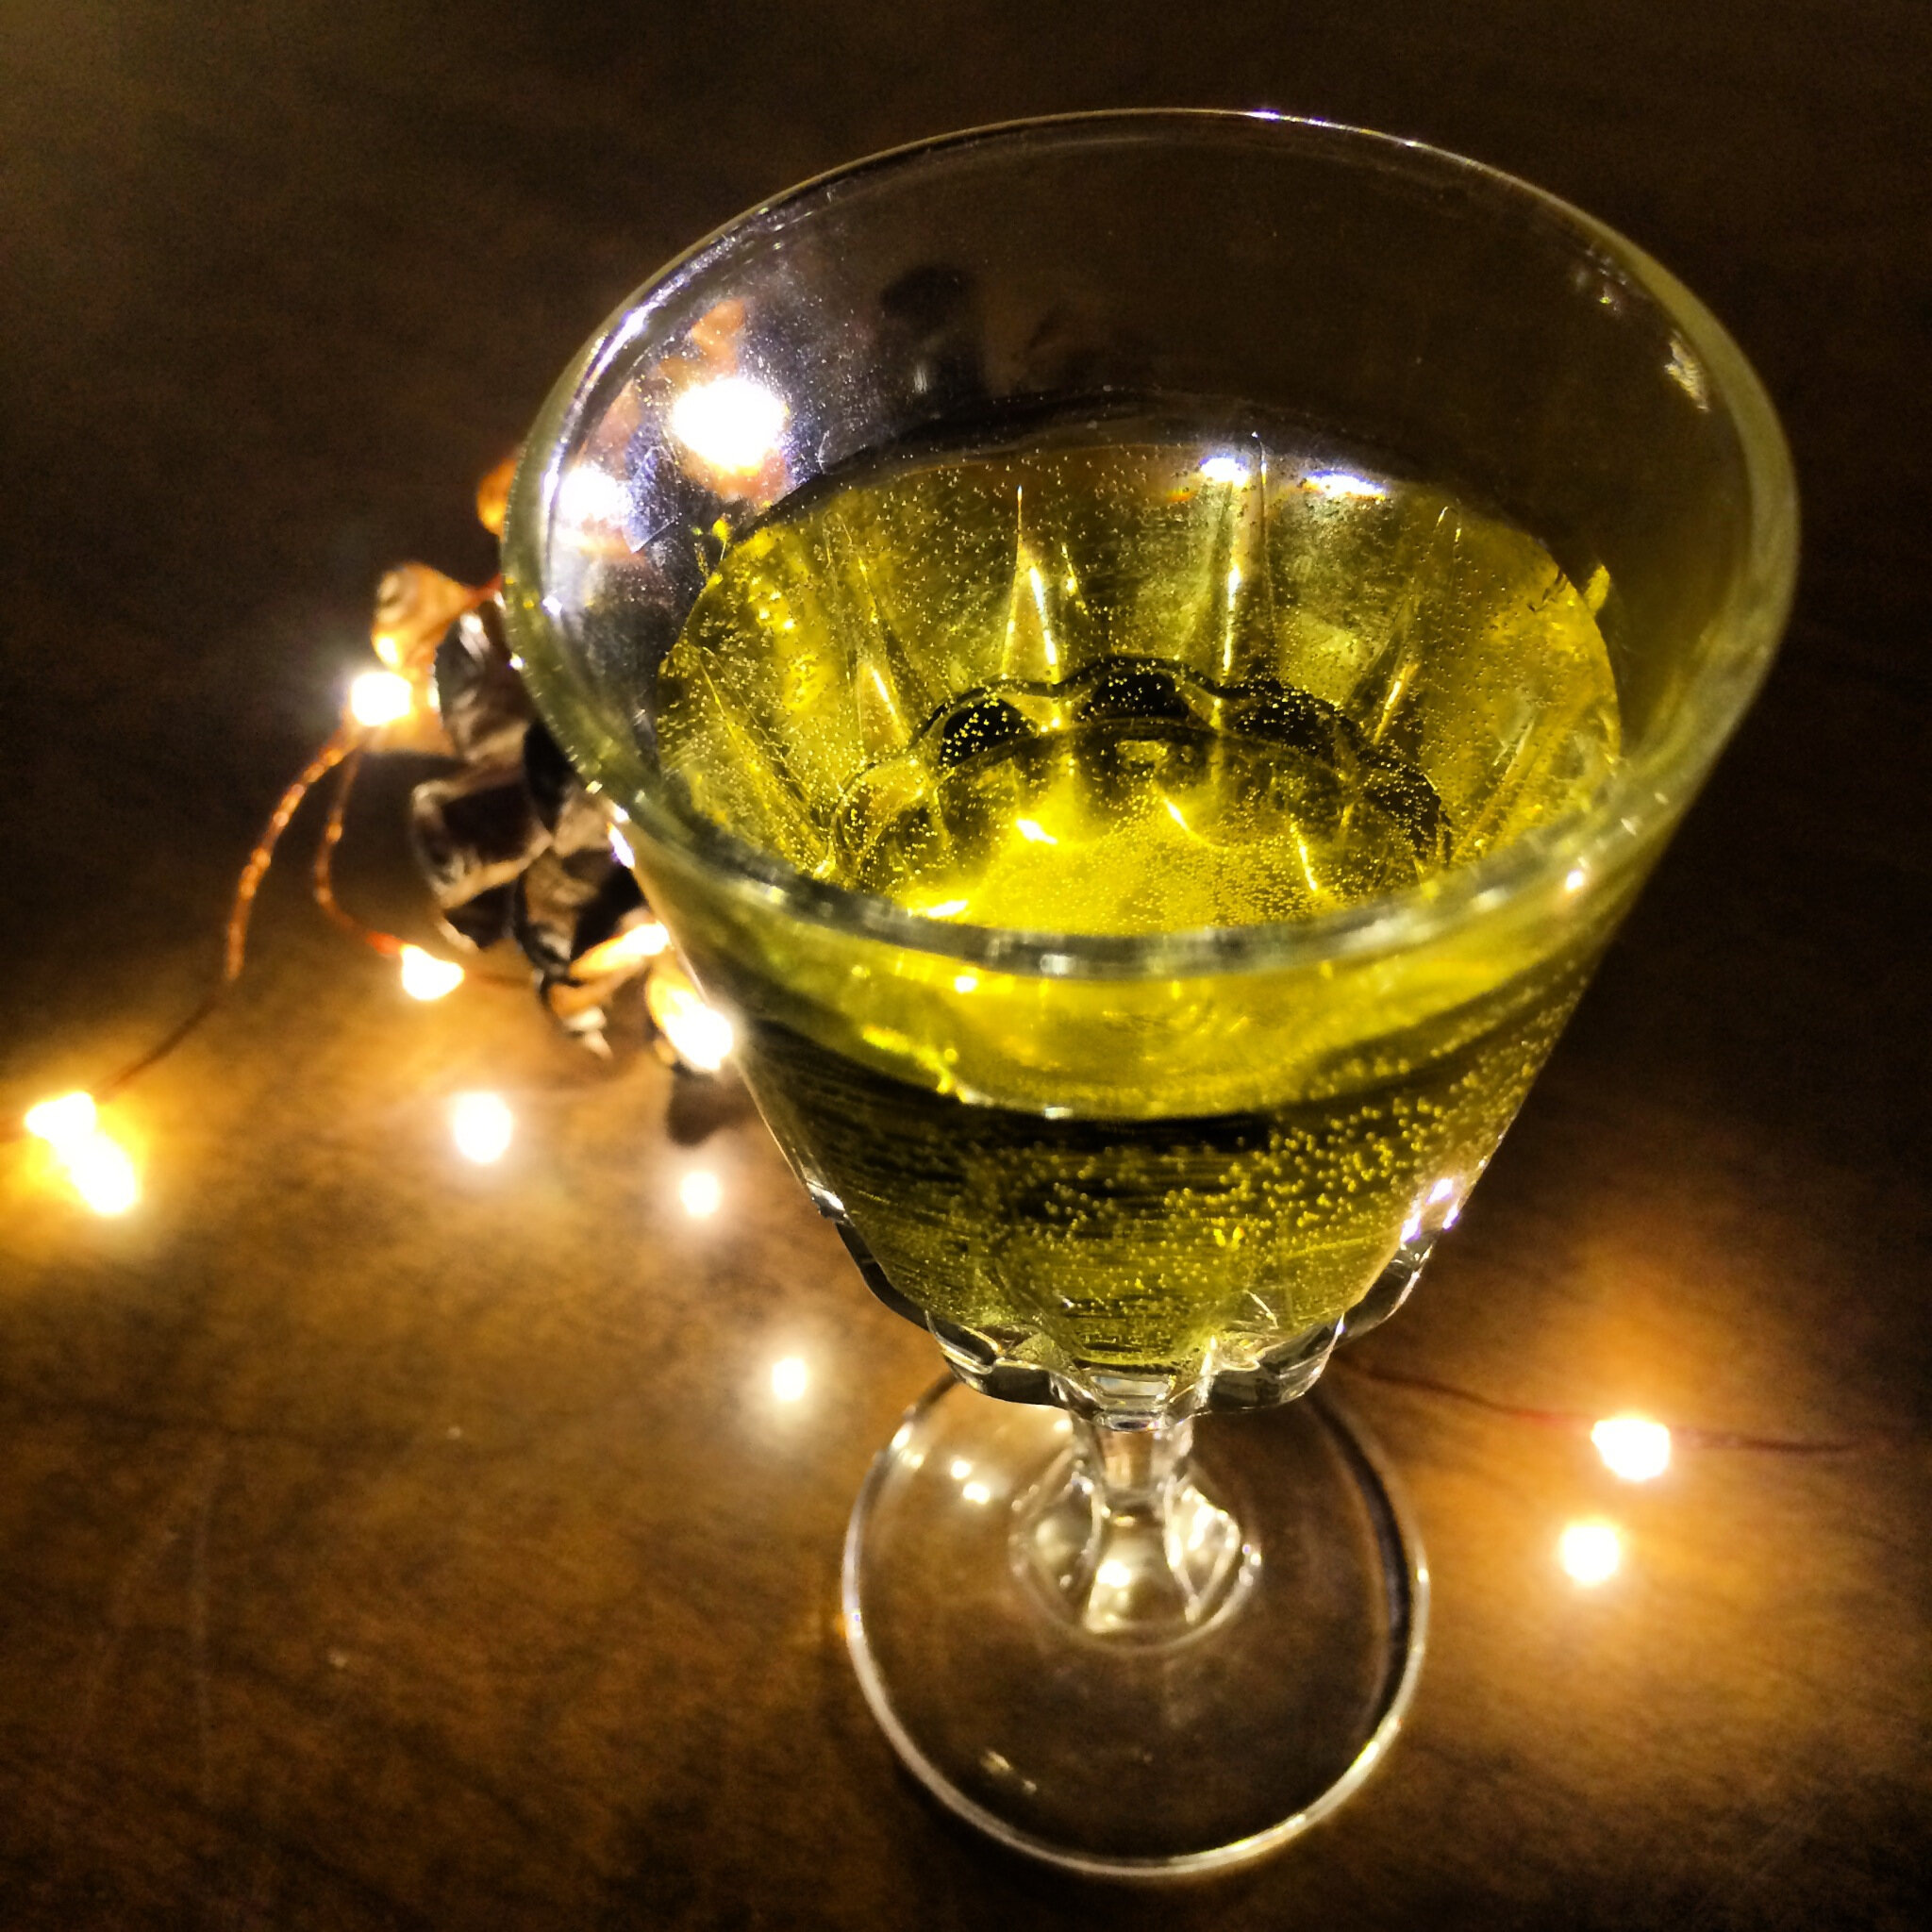
Dandelion Wine: Aged 6 months
Tasting summer.

Last June I made wine from foraged dandelion flowers that would otherwise be considered weeds. I read that in the darkest days of winter, some cultures will pull out the aged dandelion wine, usually on winter solstice, for a taste of summer. This idea intrigued me a sparked the impetus for a winter solstice party.
After 6 months, the wine had a beautiful golden color, lovely vegetal/pollen aroma and taste, and slight effervescence. Although it could use another few months of aging for a more balanced flavor, it’s definitely off to a great start. Until then!
Update in June 2014: I believe we waiting too long and the dandelion wine is now more of a vinegar! Noted for next time I make dandelion wine, at 6 months it tastes pretty good and should be tasted every month thereafter to determine when it's at its peak.
Full dandelion wine making process can be found here.
Dandelion Wine
A classic method for preserving a taste of summer.

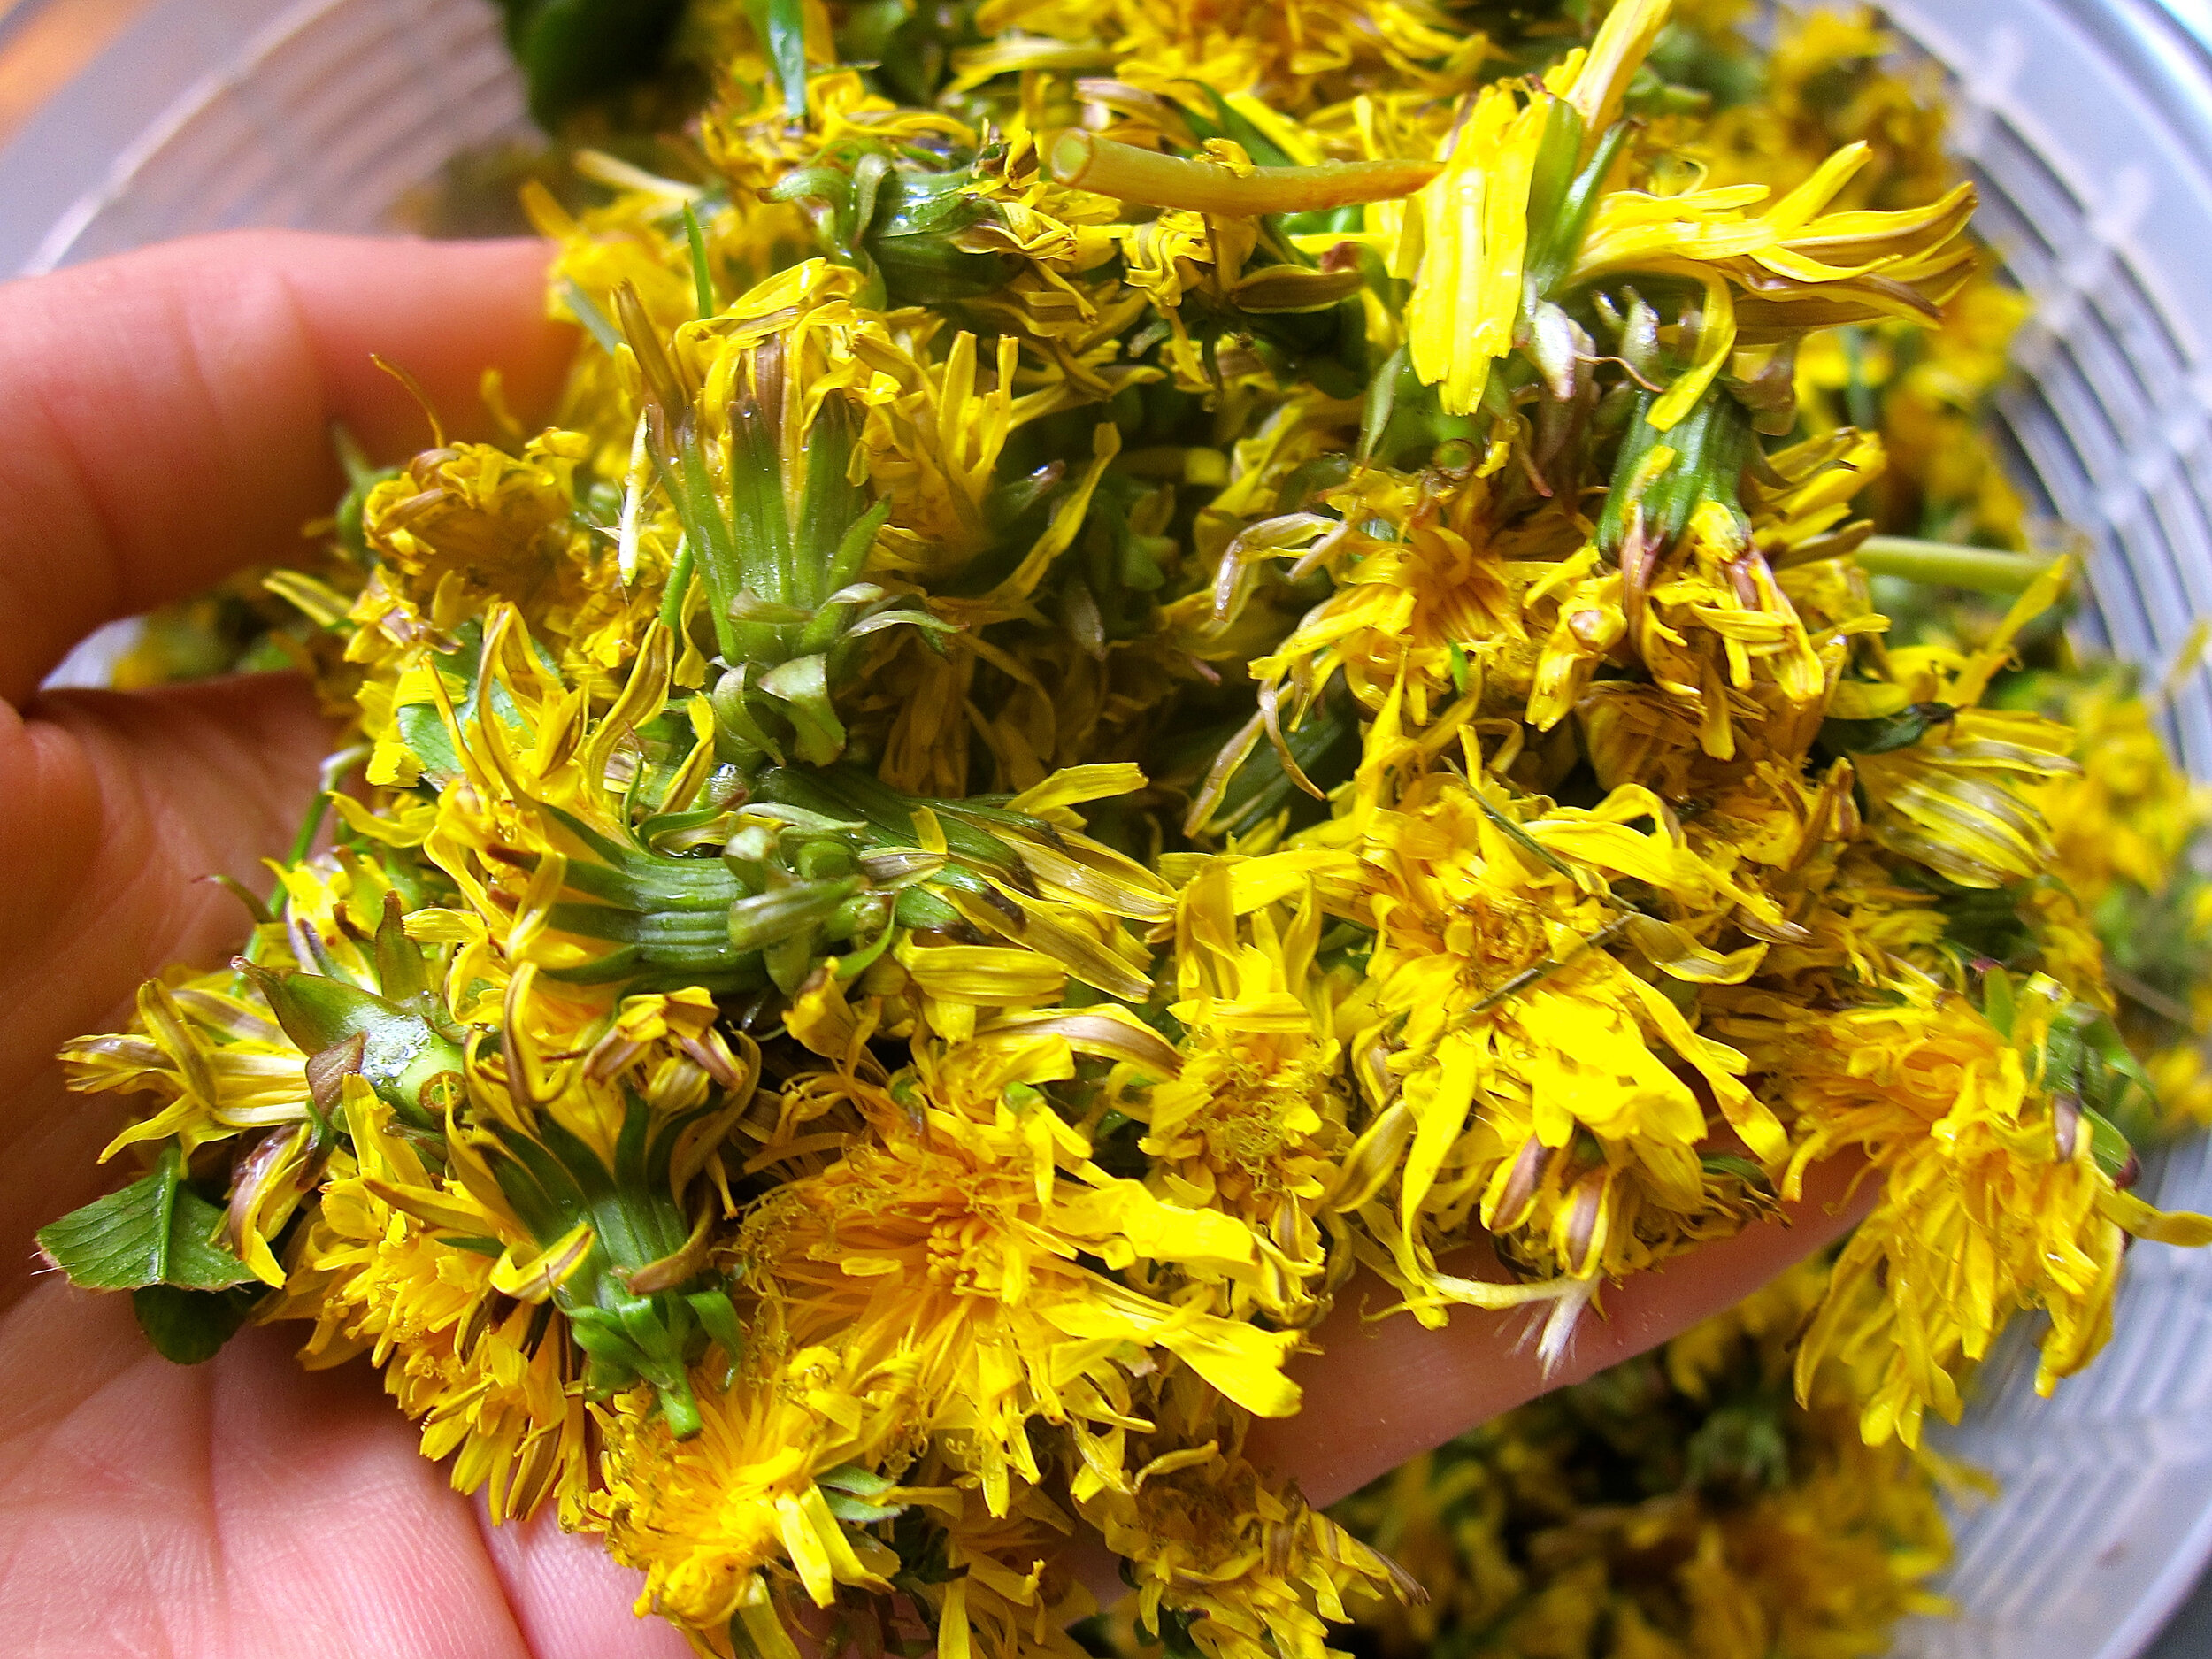
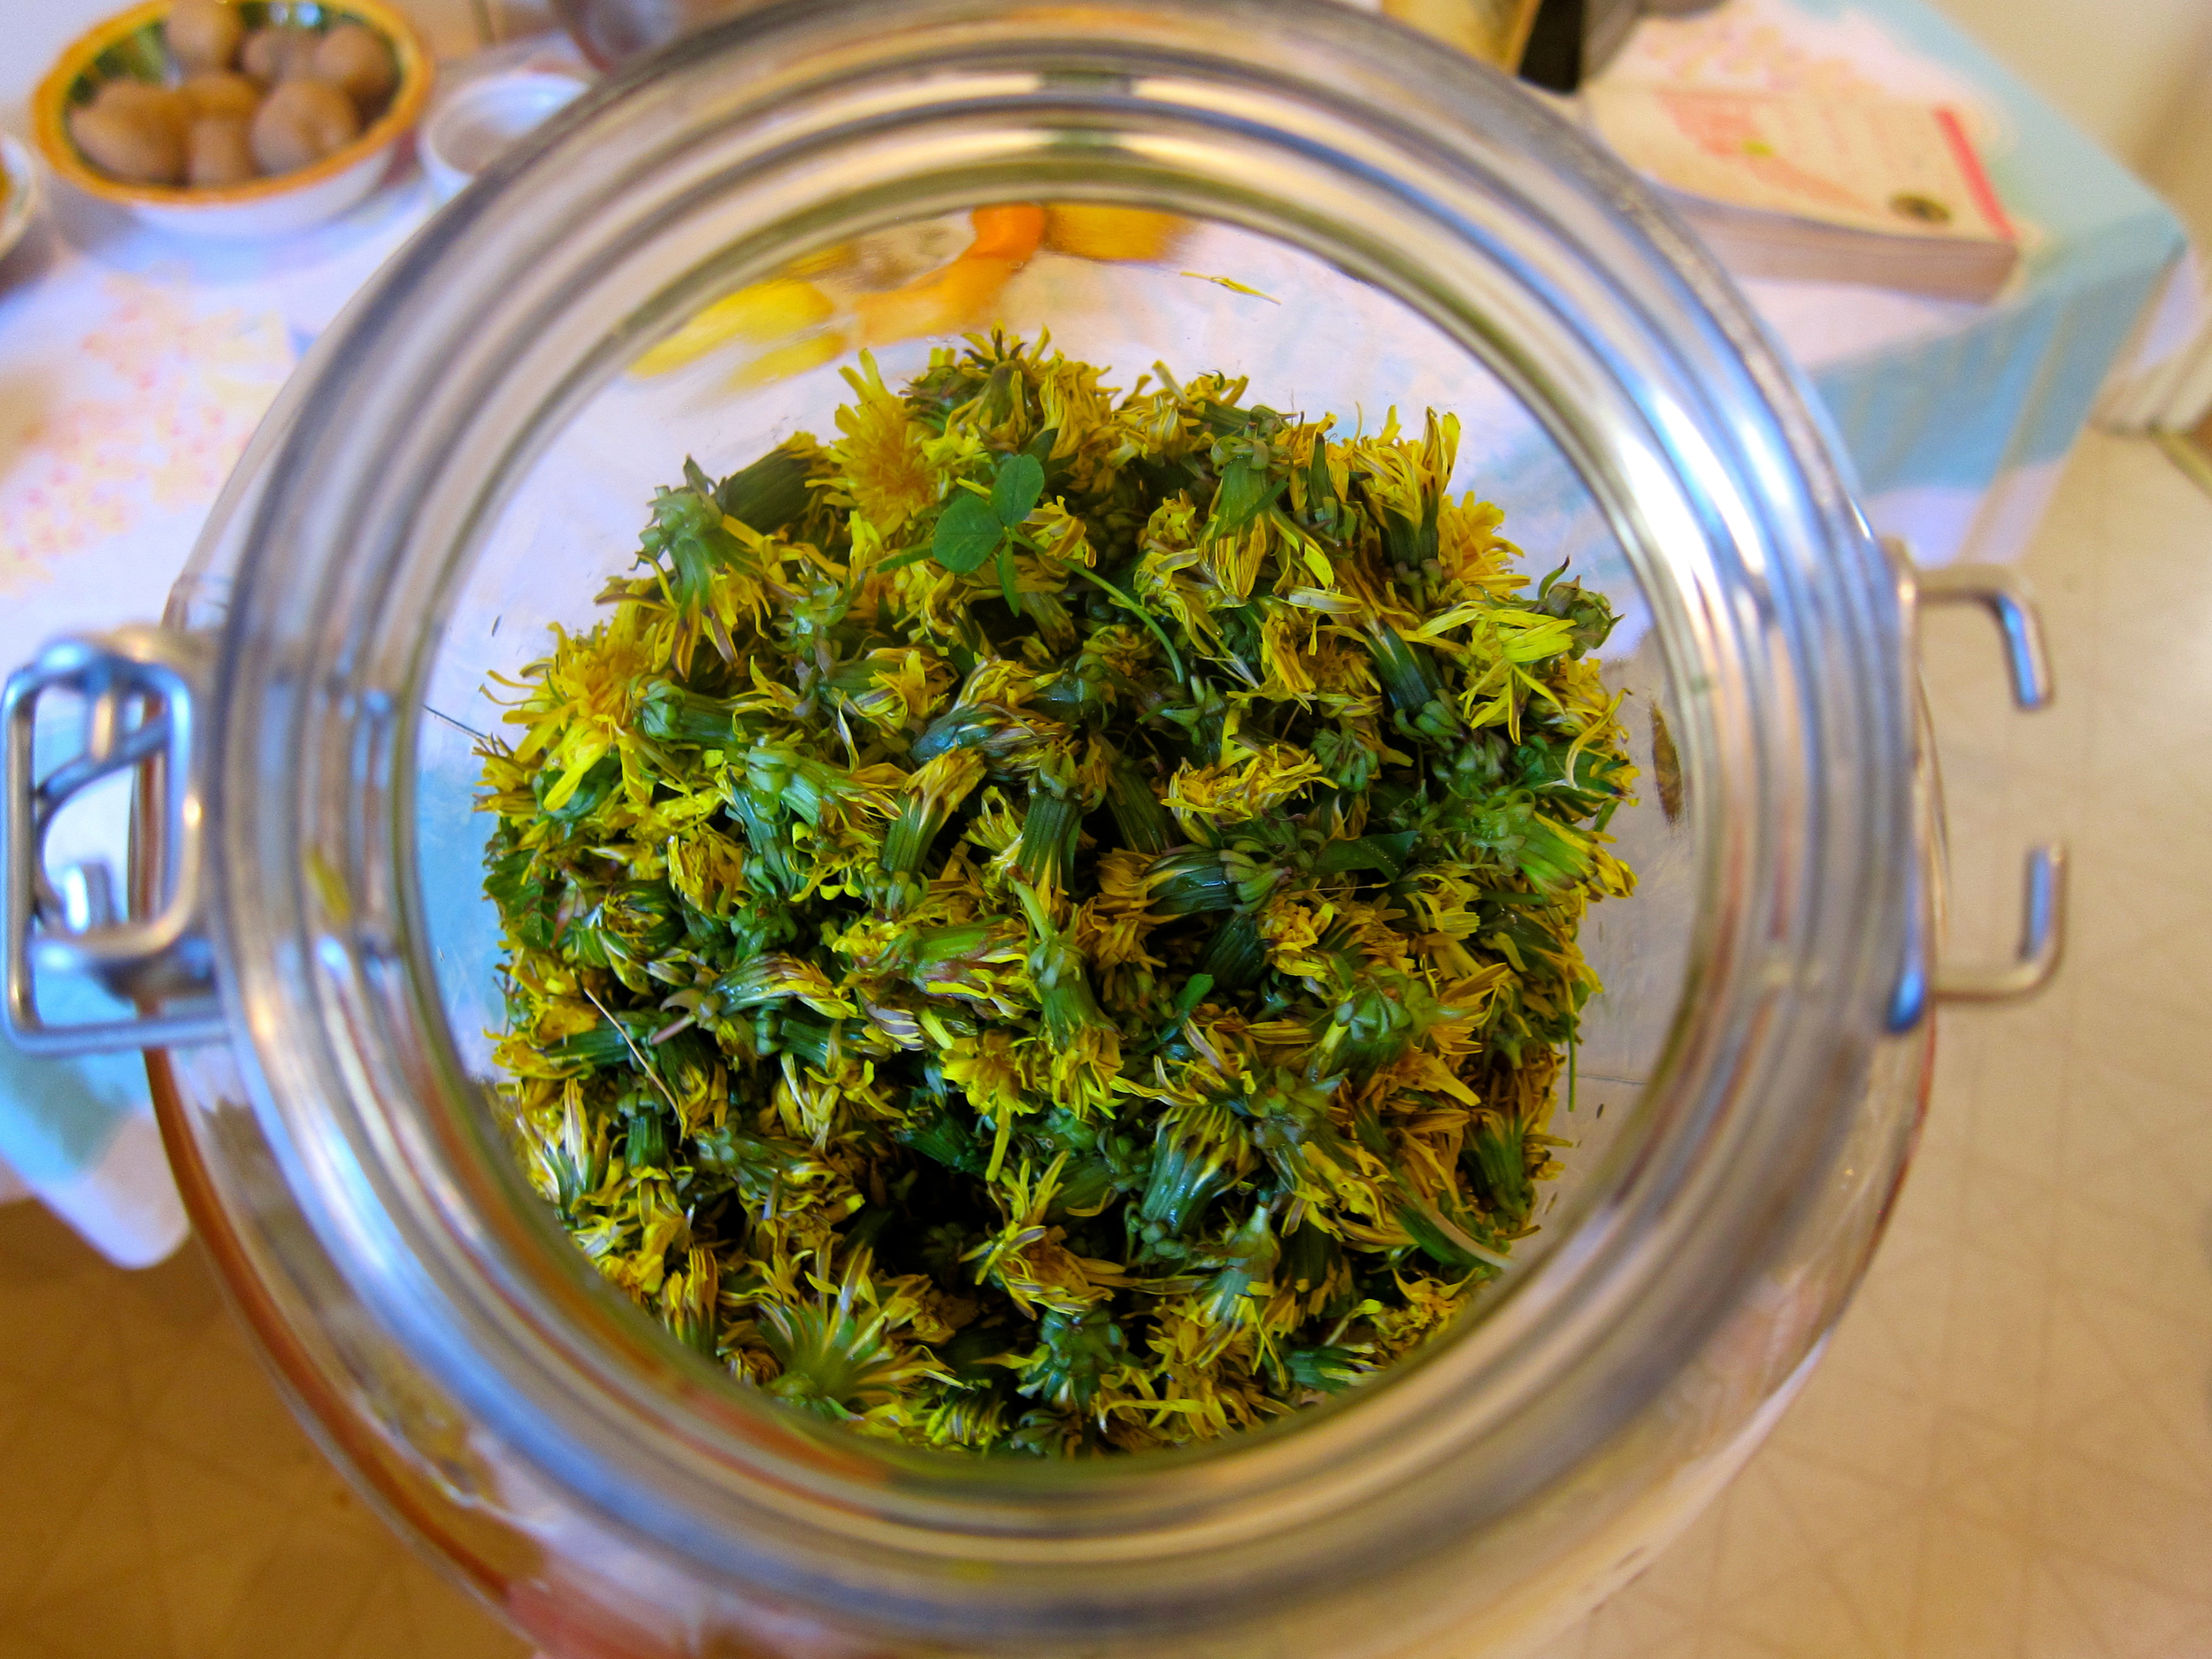
I told someone that I had made dandelion wine and they said, “that’s really a thing?”. Yes, it’s a thing. I have always wanted to make dandelion wine - not sure where the desire came from (maybe because how even the sound of it delightfully rolls of the tongue?), but it aches all the same. So finally this spring I set forth on the task and have several delicious looking bottles put up to age from 6-12 months. My plan in to try them in 6 (because I won’t be able to resist) and drink some with others on the Winter Solstice.

1 gallon dandelion flowers, can leave ends of flowers on, but remove stems (your leg muscles may or may not be sore for a few days after this excursion)
2 cups turbinado sugar*
1 1/3 cup honey*
3-4 oranges
2-3 lemons
1-2 teaspoons/1/2 packet yeast (I used champagne yeast for dry, delicate flavor. Bread yeast is not recommended)
Few pinches of yeast nutrient (not necessary, but recommended)
*Sugar quantity will determine potential alcohol and potential sweetness, use more or less depending on your preferences.
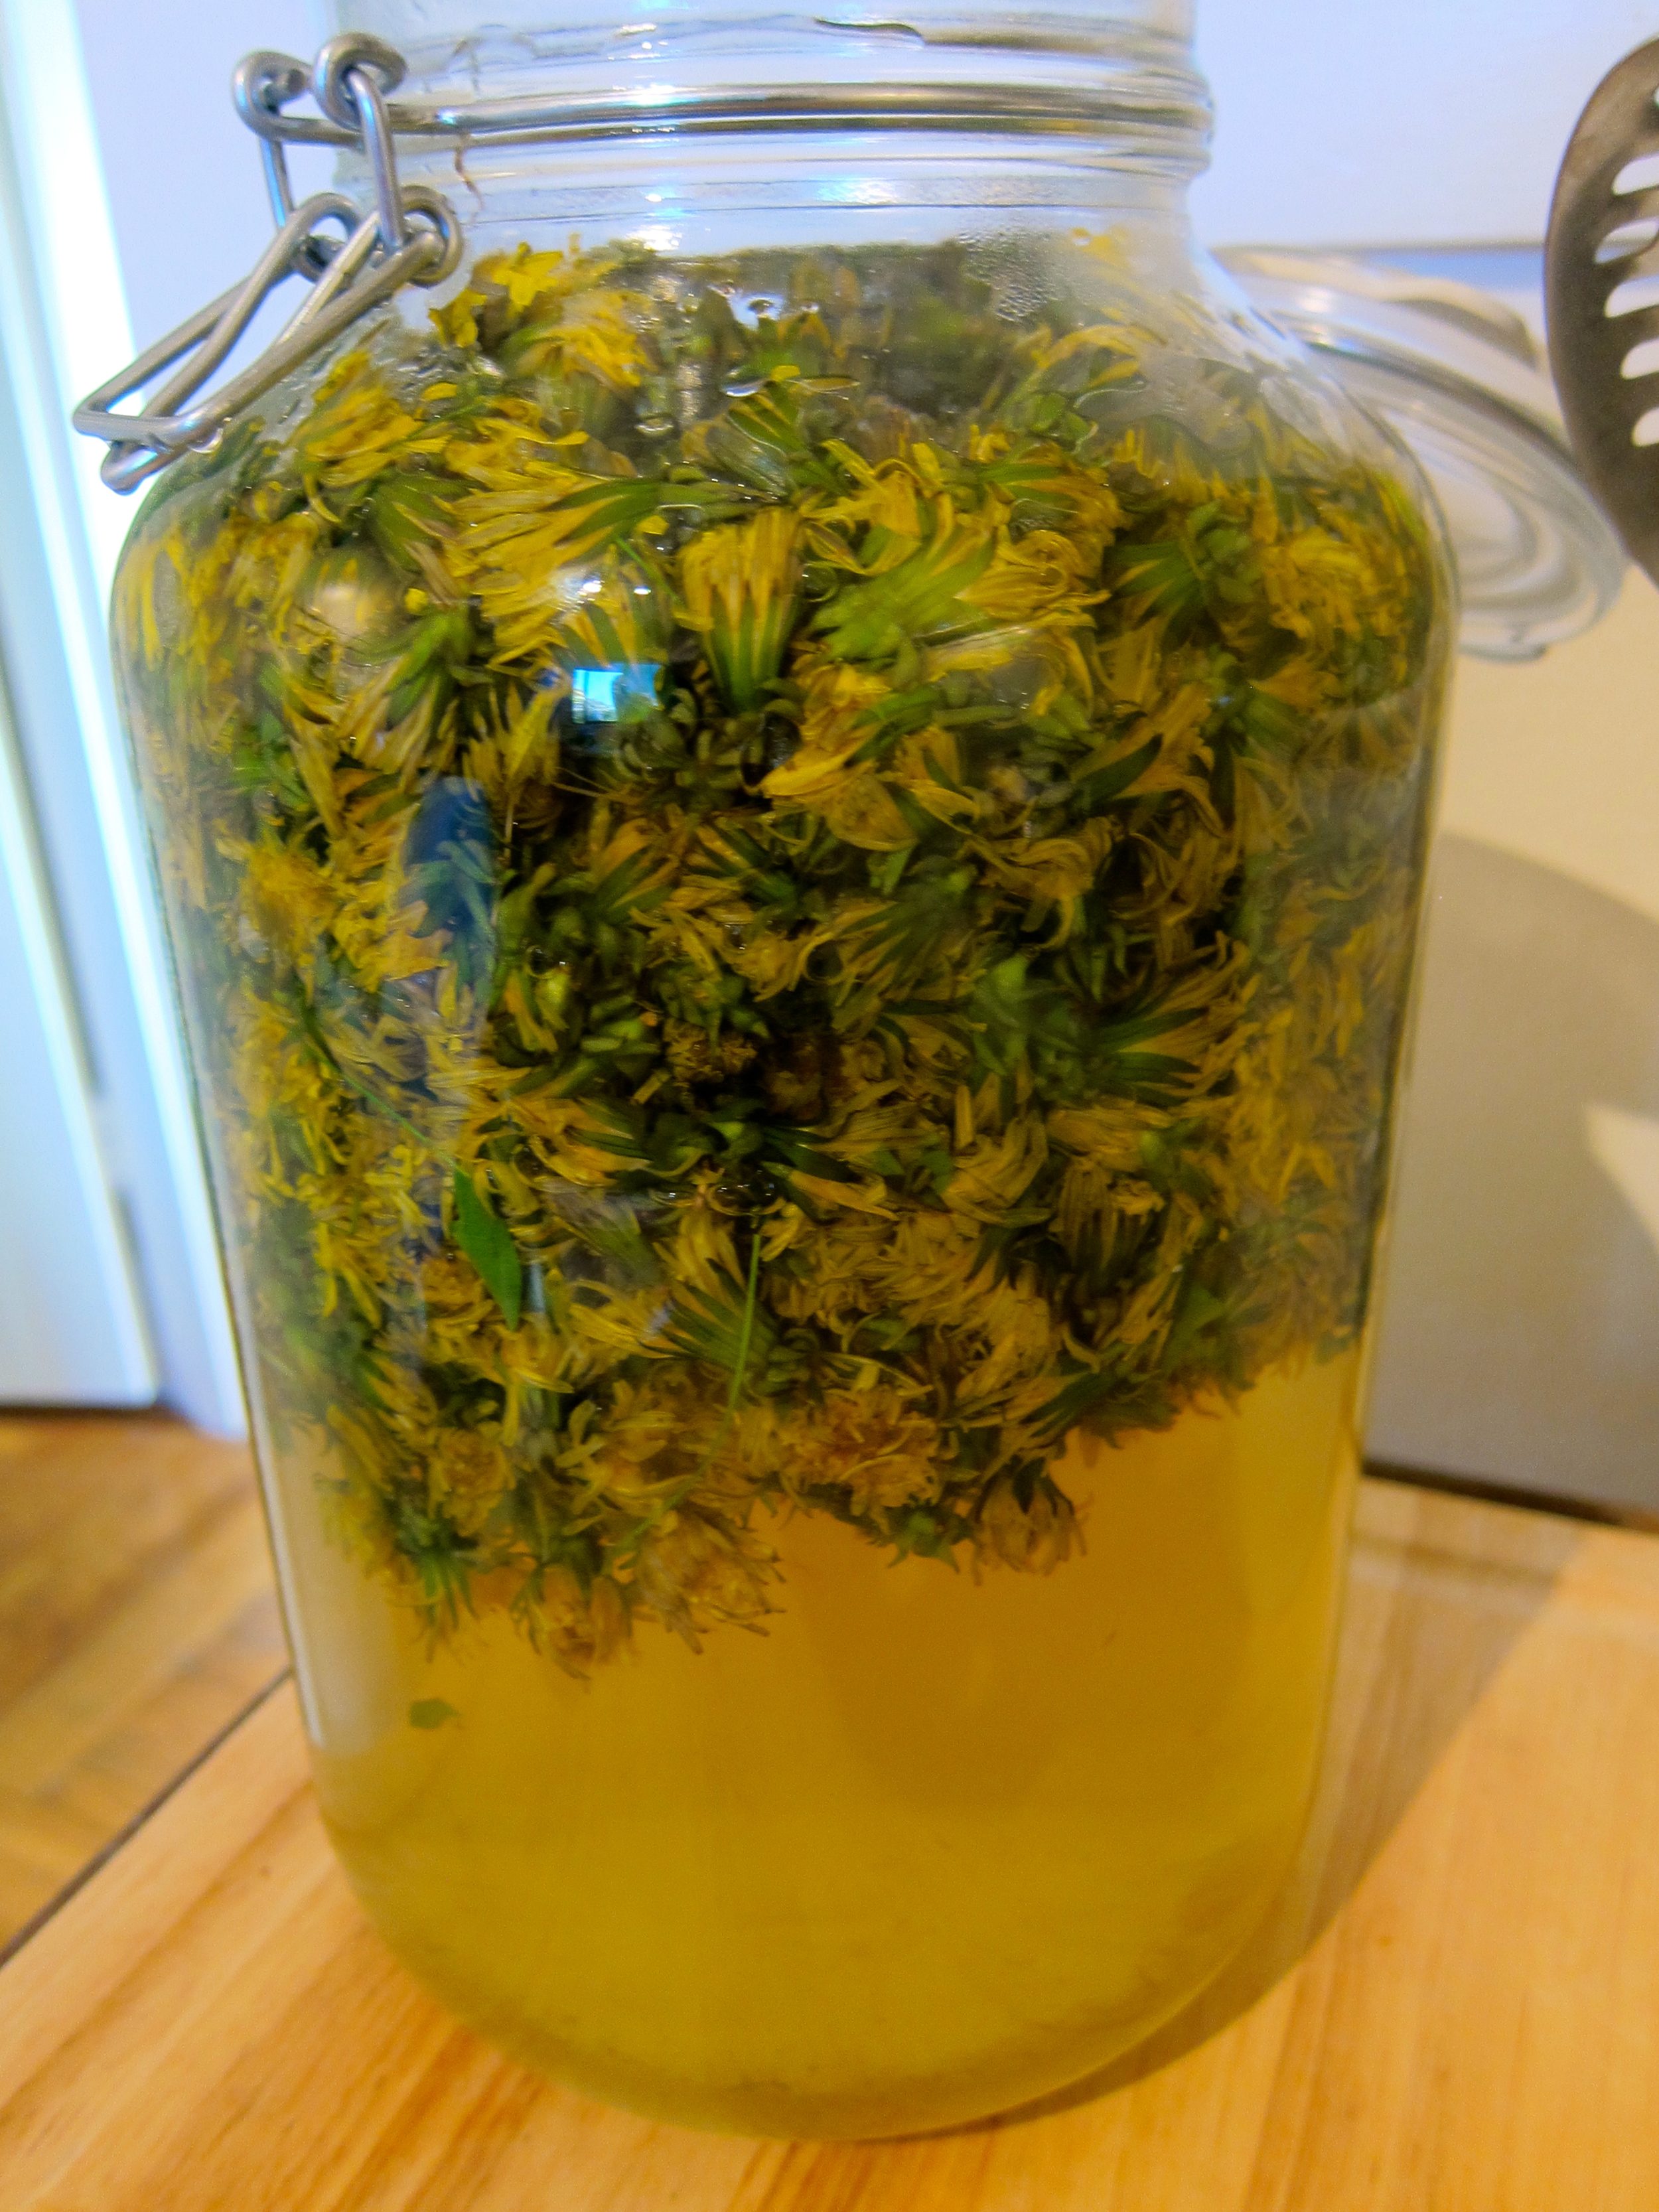
Process One (2 days) - Make Dandelion Infusion
Boil 1 gallon of water, pour over dandelion flowers in glass or food-grade plastic container at least 1.25 gallons large.
Cover and let sit for 48 hours.
Strain out liquid, squeeze flowers to extract remaining liquid.
Process Two (2-3 weeks) - Fermentation
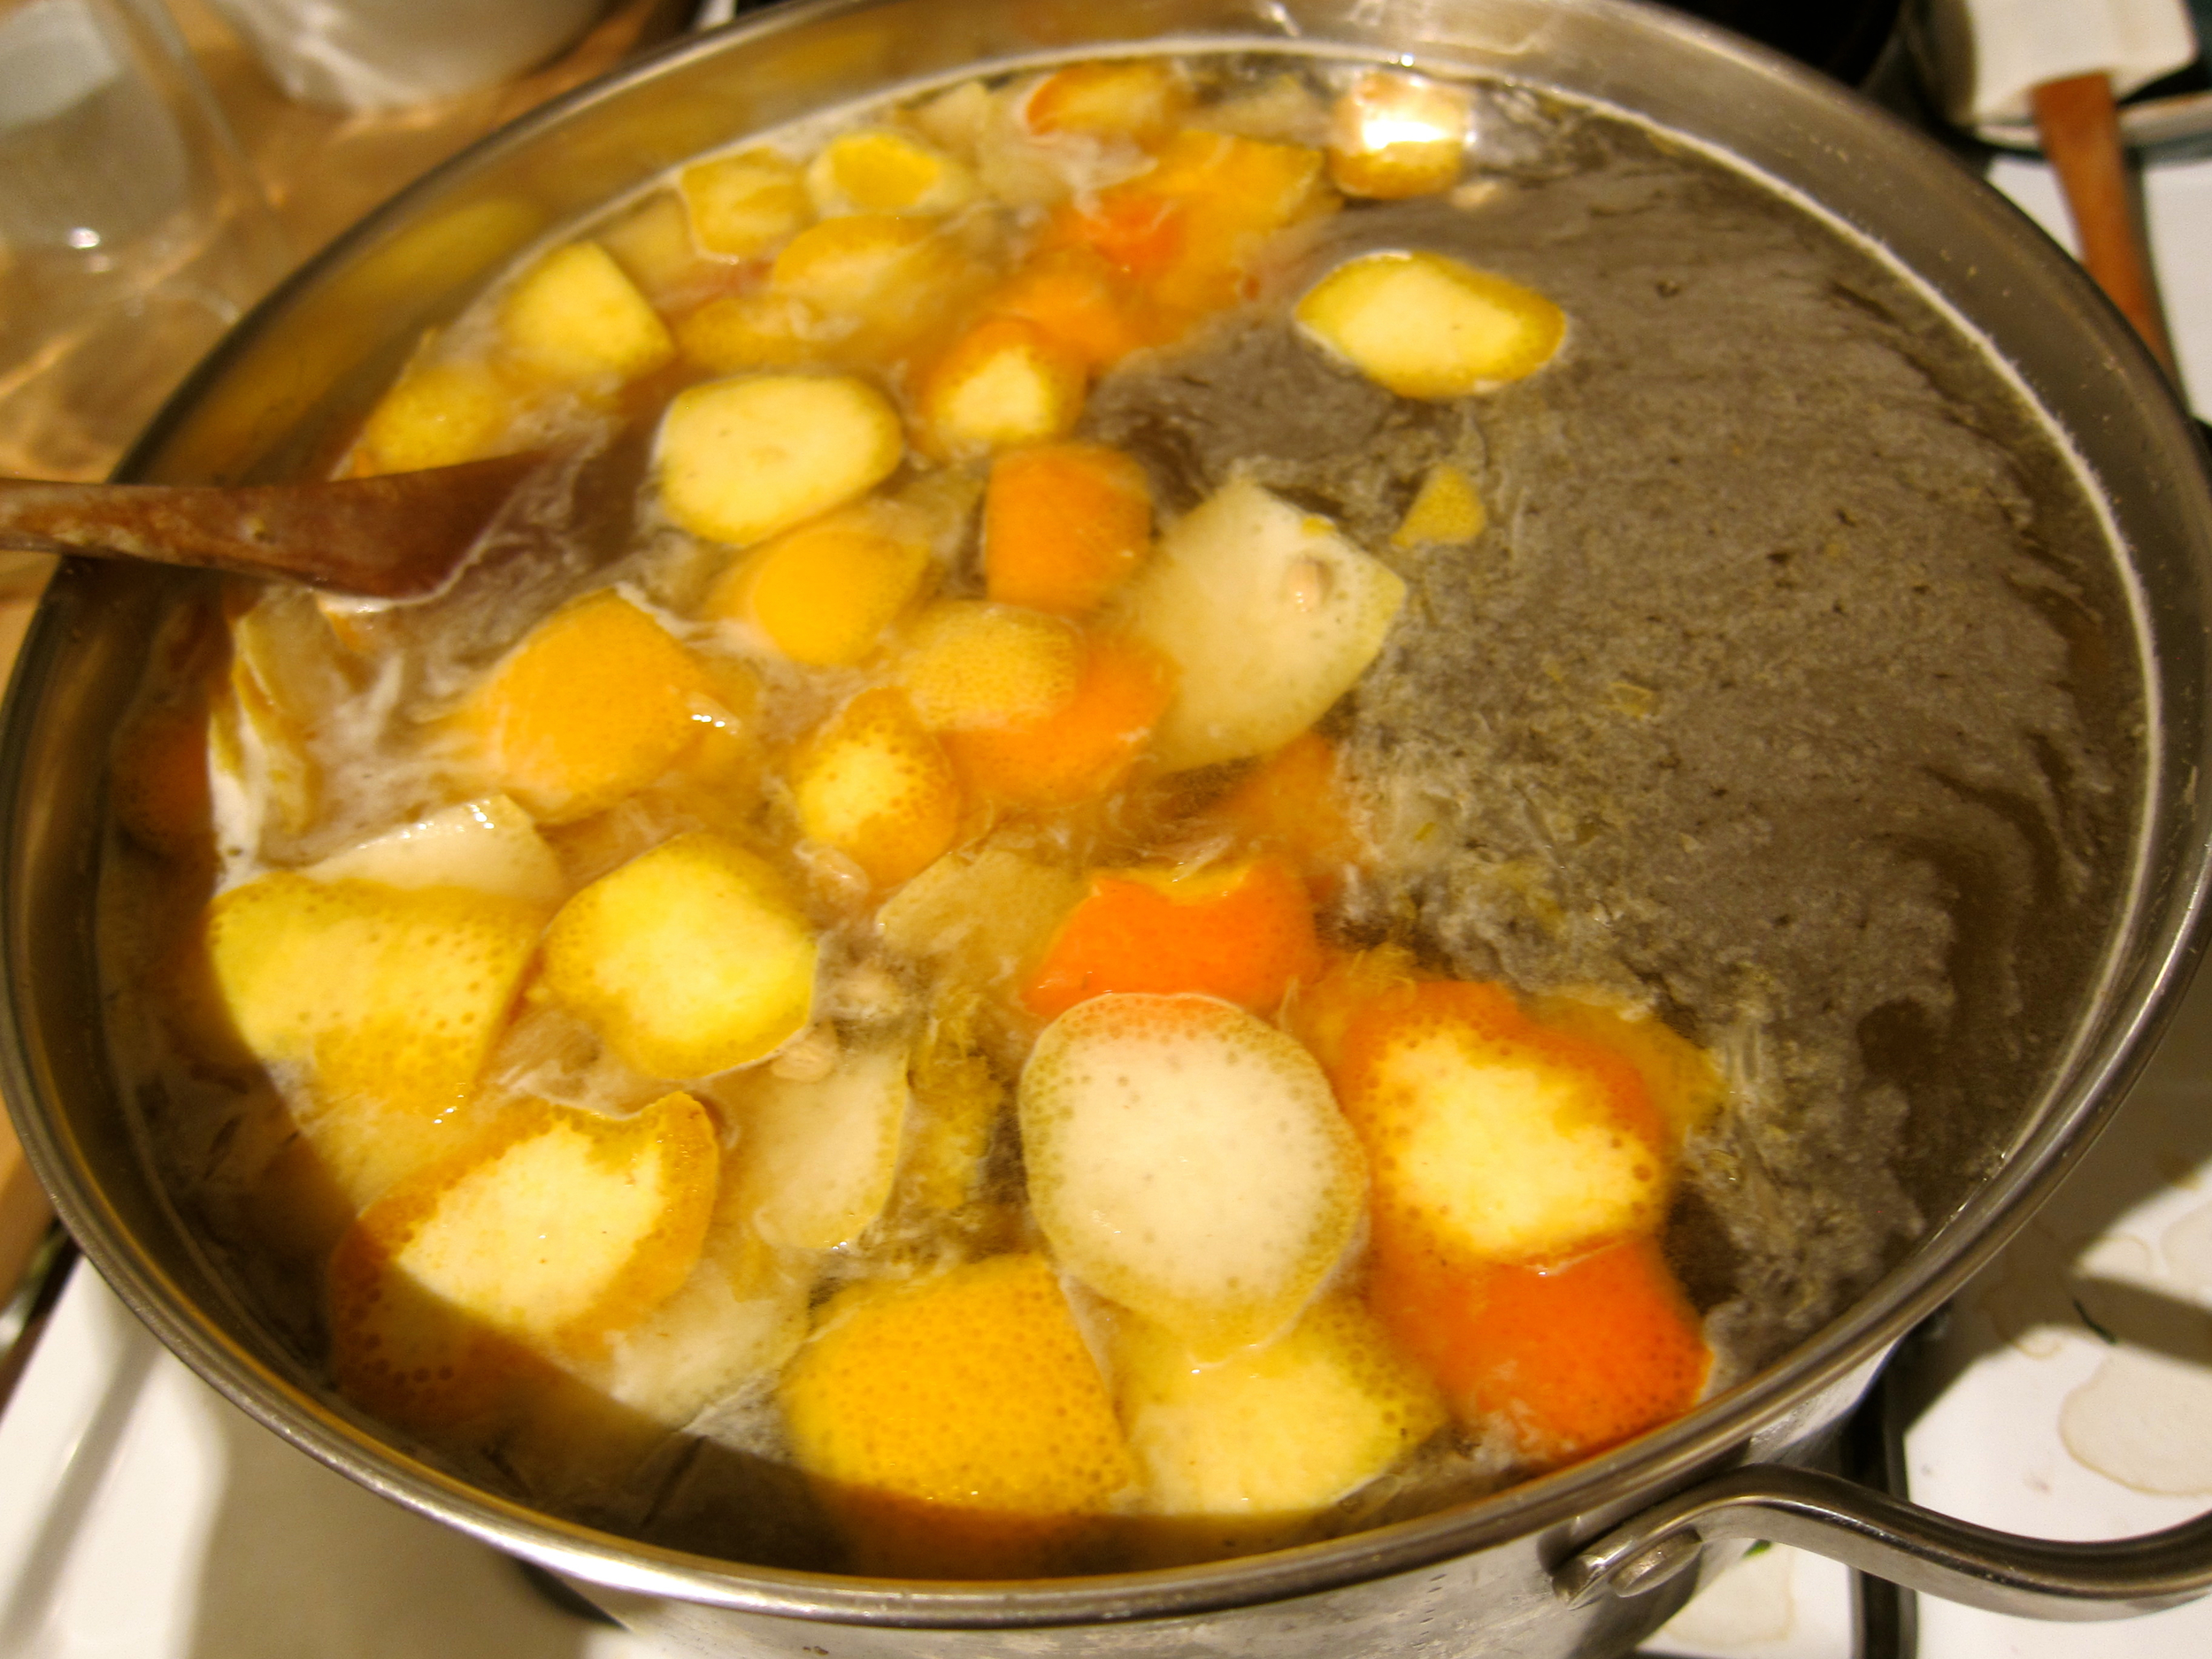
Heat dandelion liquid with sugar, honey, and the juice and skin from the citrus (cut the skin off and slice prior to juicing) for 30 minutes on medium heat, stirring occasionally to dissolve sugar. Cool to lukewarm.
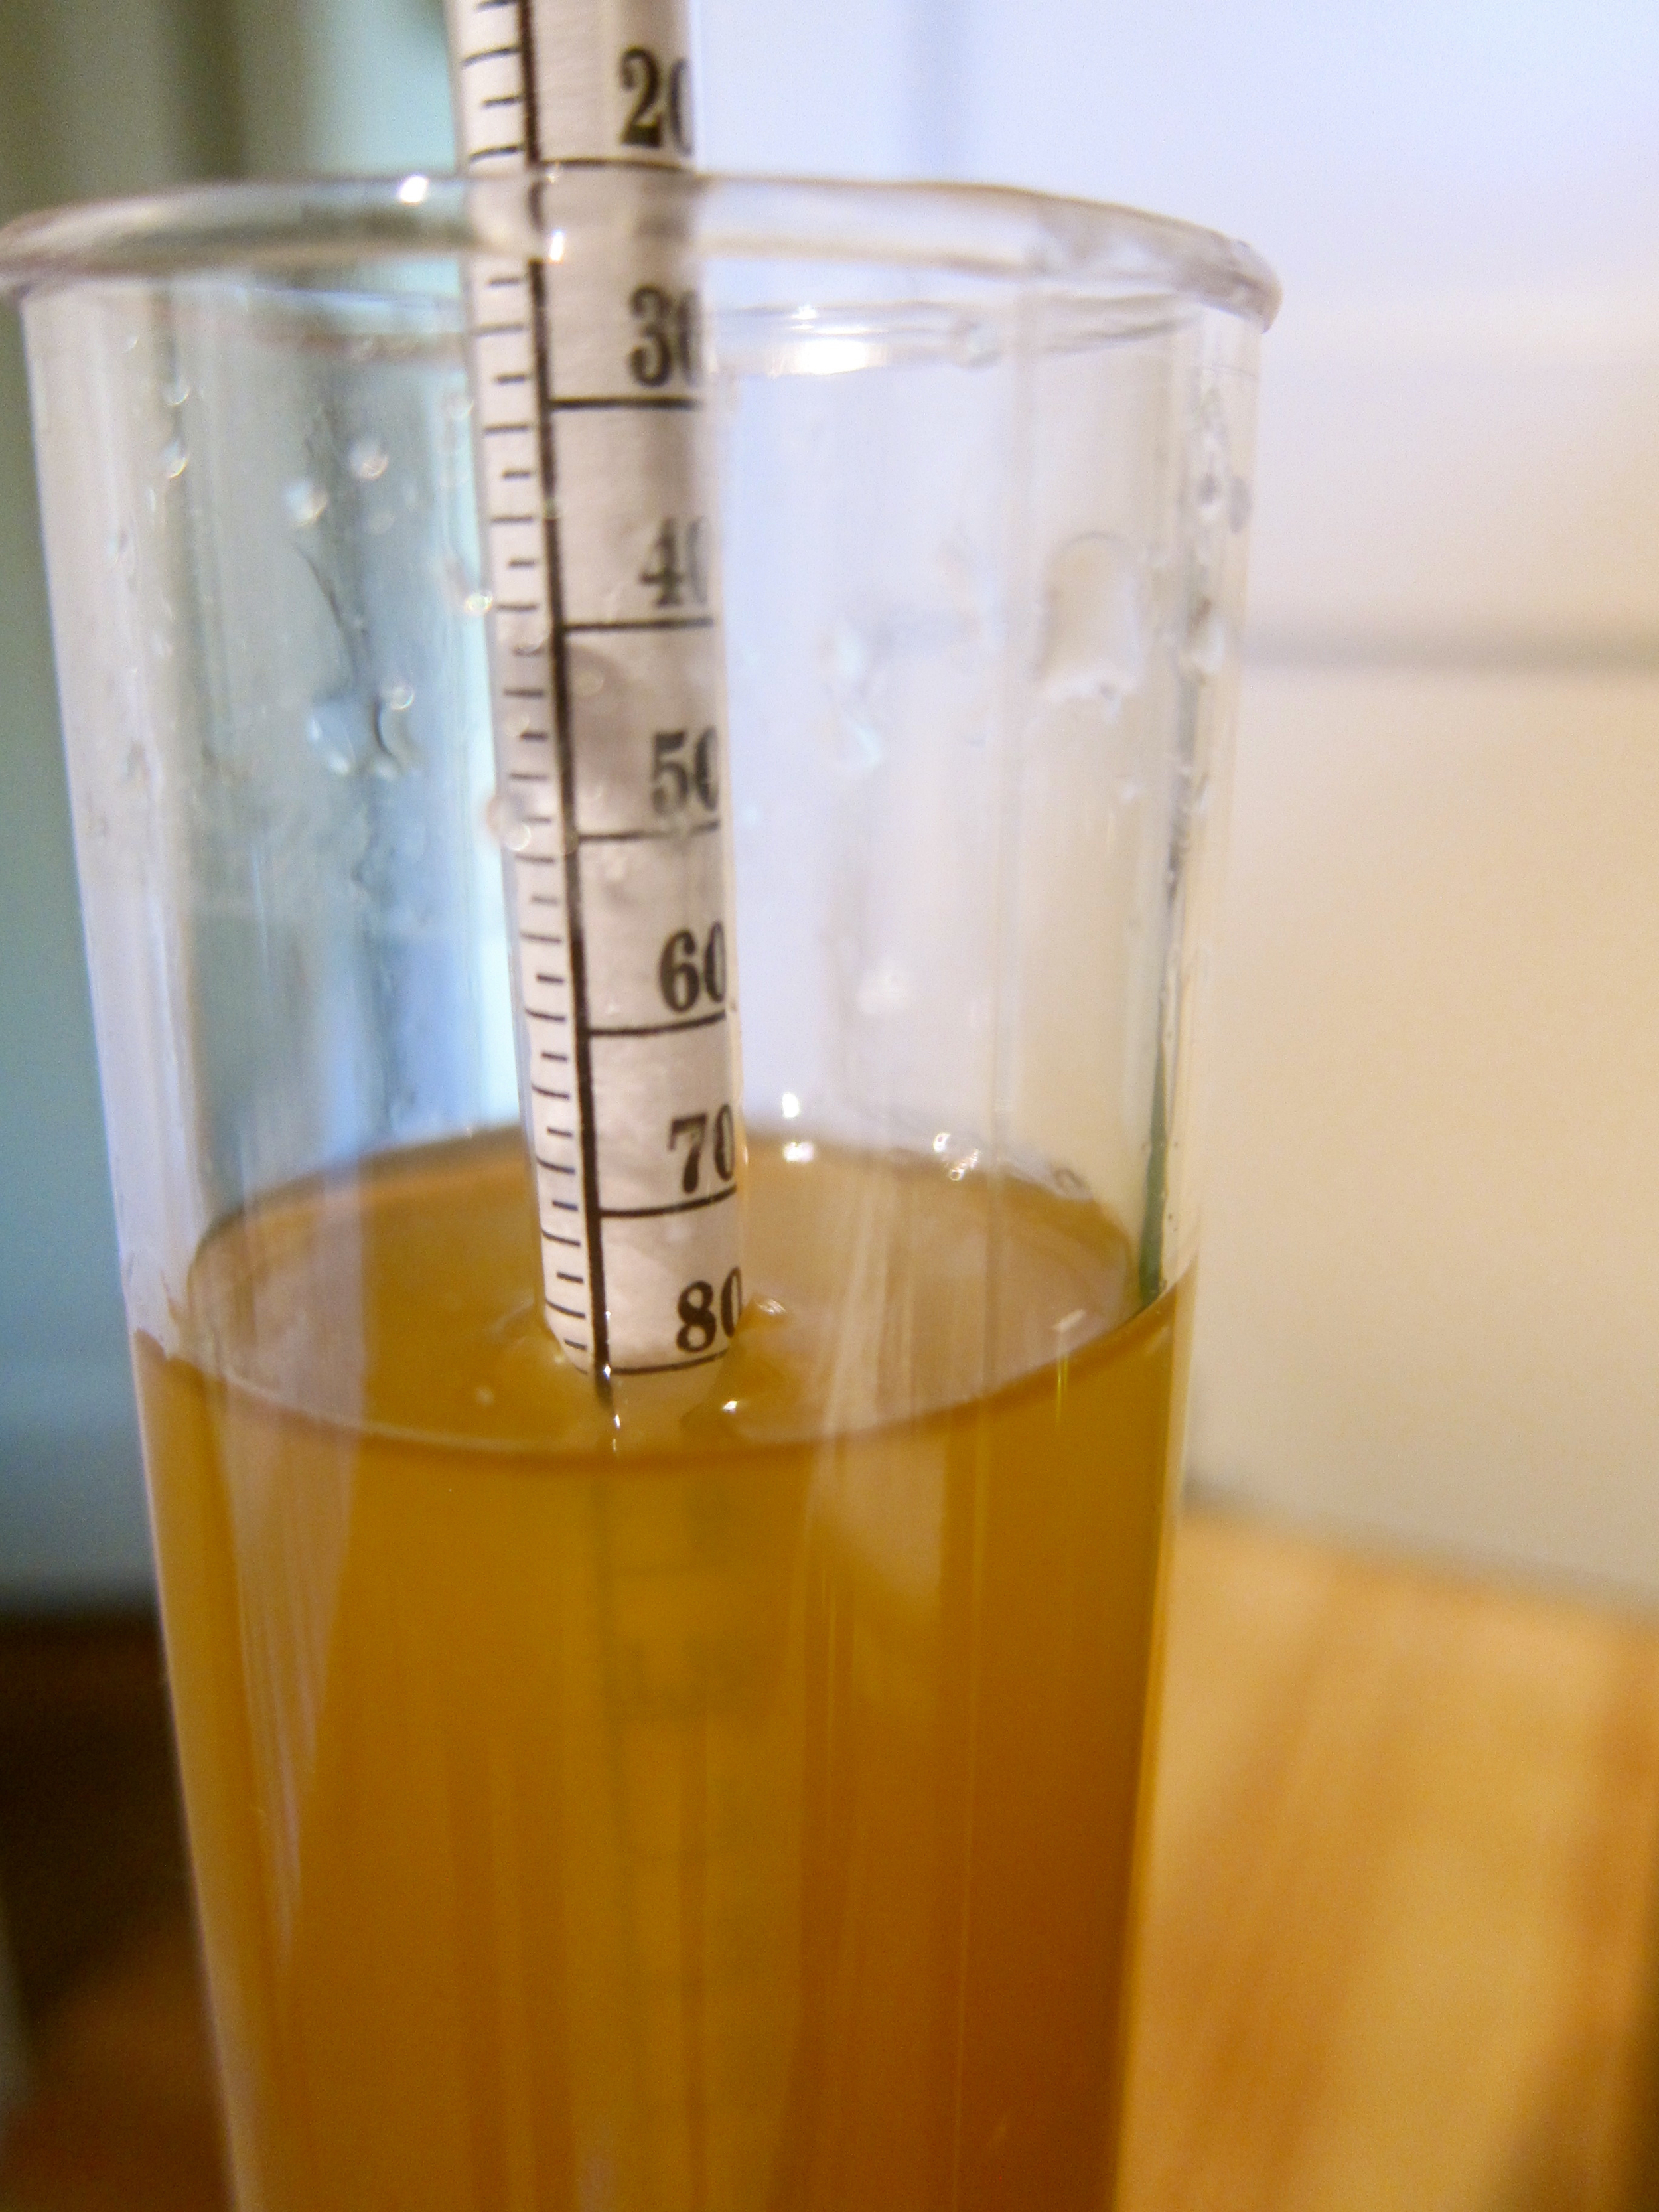
Take the specific gravity or brix to determine your “Potential Alcohol”. Essentially, by measuring the sugar content, you can determine how much nutrient is available for the yeast to turn into alcohol, but depending on where you stop fermentation, your wine will have more or less alcohol. My specific gravity at this point was 1.08 (Brix = 20%), which is a PA of 11%. There’s a calculation that I got really excited about, but ended up using this table.
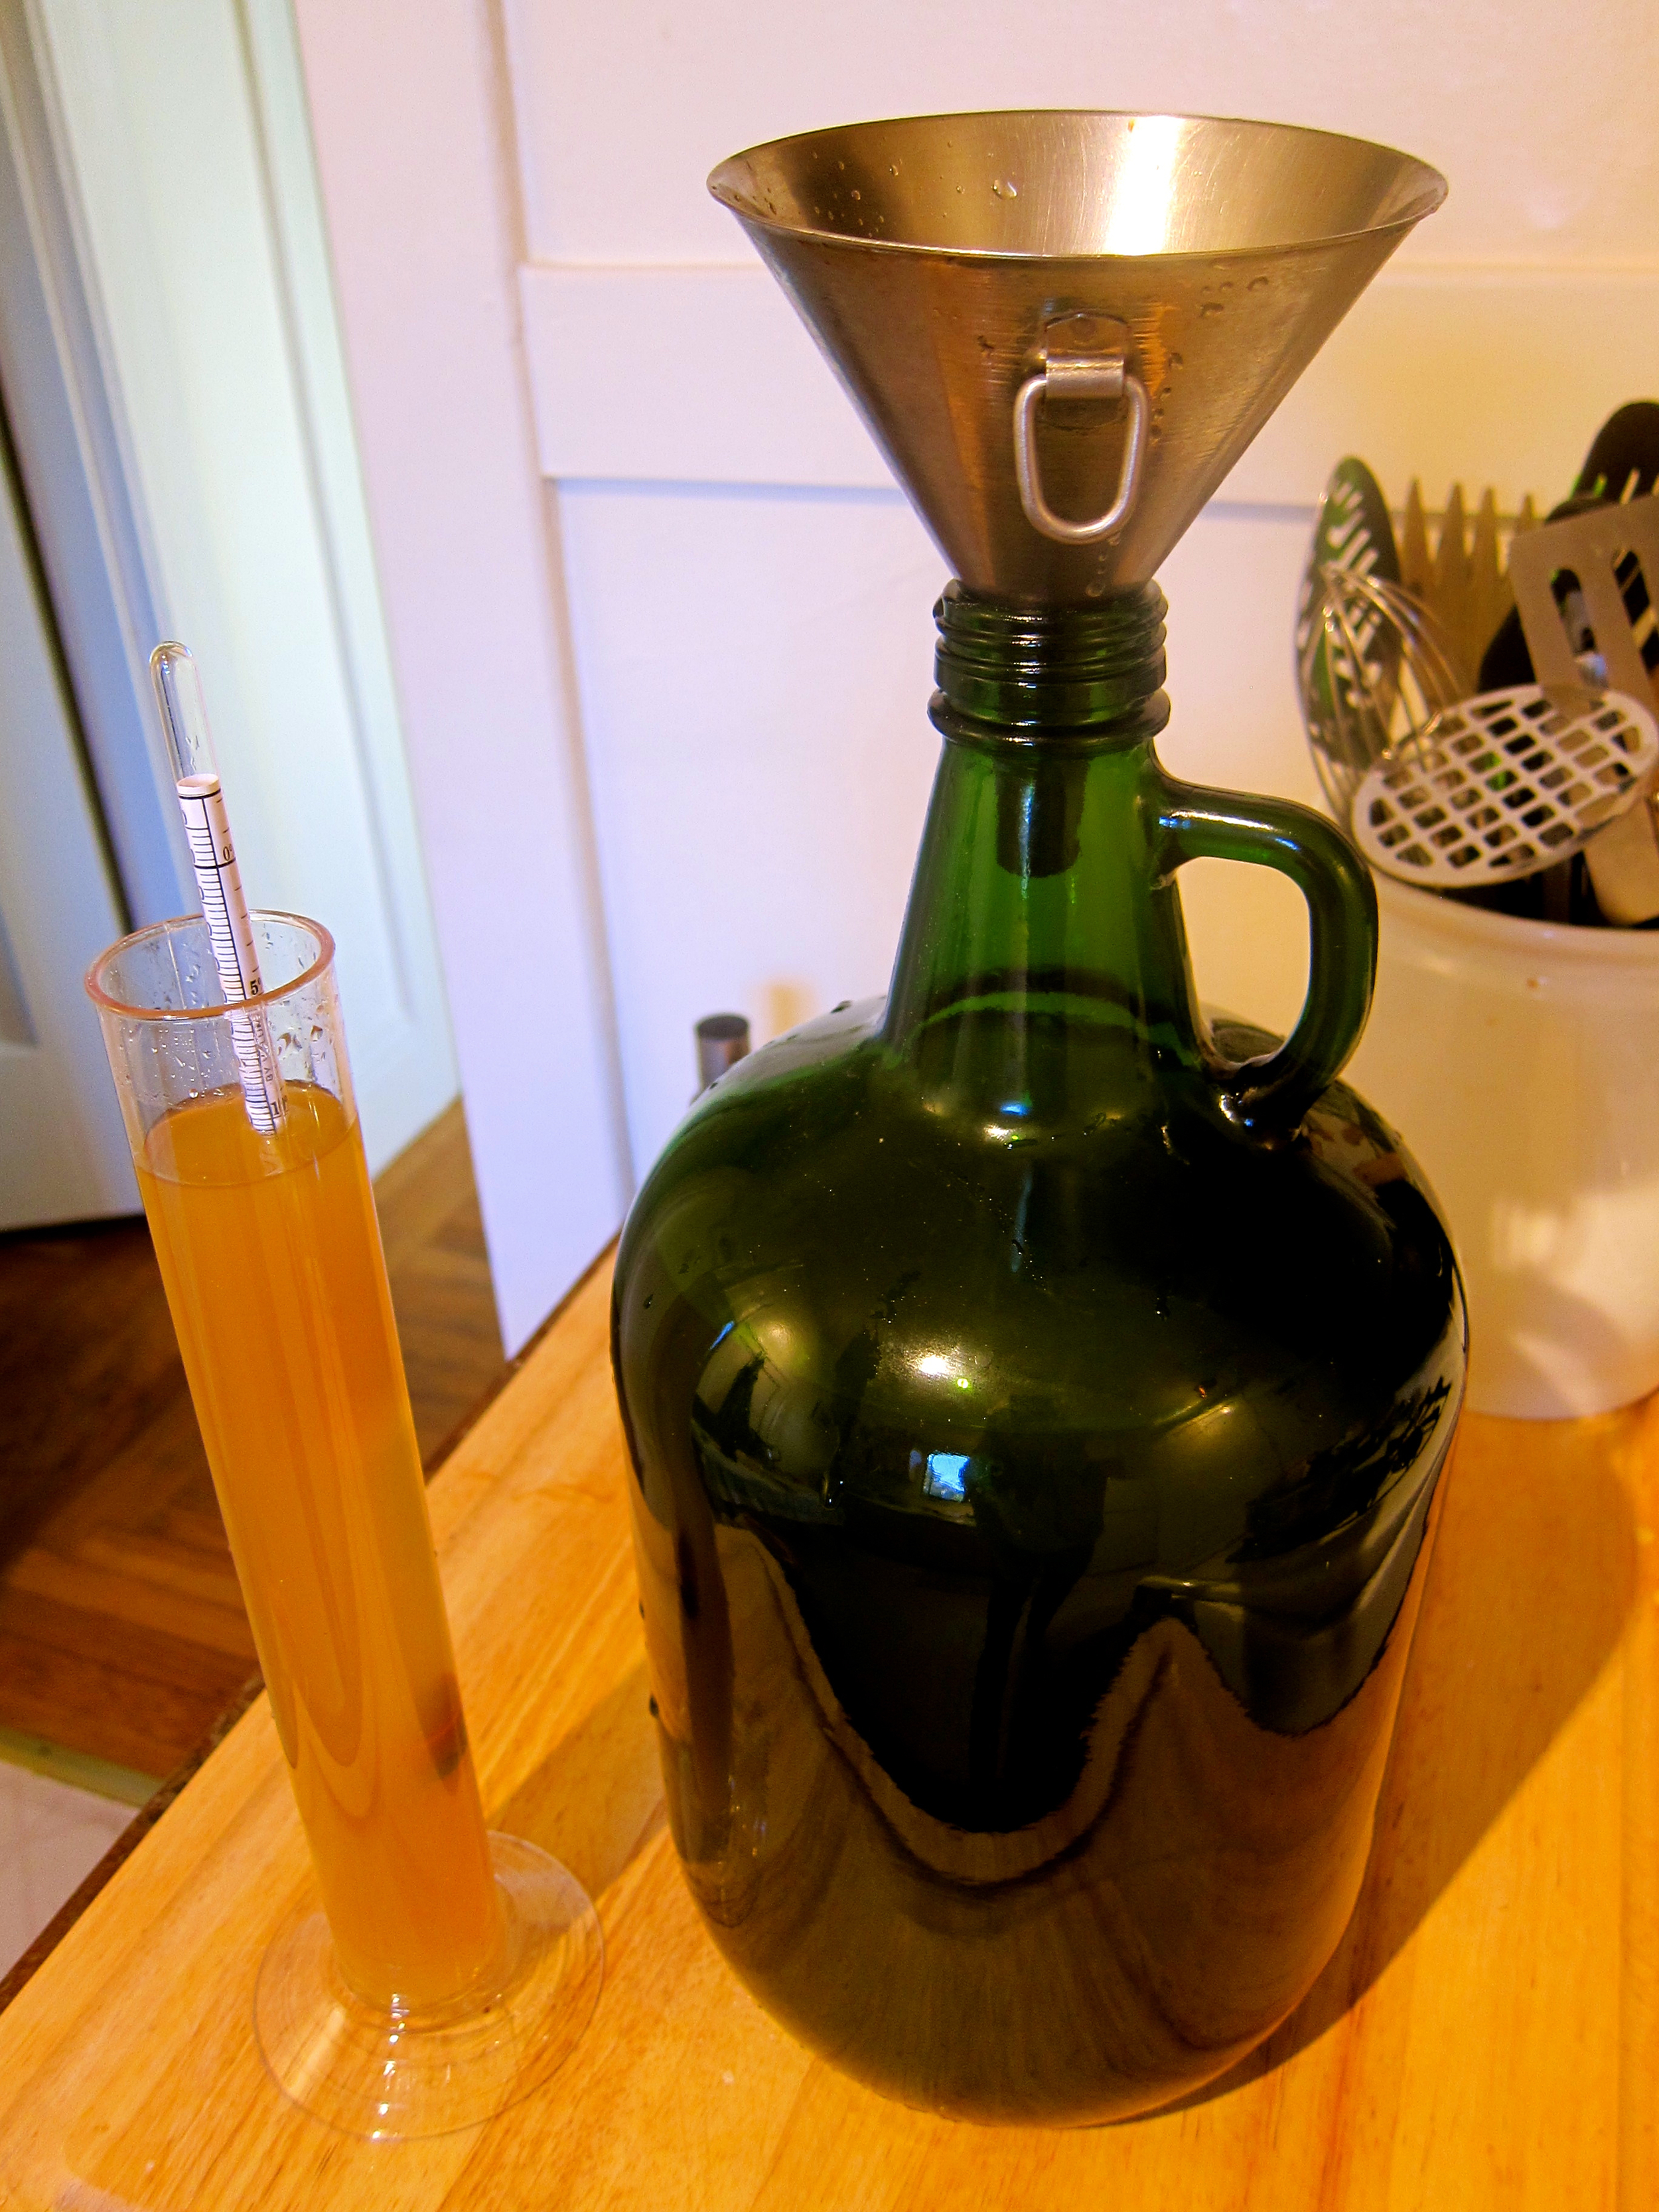
Put in jug with yeast and nutrient, cork with fermentation lock or cover with cheesecloth (more risky bacteria-wise, I used lock) for 1-3 weeks, or until bubbling stops. You can stop the process anywhere you’d like, depending on desired alcohol content and sweetness (longer=more alcohol, less sweet). I stopped mine after bubbling stopped.
Take specific gravity/brix again so you can determine the alcohol %. My specific gravity was 1.00, or 0% alcohol, meaning that all of the sugar had been eaten by the yeast. This took about 2 weeks because the weather was quite warm. To determine the total alcohol, I just subtract this from the PA, 11-0 = 11%. No residual sugar, which I prefer.
Process Three - Aging (6 months - 1 year)
When your wine has reached the desired alcohol/sugar content, remove from large jug and bottle. I tasted it at this point - definitely tastes like ridiculously young (and not so good wine - but has potential!)
Age 6 months - 1 year in cool place.
See you at the winter solstice!
Update: Here's how it tasted after 6 and 12 months. An 8 month fermentation may be optimal!