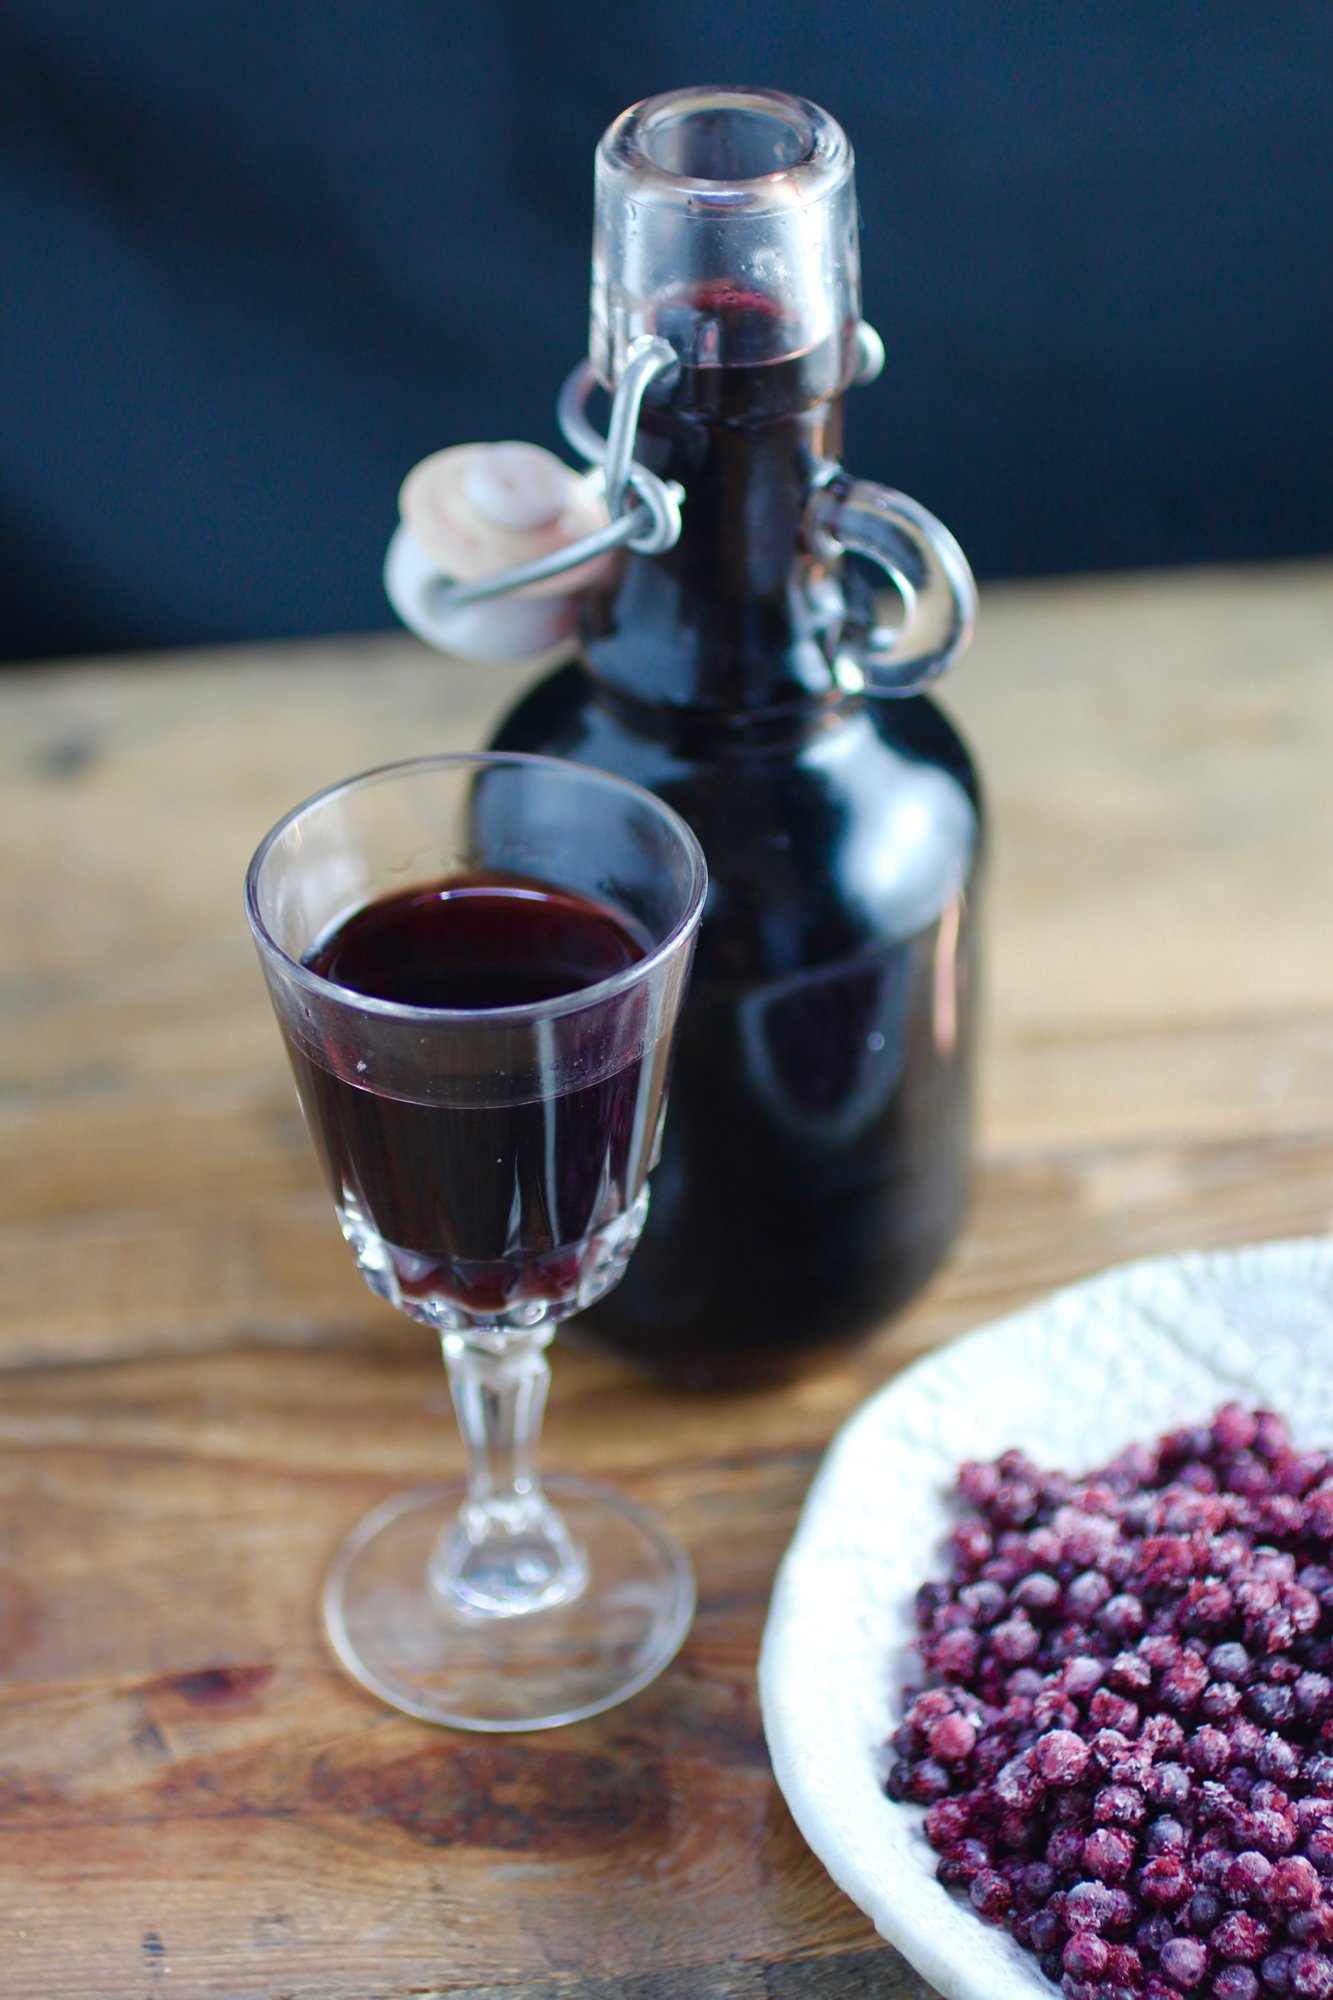
Spiced elderberry cordial
Unlike elderflower cordial, elderberry cordial is a stronger, thicker syrup containing alcohol that is used in both medicinal and culinary applications. The syrup is sometimes taken regularly for cold and flu prevention (there is limited peer-reviewed, but much anecdotal evidence suggesting the berries enhance immune response), to top pancakes, or, as I particularly enjoy, with champagne for an “elderberry kir royale”. Feel free to experiment with the spice blend, add other ingredients such as citrus peel and herbs, or keep it simple with just the berries.
1 1/4 cups dried elderberries or 2 cups fresh
1 cinnamon stick, crushed
1 star anise
About 3 cups brandy
Honey, to taste (maple syrup or other sweetener can be substituted for honey)
Place elderberries, cinnamon, and star anise into a clean quart-sized glass jar. Add brandy to fill the jar and cover with a lid. Label the jar with contents and the date. Set aside in a cool, dark place for 3 to 4 weeks.
Strain cordial through cheesecloth over a large bowl. Squeeze contents of cheesecloth to release remaining liquid into the bowl then discard solids.
Add about 1/2 cup sweetener, such as honey, for every 1 cup liquid (or to taste). Stir to dissolve. Using a funnel, pour cordial into a clean bottle (or several clean bottles) and seal with cap or cork. A cordial using fresh
A cordial made with fresh elderberries will last about a year, whereas a cordial made with dried berries will last for 2-3 years and improve with age. Store in a cool, dark place and use as a cold and flu preventative, over desserts, or in beverages.
The Schoolyard cocktail
Gin, wild chamomile, and lemon.

As I mentioned in another post with more general information about wild chamomile, I used to smell and sample wild chamomile (Matricaria discoidea), otherwise known as "pineapple weed" on the schoolyard, hence the name for this drink. Now I forage it where I can (which is pretty much everywhere in the spring and early summer), wash it, and make a wild chamomile simple syrup with it to be used in cocktails. I played around a bit with this cocktail, including other liquor such as Salers or adding grapefruit bitters, but ultimately it was best to let the wild chamomile syrup shine by keeping it simple. Recipe below is for one cocktail.
1.5oz gin (Bar Hill gin or St.George Terroir would both be good choices)
0.5oz meyer lemon juice
Pineapple weed for garnish
Shake and serve up with pineapple weed flower.

Wild Chamomile Simple Syrup
Cocktail flavor from between the cracks.

Wild chamomile, or pineapple weed grows almost everywhere and is very distinctive.
Wild chamomile, Matricaria discoidea, has a wonderful fragrant aroma that makes for great cocktails. Learn more about this edible weed here. One simple way to incorporate the flavor into cocktails is by infusing a simple syrup with the flowers and leaves of the weed. Not only is this syrup fantastic in cocktails, such as The Schoolyard, but it's also lovely in lemonade, ice tea, drizzled over ice cream (or made into ice cream or gelato), cakes, tarts, etc. Below recipe is for about 1 cup of simple syrup.
1 cup washed pineapple weed flowers and tops of leaves: Flowers can be removed from the weed using scissors, some of the top leaves around the flowers are okay, but you want to make sure it's mostly flowers.
1 cup sugar*
1 cup water
Combine sugar, water, and pineapple weed in a small heavy saucepan.

Use scissors to easily cut off pineapple weed flowers and leaves.
Bring to a simmer, stirring occasionally, for 5 minutes. Remove from heat. Let the syrup cool completely, then squeeze as much juice as possible from flowers, pour through cheesecloth into a jar or resealable container. Simple syrup will last 1 month refrigerated.
*You can also make a 2:1 (sugar: water) simple syrup that will last up to 6 months refrigerated. This 2:1 syrup is sweeter than most, so you will need to add less to recipes.

Wild Chamomile: Tasting Between the Cracks
Matricaria discoidea.

Wild chamomile aka pineapple weed is easily uprooted from the ground.
In a way, I was foraging before I even knew what it meant. The schoolyard of my childhood did not have much grass. Okay, it didn't have any grass at all. When we weren't scraping our knees on the pavement playing football or foursquare, we were investigating whatever we could find poking out from the cracks in the pavement. I specifically remember a "game" we had with one weed in particular: Matricaria discoidea, or "pineapple weed" or “wild chamomile”.
“Luckily, there wasn’t any poison hemlock growing from the cracks, though something tells me our intuition would keep us away from it. ”
The game went like this: I would instruct a schoolmate to envision any fruit of their choosing, then would have them smell the pineapple weed flower as I crushed it under their nose and voilà!, smell like that fruit it would. Sometimes I would also take a taste of the (strawberry, cantaloupe, grape, orange...) smelling fruit and, to my surprise, it also tasted like that fruit. Now, I'm not condoning tasting something that you have not identified, but it's fun to think that even young children can find food in a desolate landscape.
“Between its unique look and distinct, fragrant aroma it is pretty easy to identify and can be found in the spring/summer in gardens, on trails and yes, even in cracks in the sidewalk.”
Like chamomile, wild chamomile can be dried and made into a tea and is in the Asteraceae family, which is the same family as daisy, dandelion, and thistles. It grows low to the ground, has thin, feathery, branching leaves and small yellow cone-shaped flowers that resemble a tiny pineapple.

Abundant pineapple weed at the Peralta Community Garden - the members had no problem with my taking as much as I wanted.

Harvested wild chamomile.
On a recent visit to the Peralta Community Garden in North Berkeley for a wild food talk there was massive amounts of pineapple weed that the gardeners gladly let me pillage. I turned my bounty into a stock of wild chamomile simple syrup that is great in cocktails, lemonade, or for drizzling on pancakes. Other uses include scattering on salads, fish, chicken, or fruit tarts. I may have originally "discovered" this weed in childhood, but it's great to come back to it as an adult!
Ashes to Ashes cocktail
A delicious way to ease into a meal that is lightly boozy without being boring or too sweet.

My usual go-to cocktails fall in the "highly alcoholic" arena because that's typically what I'm looking for, but sometimes you want to start out a little mellower. Unfortunately, it can be hard to find a drink that is lower in alcohol without being sweet or tasting watered down. This combination of fernet, rosemary honey, and lemon does a great job of whetting the palate without making you feel like your missing out.
I came across this combination at a.kitchen + bar in Philly where my friend I used to work with at the Nordic Food Lab is now cheffing. The food and a.kitchen is delicious, but a little intense, so starting with this light herbal aperitif was definitely the way to go (before drinking wine, of course). We requested the recipe and have had a fun time recreating the drink at home using foraged rosemary that is beginning to flower, making for an even more appealing garnish.
1.5 oz Fernet Branca
0.75 oz rosemary honey syrup (see below)
0.5 oz lemon juice
0.25 oz ginger syrup
Sparkling water
Fresh rosemary sprigs for garnish
Shake all ingredients apart from sparkling water and rosemary garnish, double strain, then top with sparkling water to fill glass (adjust water according to taste). Garnish with rosemary.
To make honey-rosemary syrup (you might as well make a batch of it for future drinks!):
Simmer 2 parts honey to 1 part water with 1 rosemary spring for about 10 minutes. Remove from heat, cool, then remove rosemary.
Dandelion Wine: Aged 6 months
Tasting summer.
Last June I made wine from foraged dandelion flowers that would otherwise be considered weeds. I read that in the darkest days of winter, some cultures will pull out the aged dandelion wine, usually on winter solstice, for a taste of summer. This idea intrigued me a sparked the impetus for a winter solstice party.
After 6 months, the wine had a beautiful golden color, lovely vegetal/pollen aroma and taste, and slight effervescence. Although it could use another few months of aging for a more balanced flavor, it’s definitely off to a great start. Until then!
Update in June 2014: I believe we waiting too long and the dandelion wine is now more of a vinegar! Noted for next time I make dandelion wine, at 6 months it tastes pretty good and should be tasted every month thereafter to determine when it's at its peak.
Full dandelion wine making process can be found here.
Dandelion Wine
A classic method for preserving a taste of summer.
I told someone that I had made dandelion wine and they said, “that’s really a thing?”. Yes, it’s a thing. I have always wanted to make dandelion wine - not sure where the desire came from (maybe because how even the sound of it delightfully rolls of the tongue?), but it aches all the same. So finally this spring I set forth on the task and have several delicious looking bottles put up to age from 6-12 months. My plan in to try them in 6 (because I won’t be able to resist) and drink some with others on the Winter Solstice.

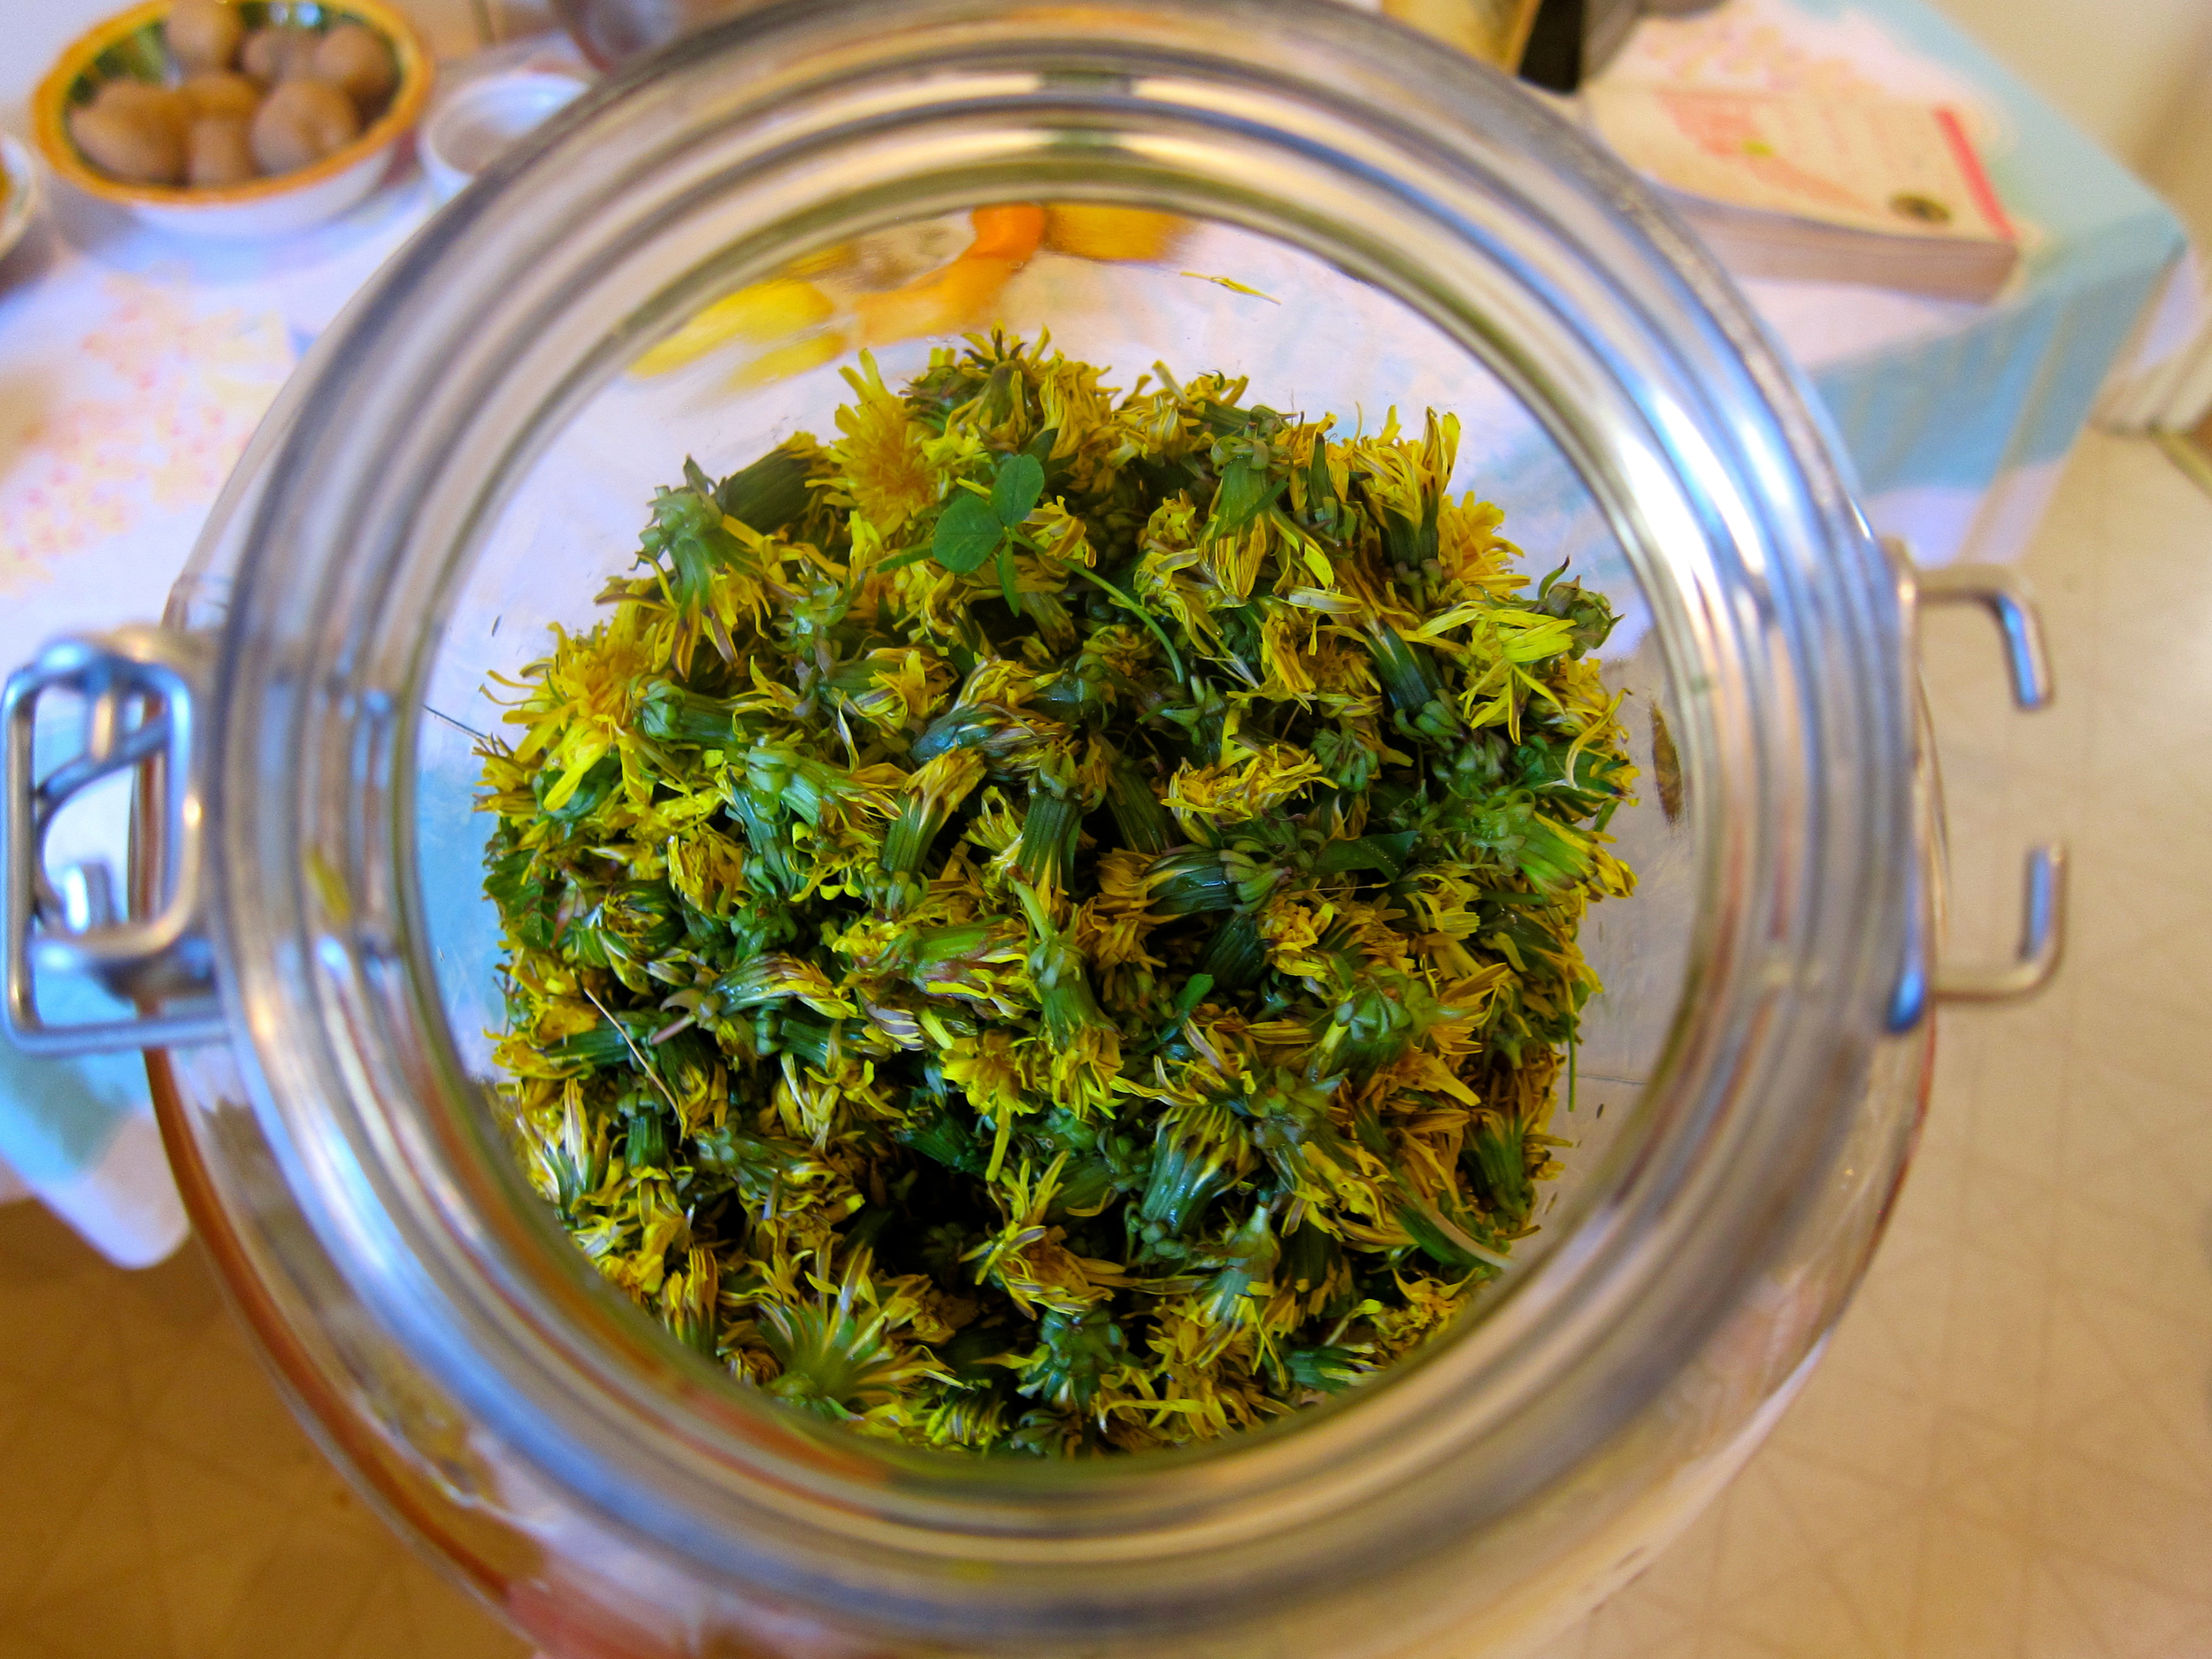
1 gallon dandelion flowers, can leave ends of flowers on, but remove stems (your leg muscles may or may not be sore for a few days after this excursion)
2 cups turbinado sugar*
1 1/3 cup honey*
3-4 oranges
2-3 lemons
1-2 teaspoons/1/2 packet yeast (I used champagne yeast for dry, delicate flavor. Bread yeast is not recommended)
Few pinches of yeast nutrient (not necessary, but recommended)
*Sugar quantity will determine potential alcohol and potential sweetness, use more or less depending on your preferences.
Process One (2 days) - Make Dandelion Infusion
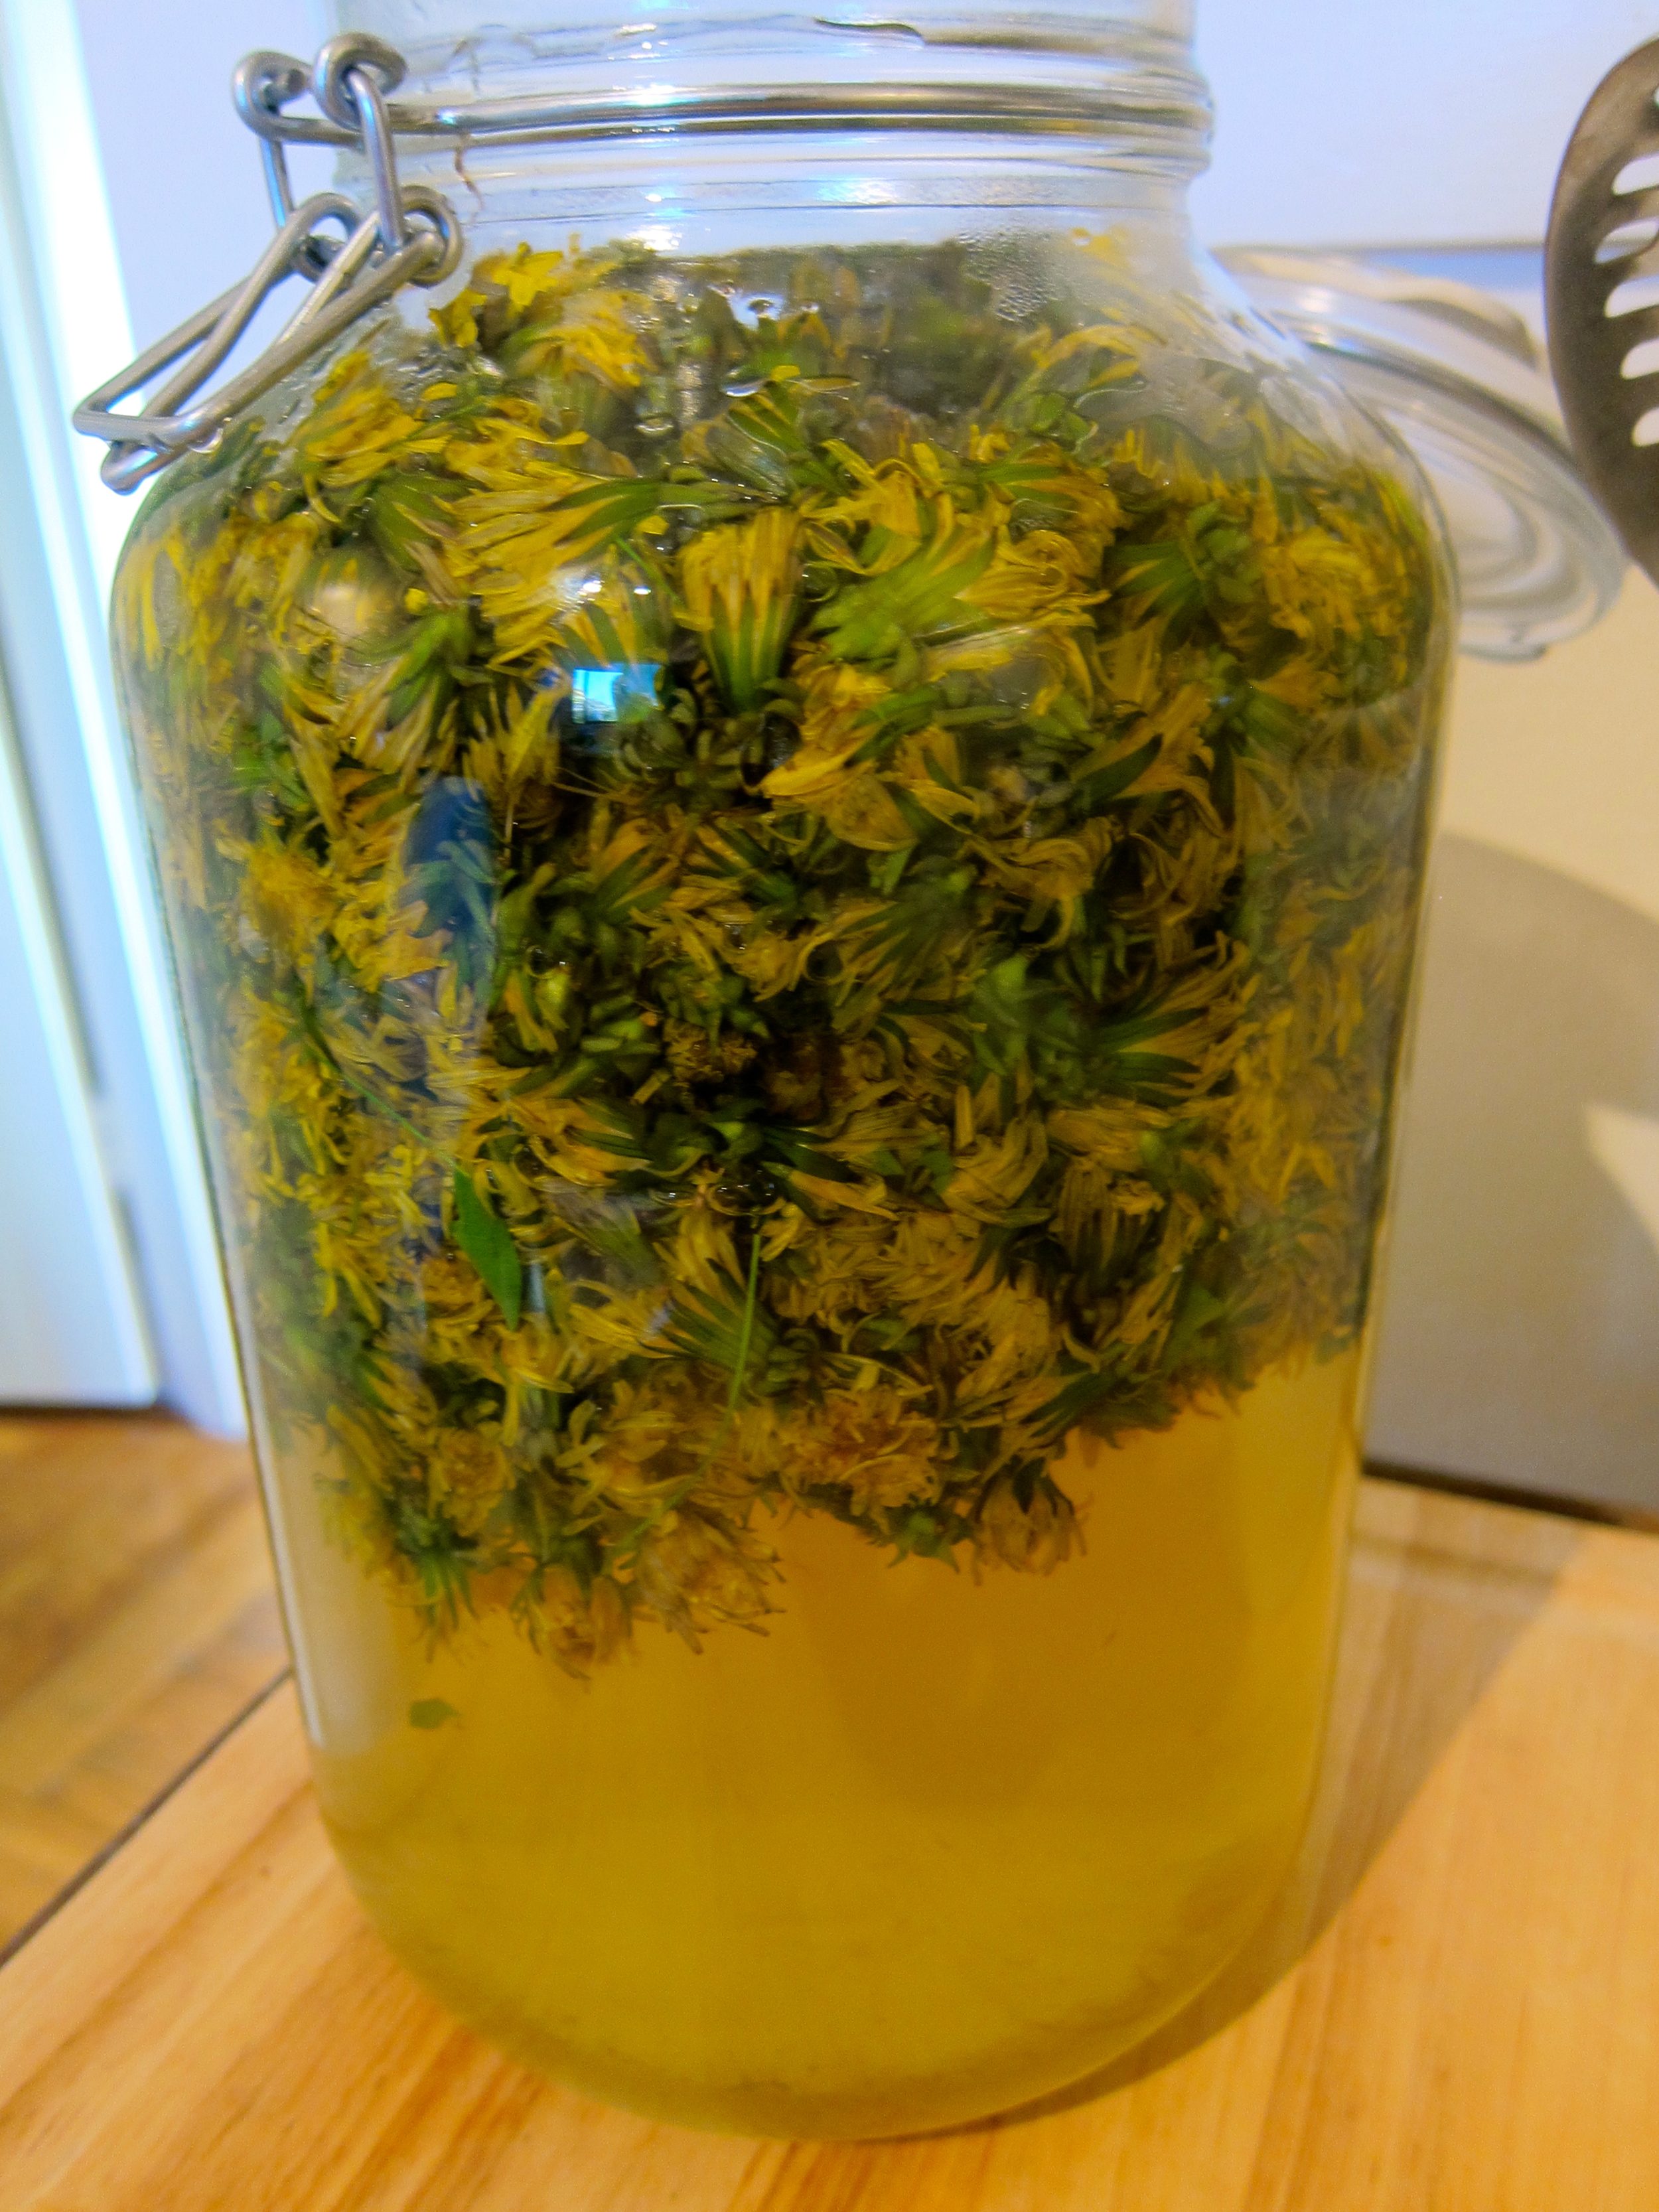
Boil 1 gallon of water, pour over dandelion flowers in glass or food-grade plastic container at least 1.25 gallons large.
Cover and let sit for 48 hours.
Strain out liquid, squeeze flowers to extract remaining liquid.
Process Two (2-3 weeks) - Fermentation
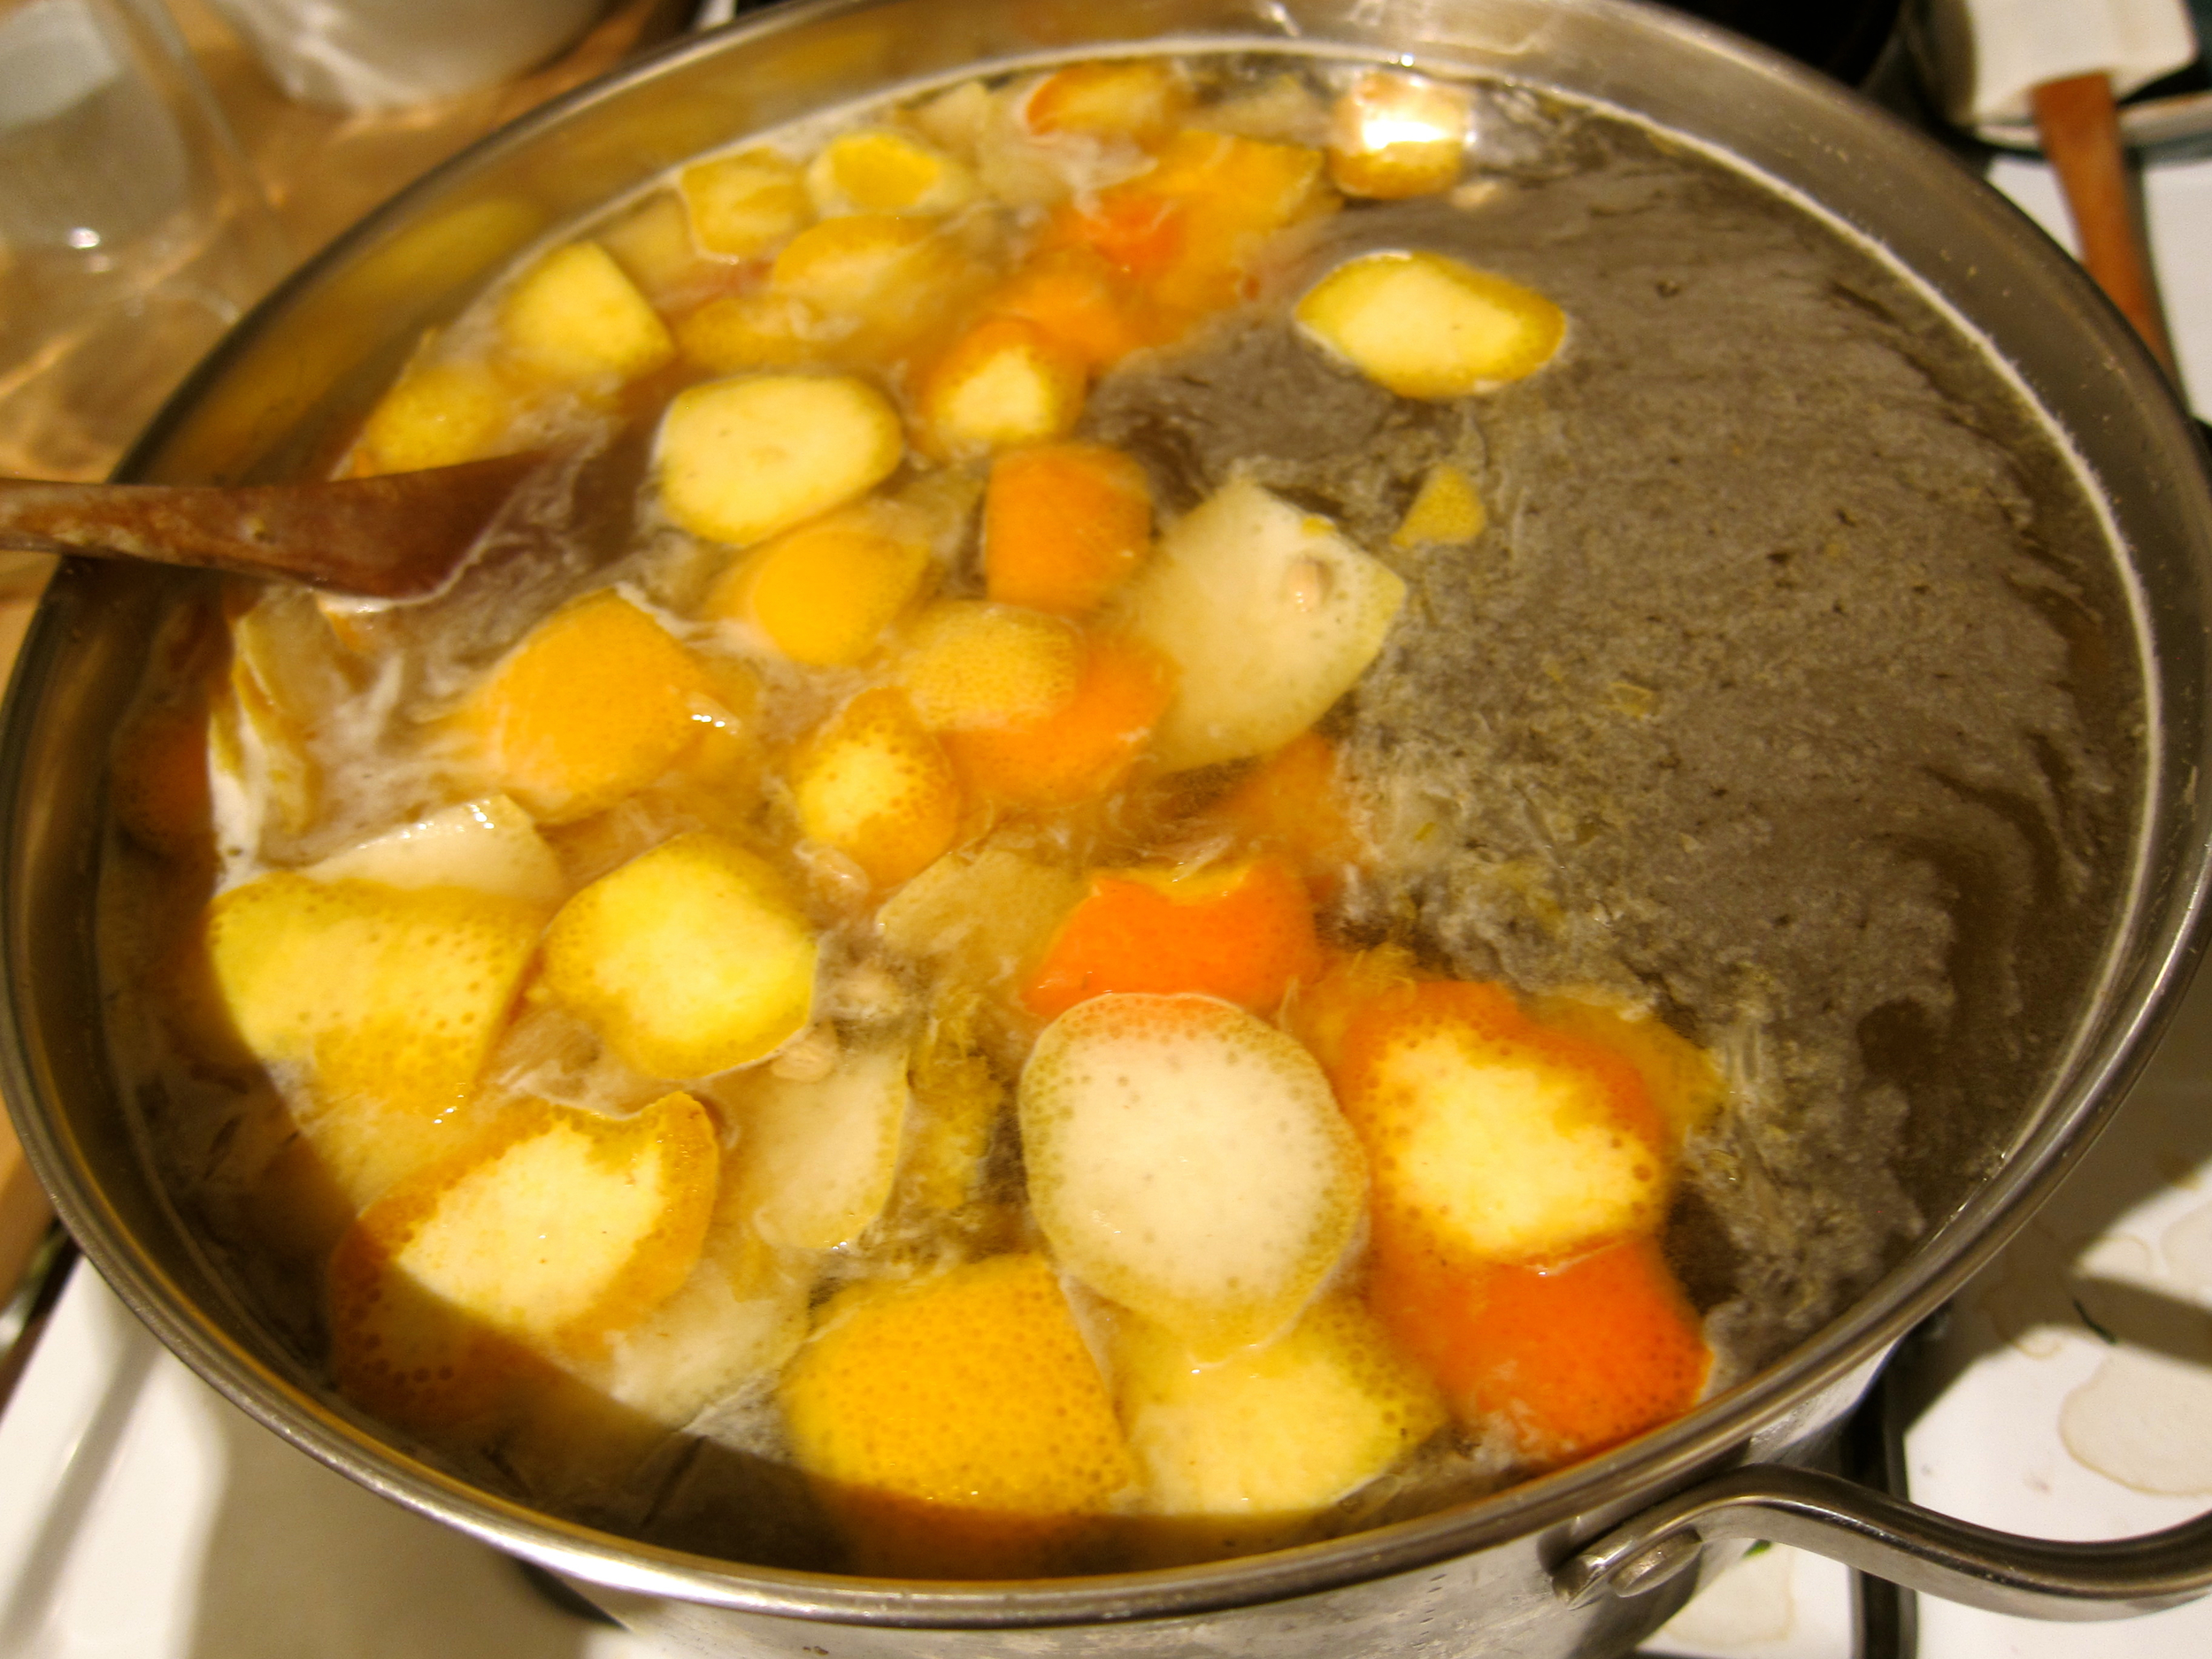
Heat dandelion liquid with sugar, honey, and the juice and skin from the citrus (cut the skin off and slice prior to juicing) for 30 minutes on medium heat, stirring occasionally to dissolve sugar. Cool to lukewarm.
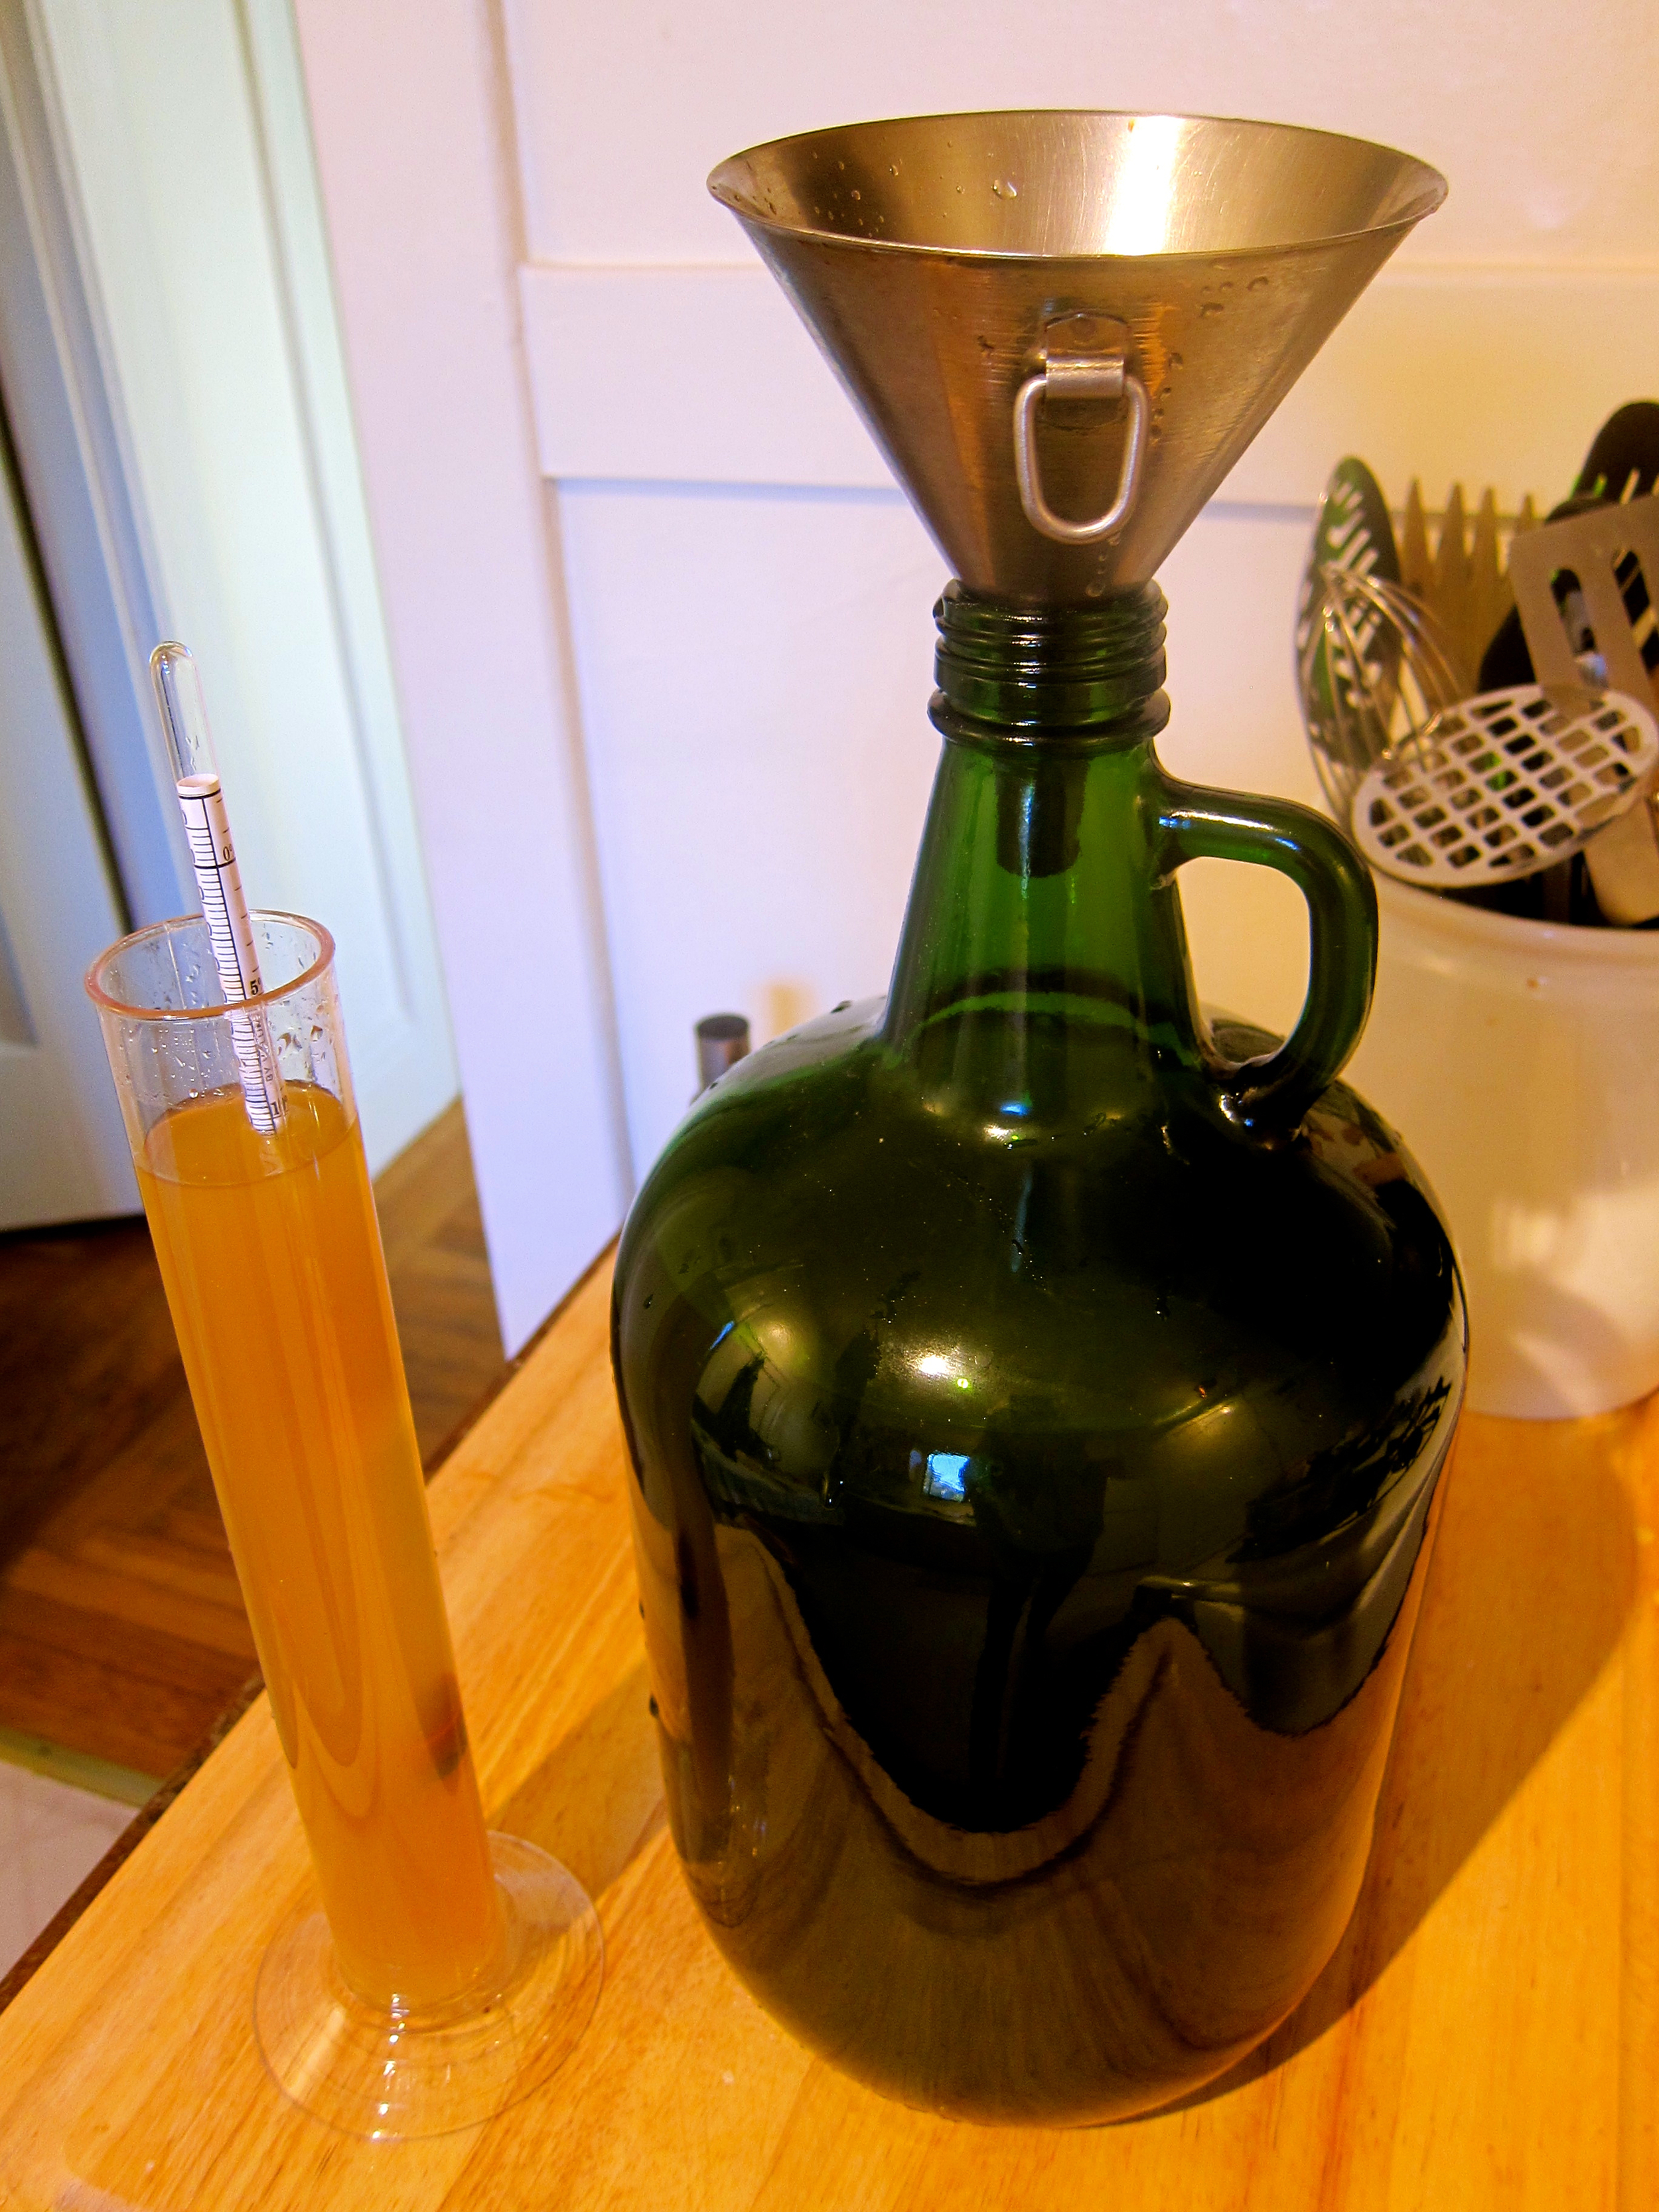
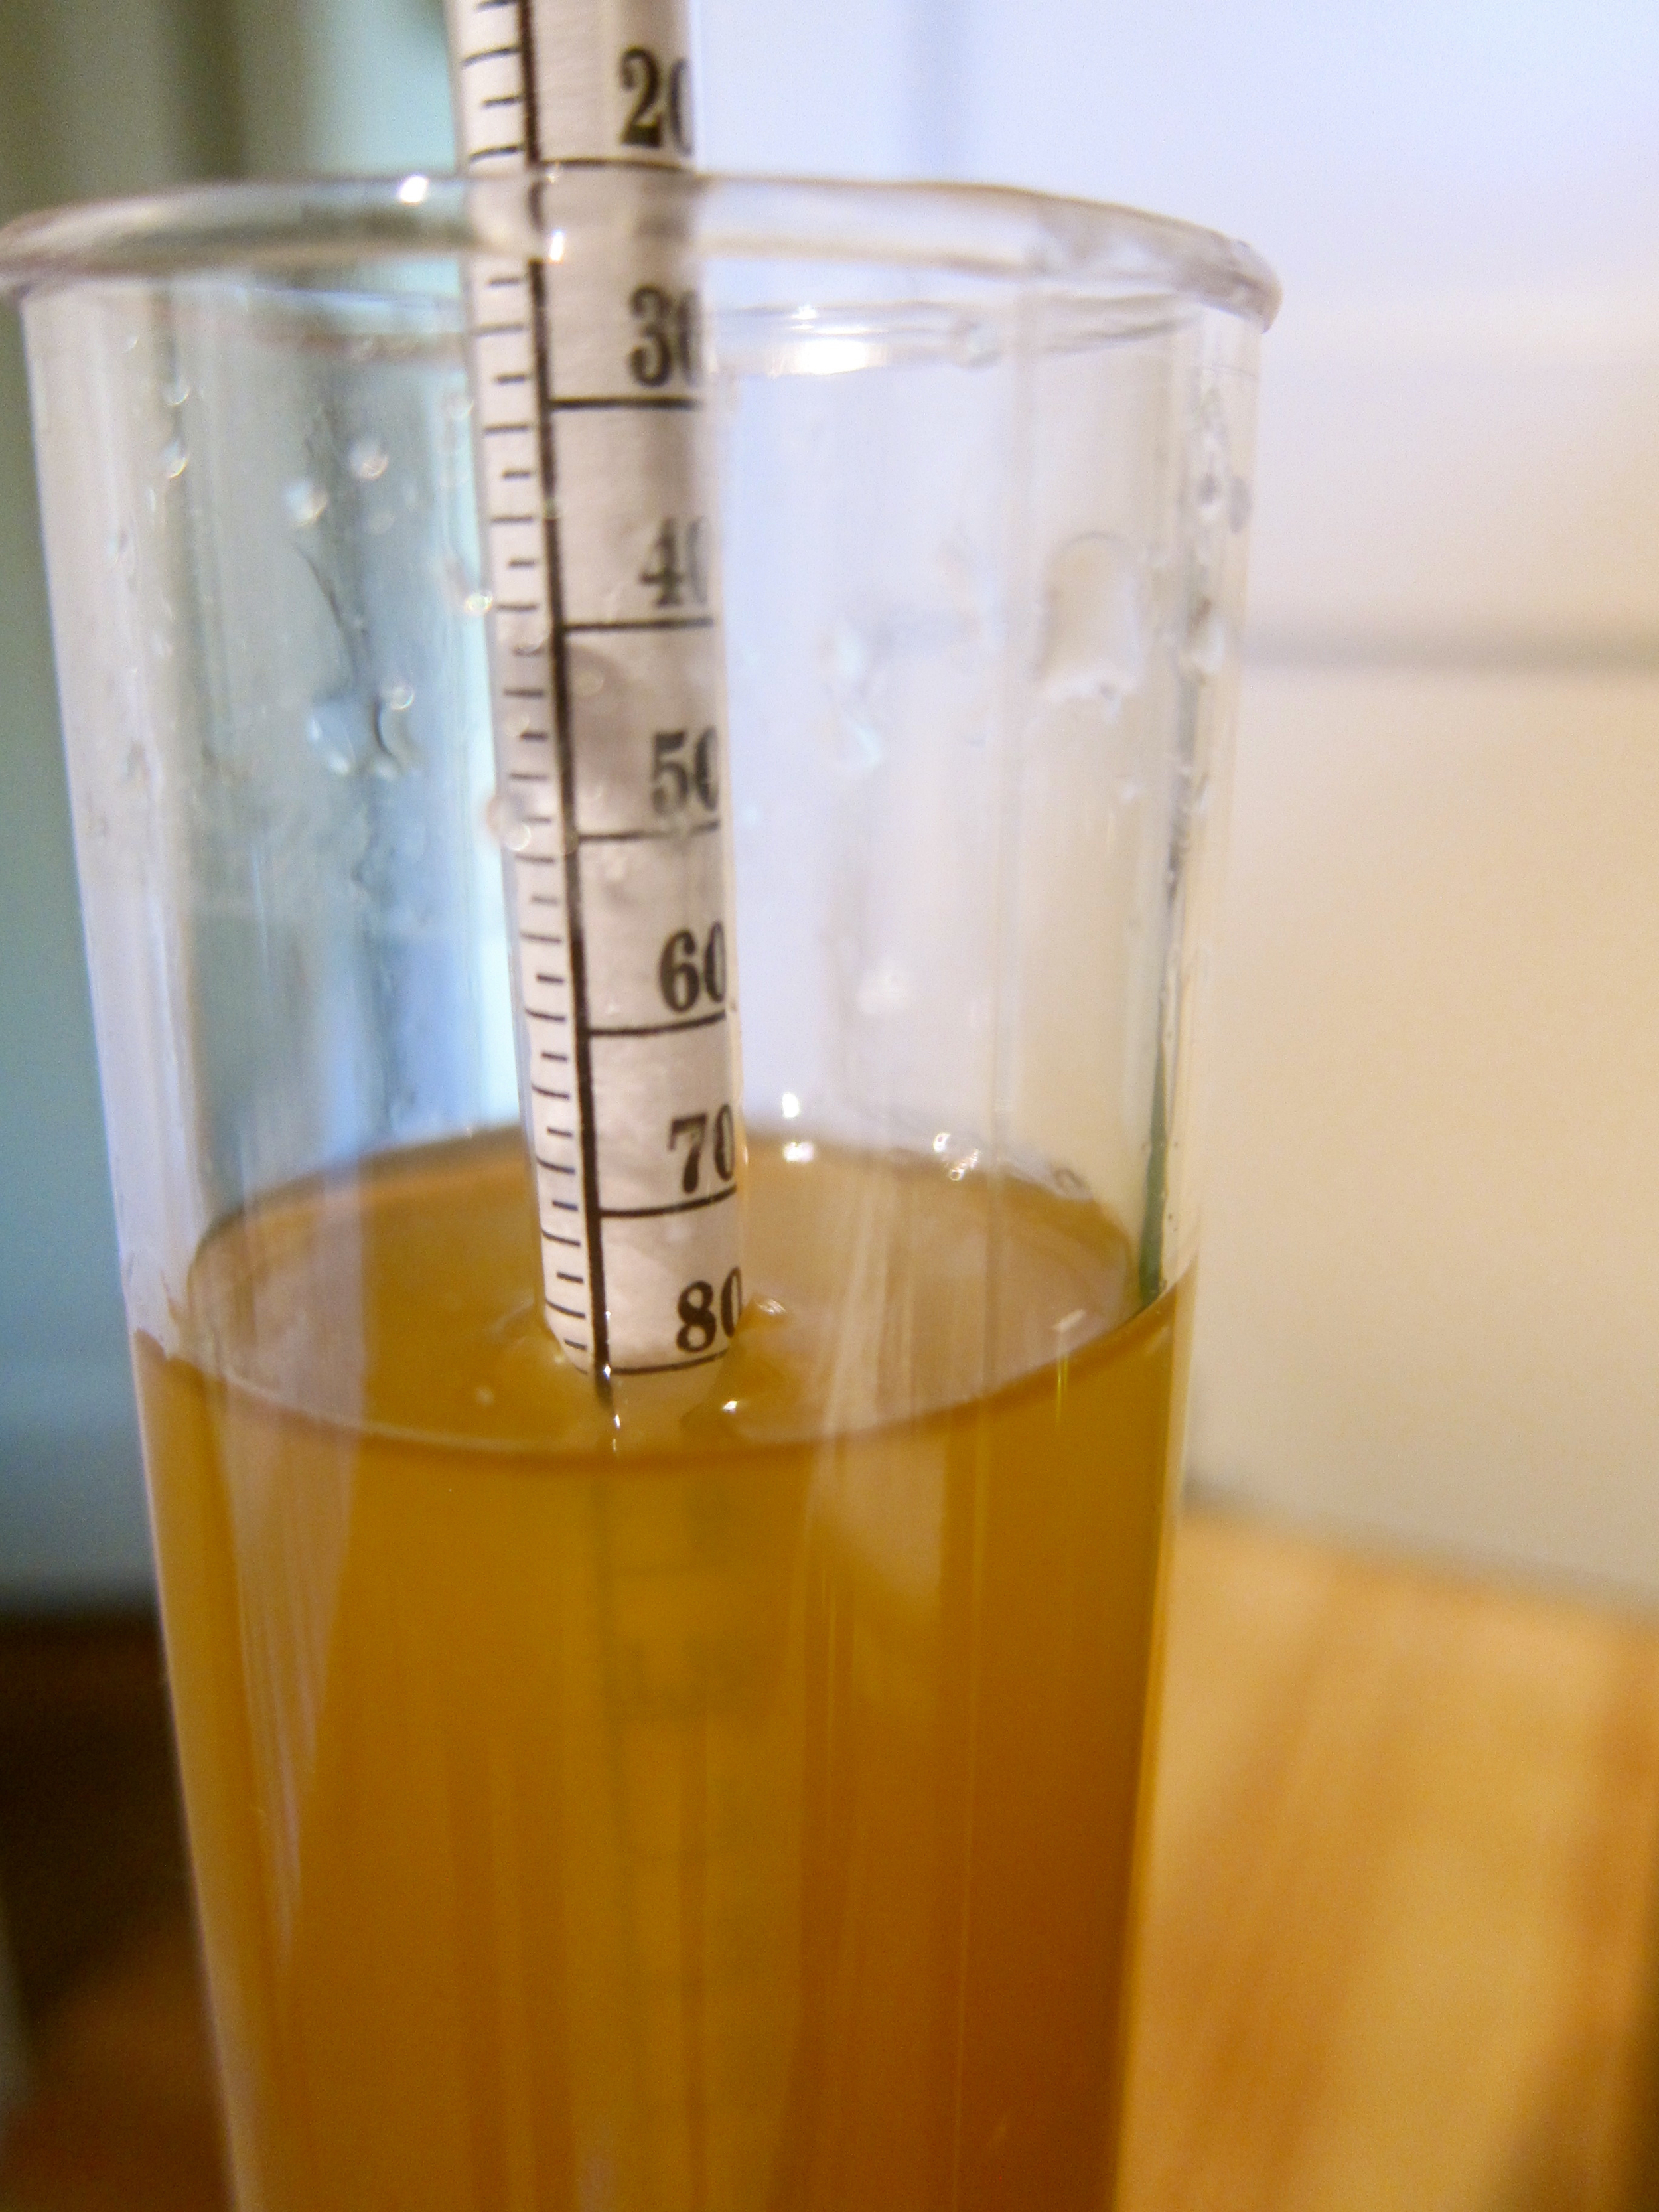
Take the specific gravity or brix to determine your “Potential Alcohol”. Essentially, by measuring the sugar content, you can determine how much nutrient is available for the yeast to turn into alcohol, but depending on where you stop fermentation, your wine will have more or less alcohol. My specific gravity at this point was 1.08 (Brix = 20%), which is a PA of 11%. There’s a calculation that I got really excited about, but ended up using this table.
Put in jug with yeast and nutrient, cork with fermentation lock or cover with cheesecloth (more risky bacteria-wise, I used lock) for 1-3 weeks, or until bubbling stops. You can stop the process anywhere you’d like, depending on desired alcohol content and sweetness (longer=more alcohol, less sweet). I stopped mine after bubbling stopped.
Take specific gravity/brix again so you can determine the alcohol %. My specific gravity was 1.00, or 0% alcohol, meaning that all of the sugar had been eaten by the yeast. This took about 2 weeks because the weather was quite warm. To determine the total alcohol, I just subtract this from the PA, 11-0 = 11%. No residual sugar, which I prefer.
Process Three - Aging (6 months - 1 year)
When your wine has reached the desired alcohol/sugar content, remove from large jug and bottle. I tasted it at this point - definitely tastes like ridiculously young (and not so good wine - but has potential!)
Age 6 months - 1 year in cool place.
See you at the winter solstice!
Update: Here's how it tasted after 6 and 12 months. An 8 month fermentation may be optimal!


