

Homemade Nocino
Italian green walnut liqueur.

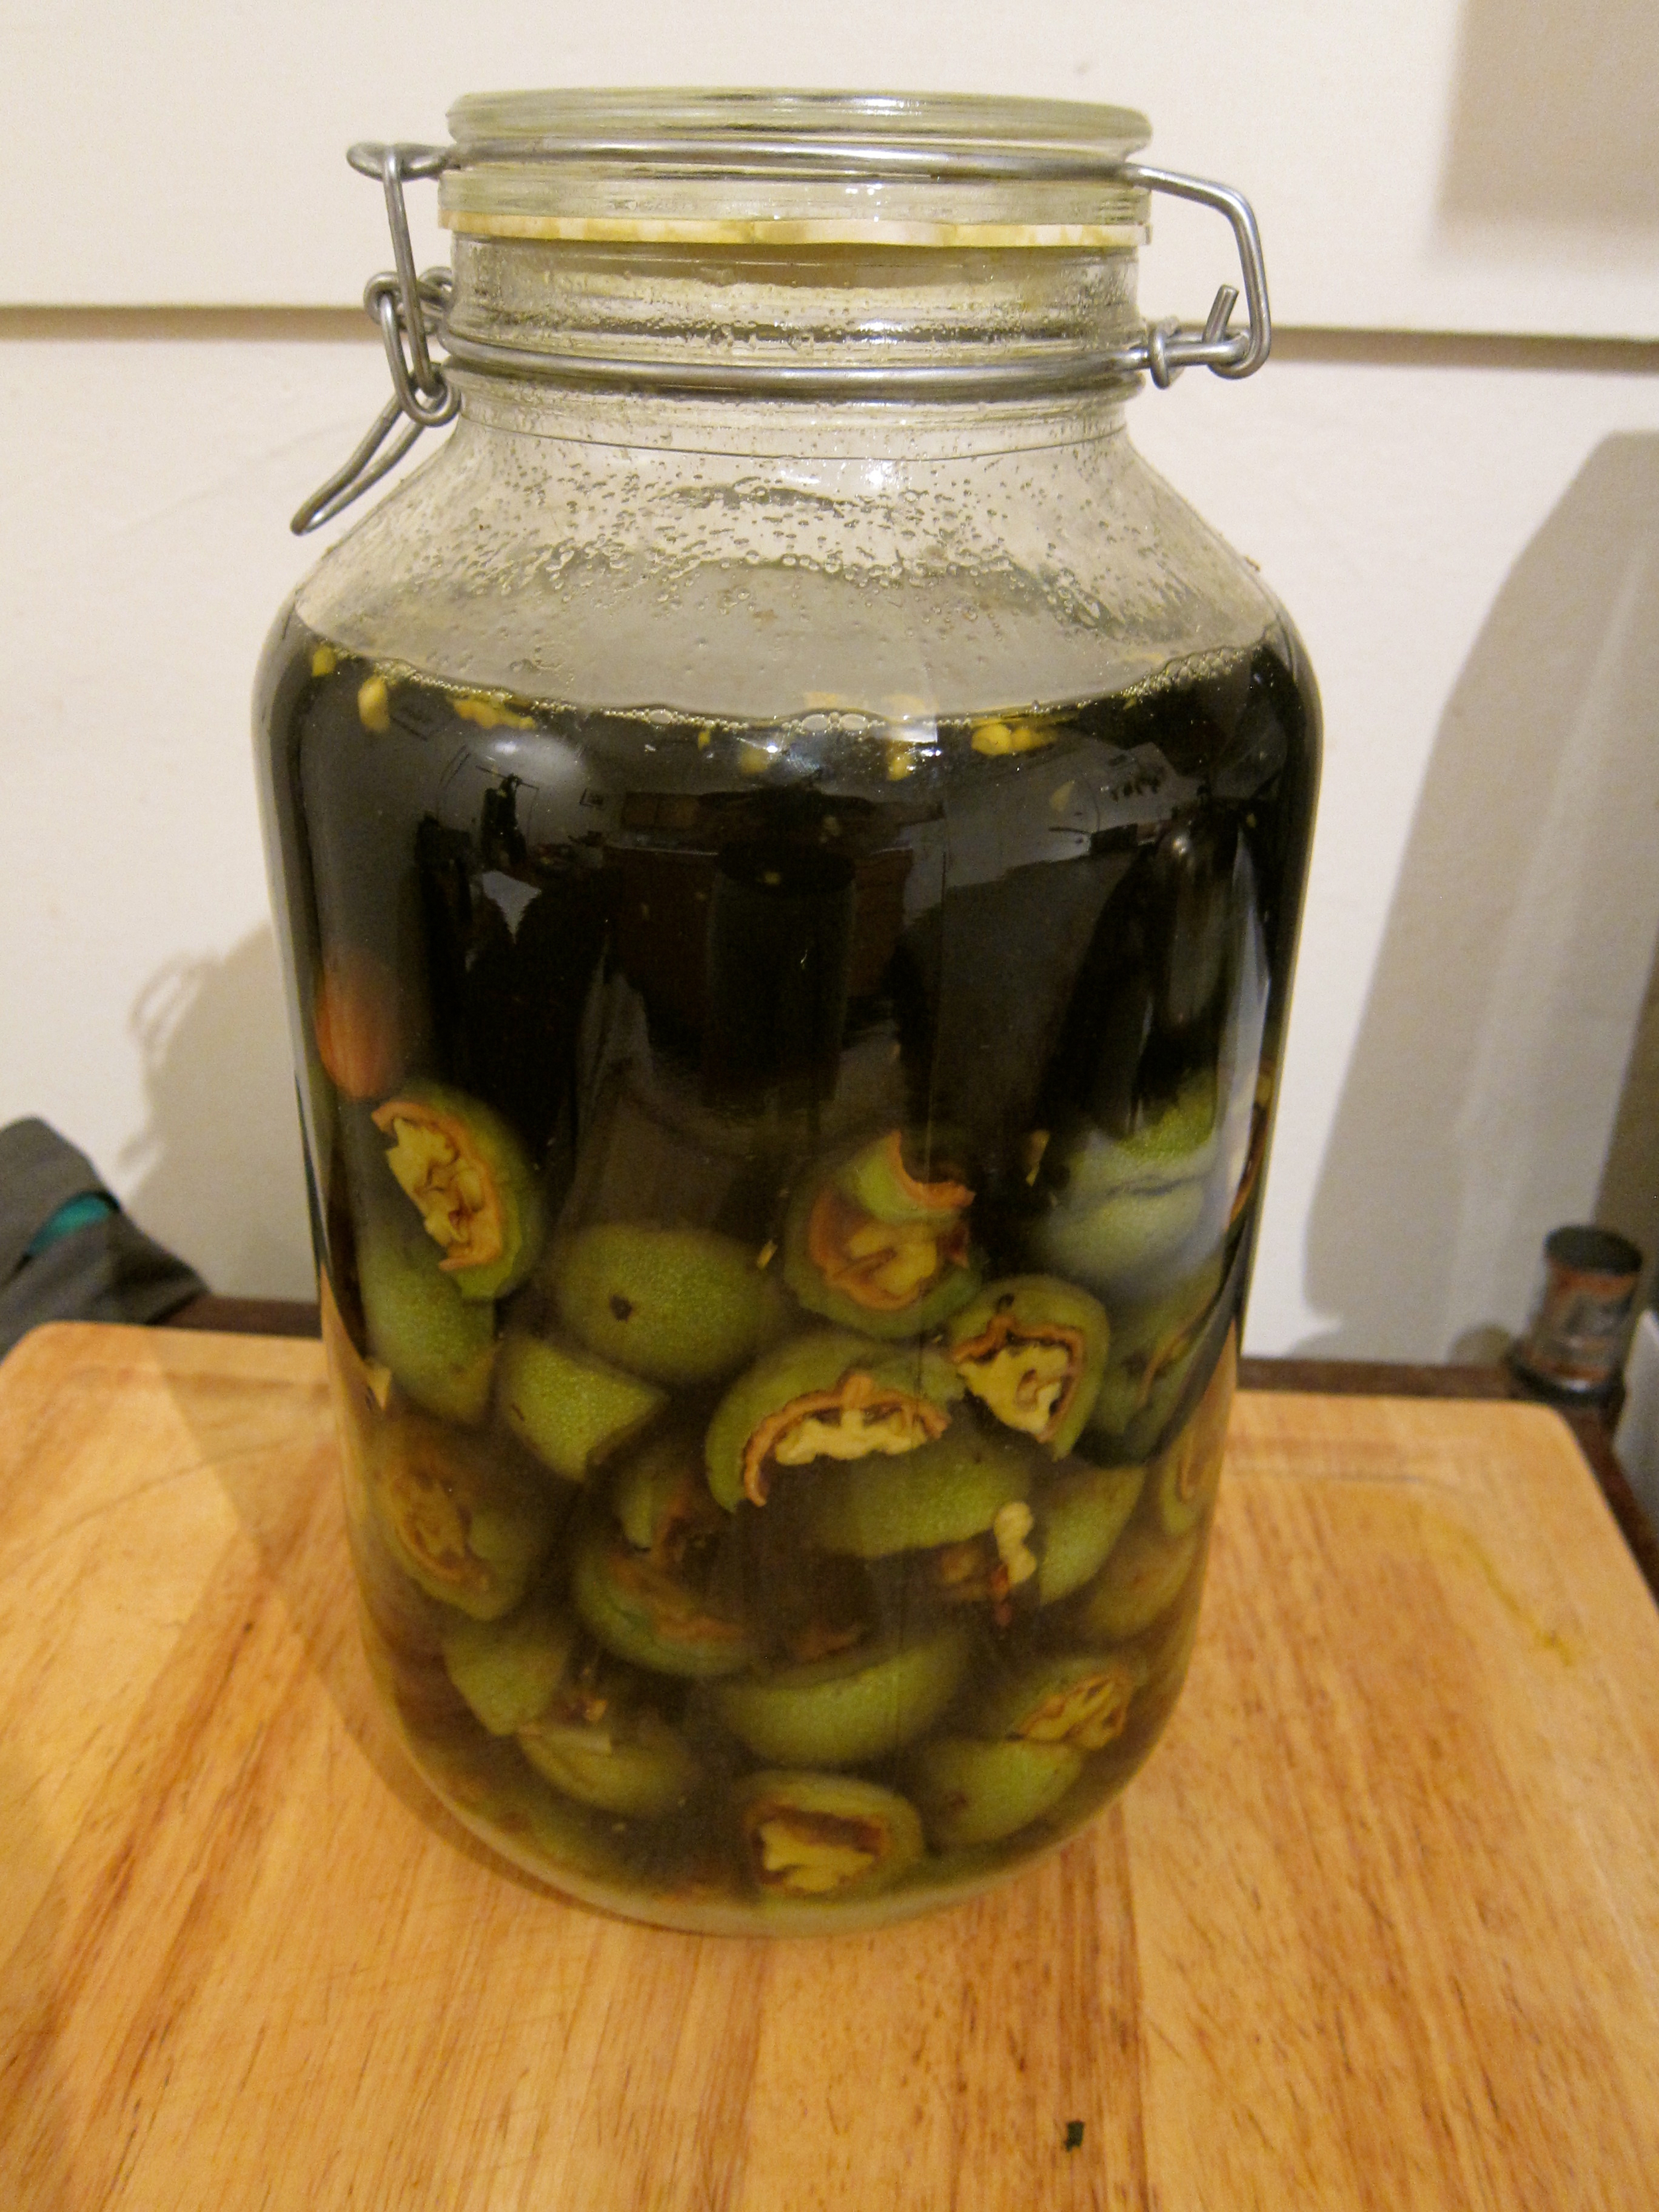
Nocino is an Italian liqueur made from fresh green walnuts that are cured in a sugar and alcohol solution. I first discovered this "black gold" while dining at Flour + Water in San Francisco and have been making it each season for the past three years since. The amazing think about nocino is by adding incredibly tannic walnuts, clear sugary alcohol is magically transformed into a thick, luscious, nearly black liqueur.
Making nocino requires a few steps and a lot of patience, but the results are worth it! I love it on it's own after dinner, but have also used it in in cocktails and to top ice cream (with crushed toasted walnuts as well, of course).
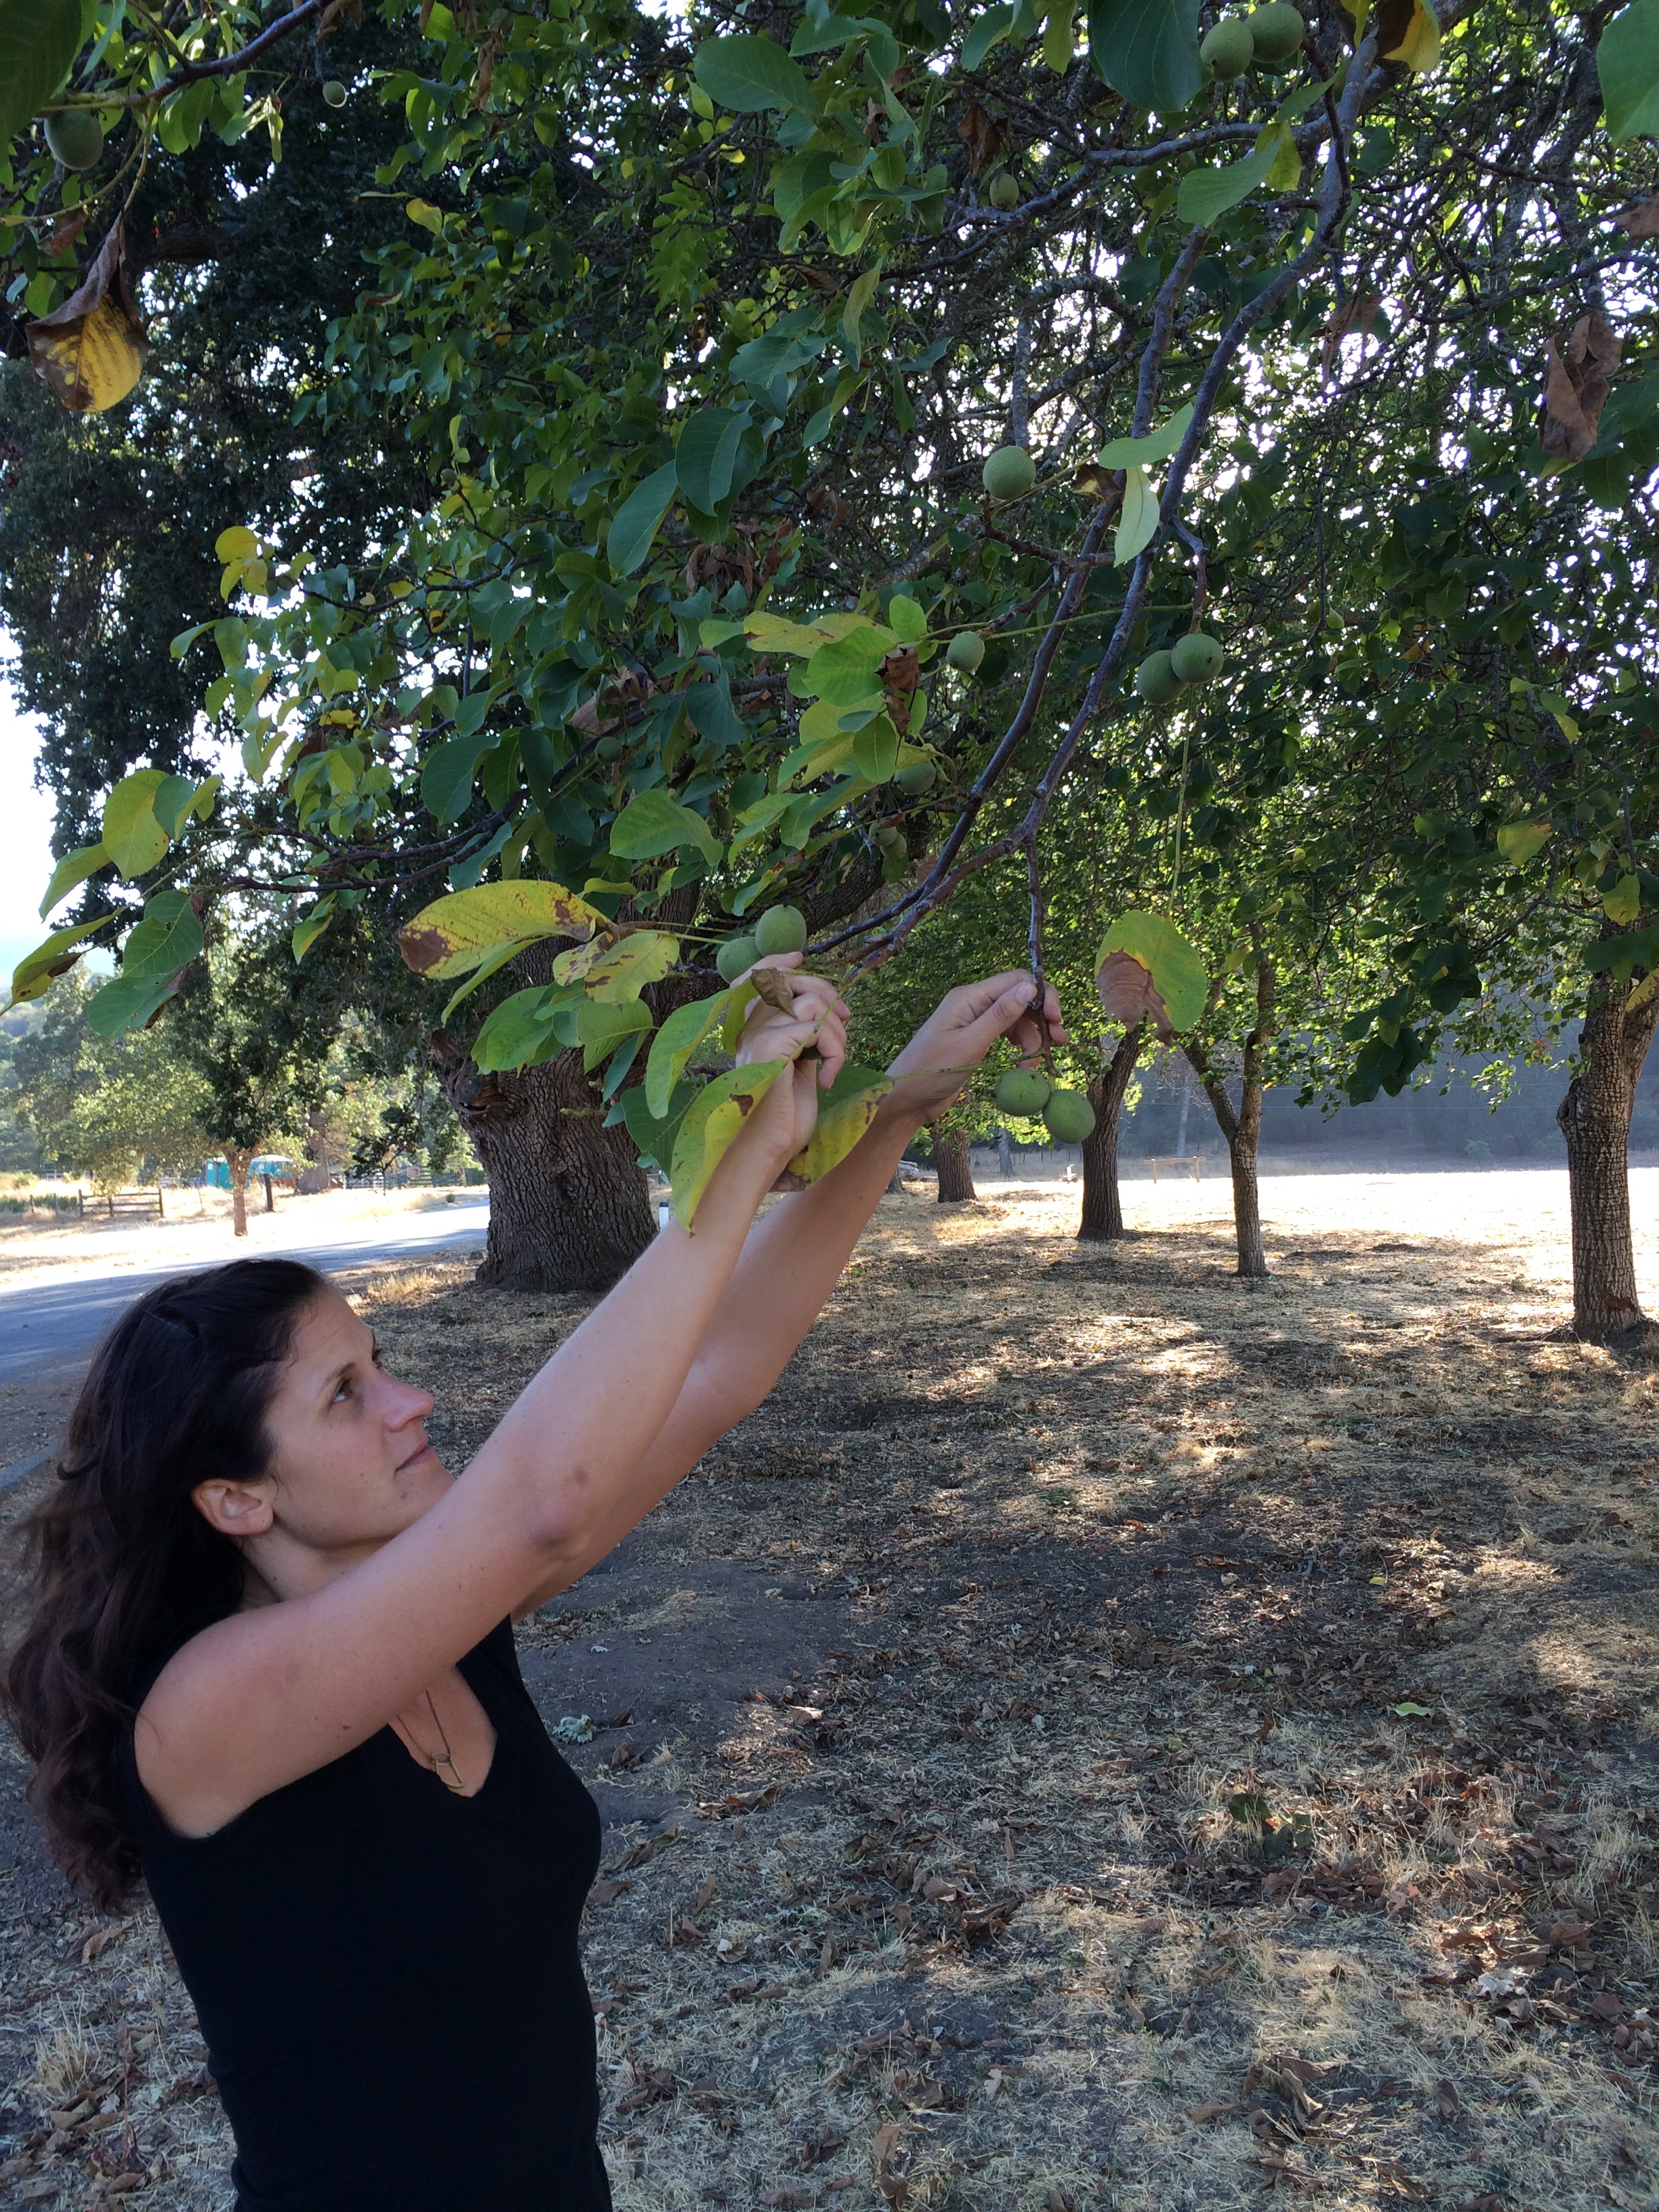
The green walnuts you're looking for are only available in May/June (traditionally harvested on June 24th, the day of St.John the Baptist, by virgins) and quite hard to come by. The first time that I made nocino I was able to find some through the Capay Valley Farms CSA I started up at work, but the last two years I went ahead and foraged them.
The most recent batch that we made was using walnuts picked in September, which is much later than desired (oops - too many food projects!) The walnuts were very hard to cut through because the shell had begun to harden and we're not sure how this is going to affect the flavor of the nocino, but we went ahead and made it anyway. We'll see in 6 months - if it's anything like the last couple of batches, it will be more than drinkable! As the recipe is written it makes about 2 liters of nocino, but the recipe can be multiplied as necessary for the amount of walnuts that you have on hand. Remember that green walnuts stain - if you're concerned with having inky looking fingers for a week, be sure to wear gloves.
“Walnut trees grow in hot, dry climates. Look for them if you’re camping in the South Bay - that’s where we found them, but we’re not going to reveal our source!”
“I like to keep my nocino pure, in order to be able to taste the walnutty goodness, but have tried vanilla bean and it was a nice addition, especially if you’re planning on using nocino for ice cream topping.”
4-1/4 cups granulate sugar
1.75 liters of Everclear (Vodka also works, but not as well)
50 green walnuts
Other ingredients- citrus peel, cinnamon sticks, pepper, vanilla bean, etc.
Wash 4 half-gallon mason jars well with hot soapy water, rinse, and air dry.
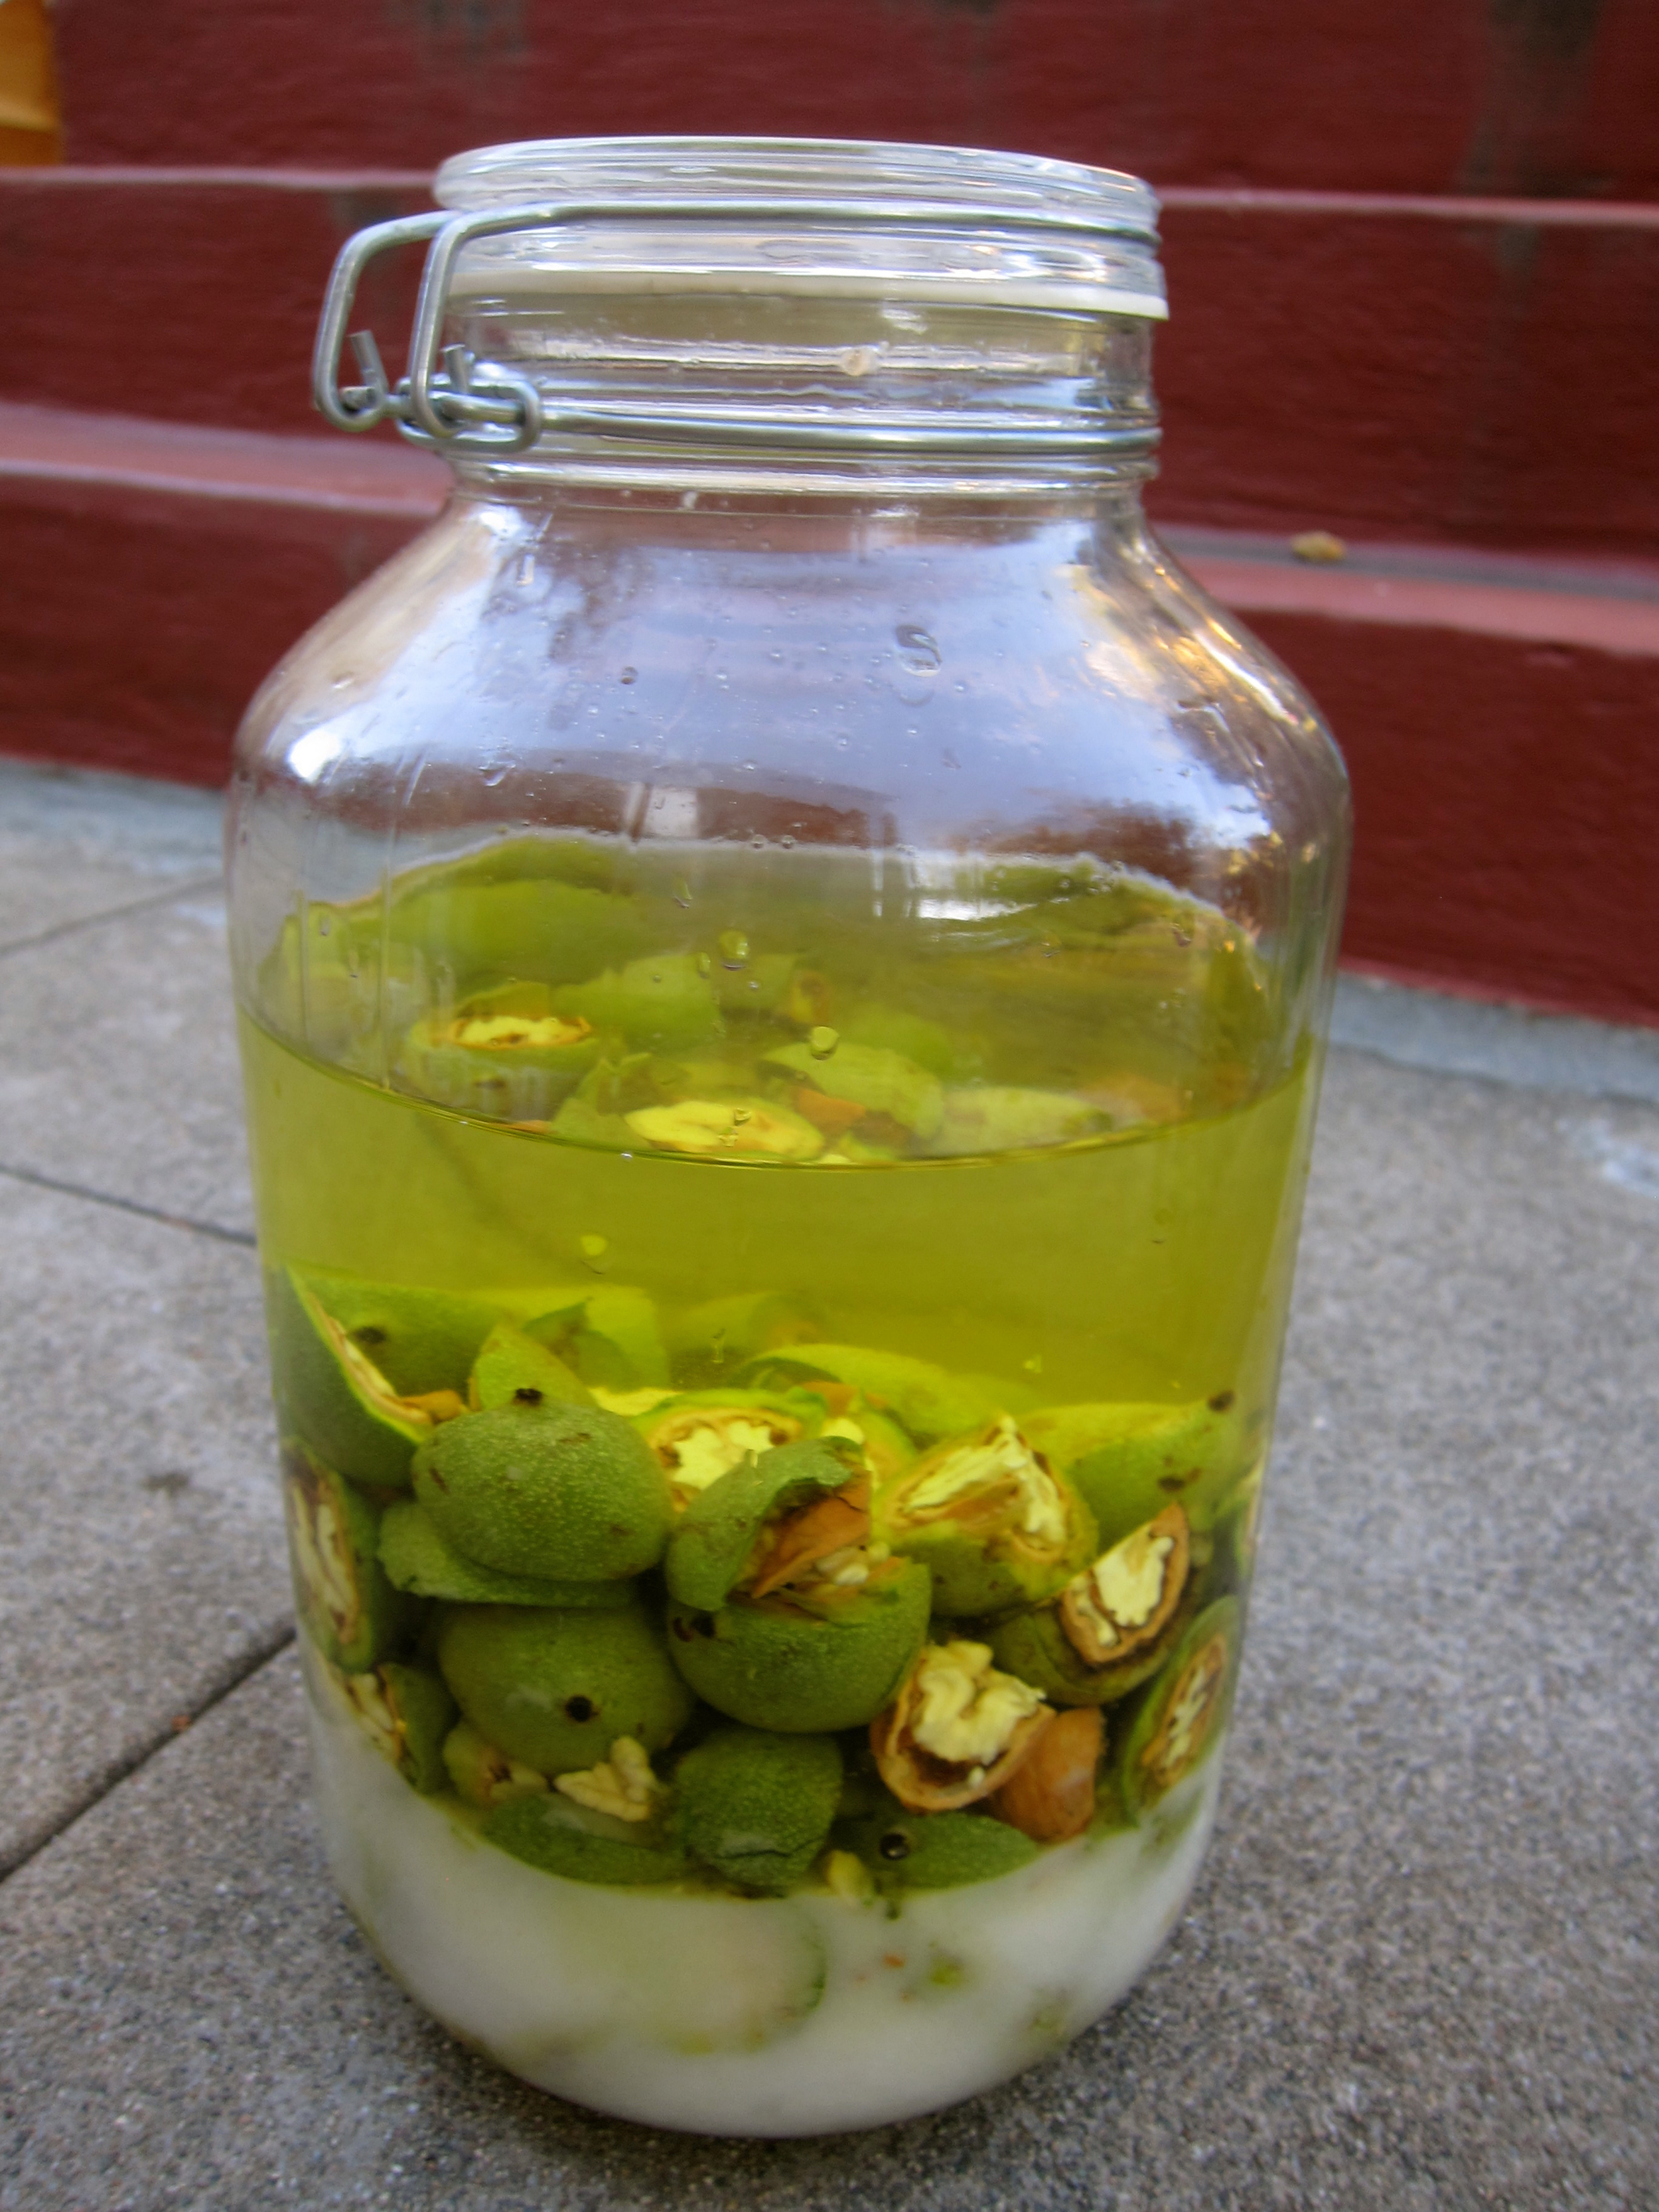
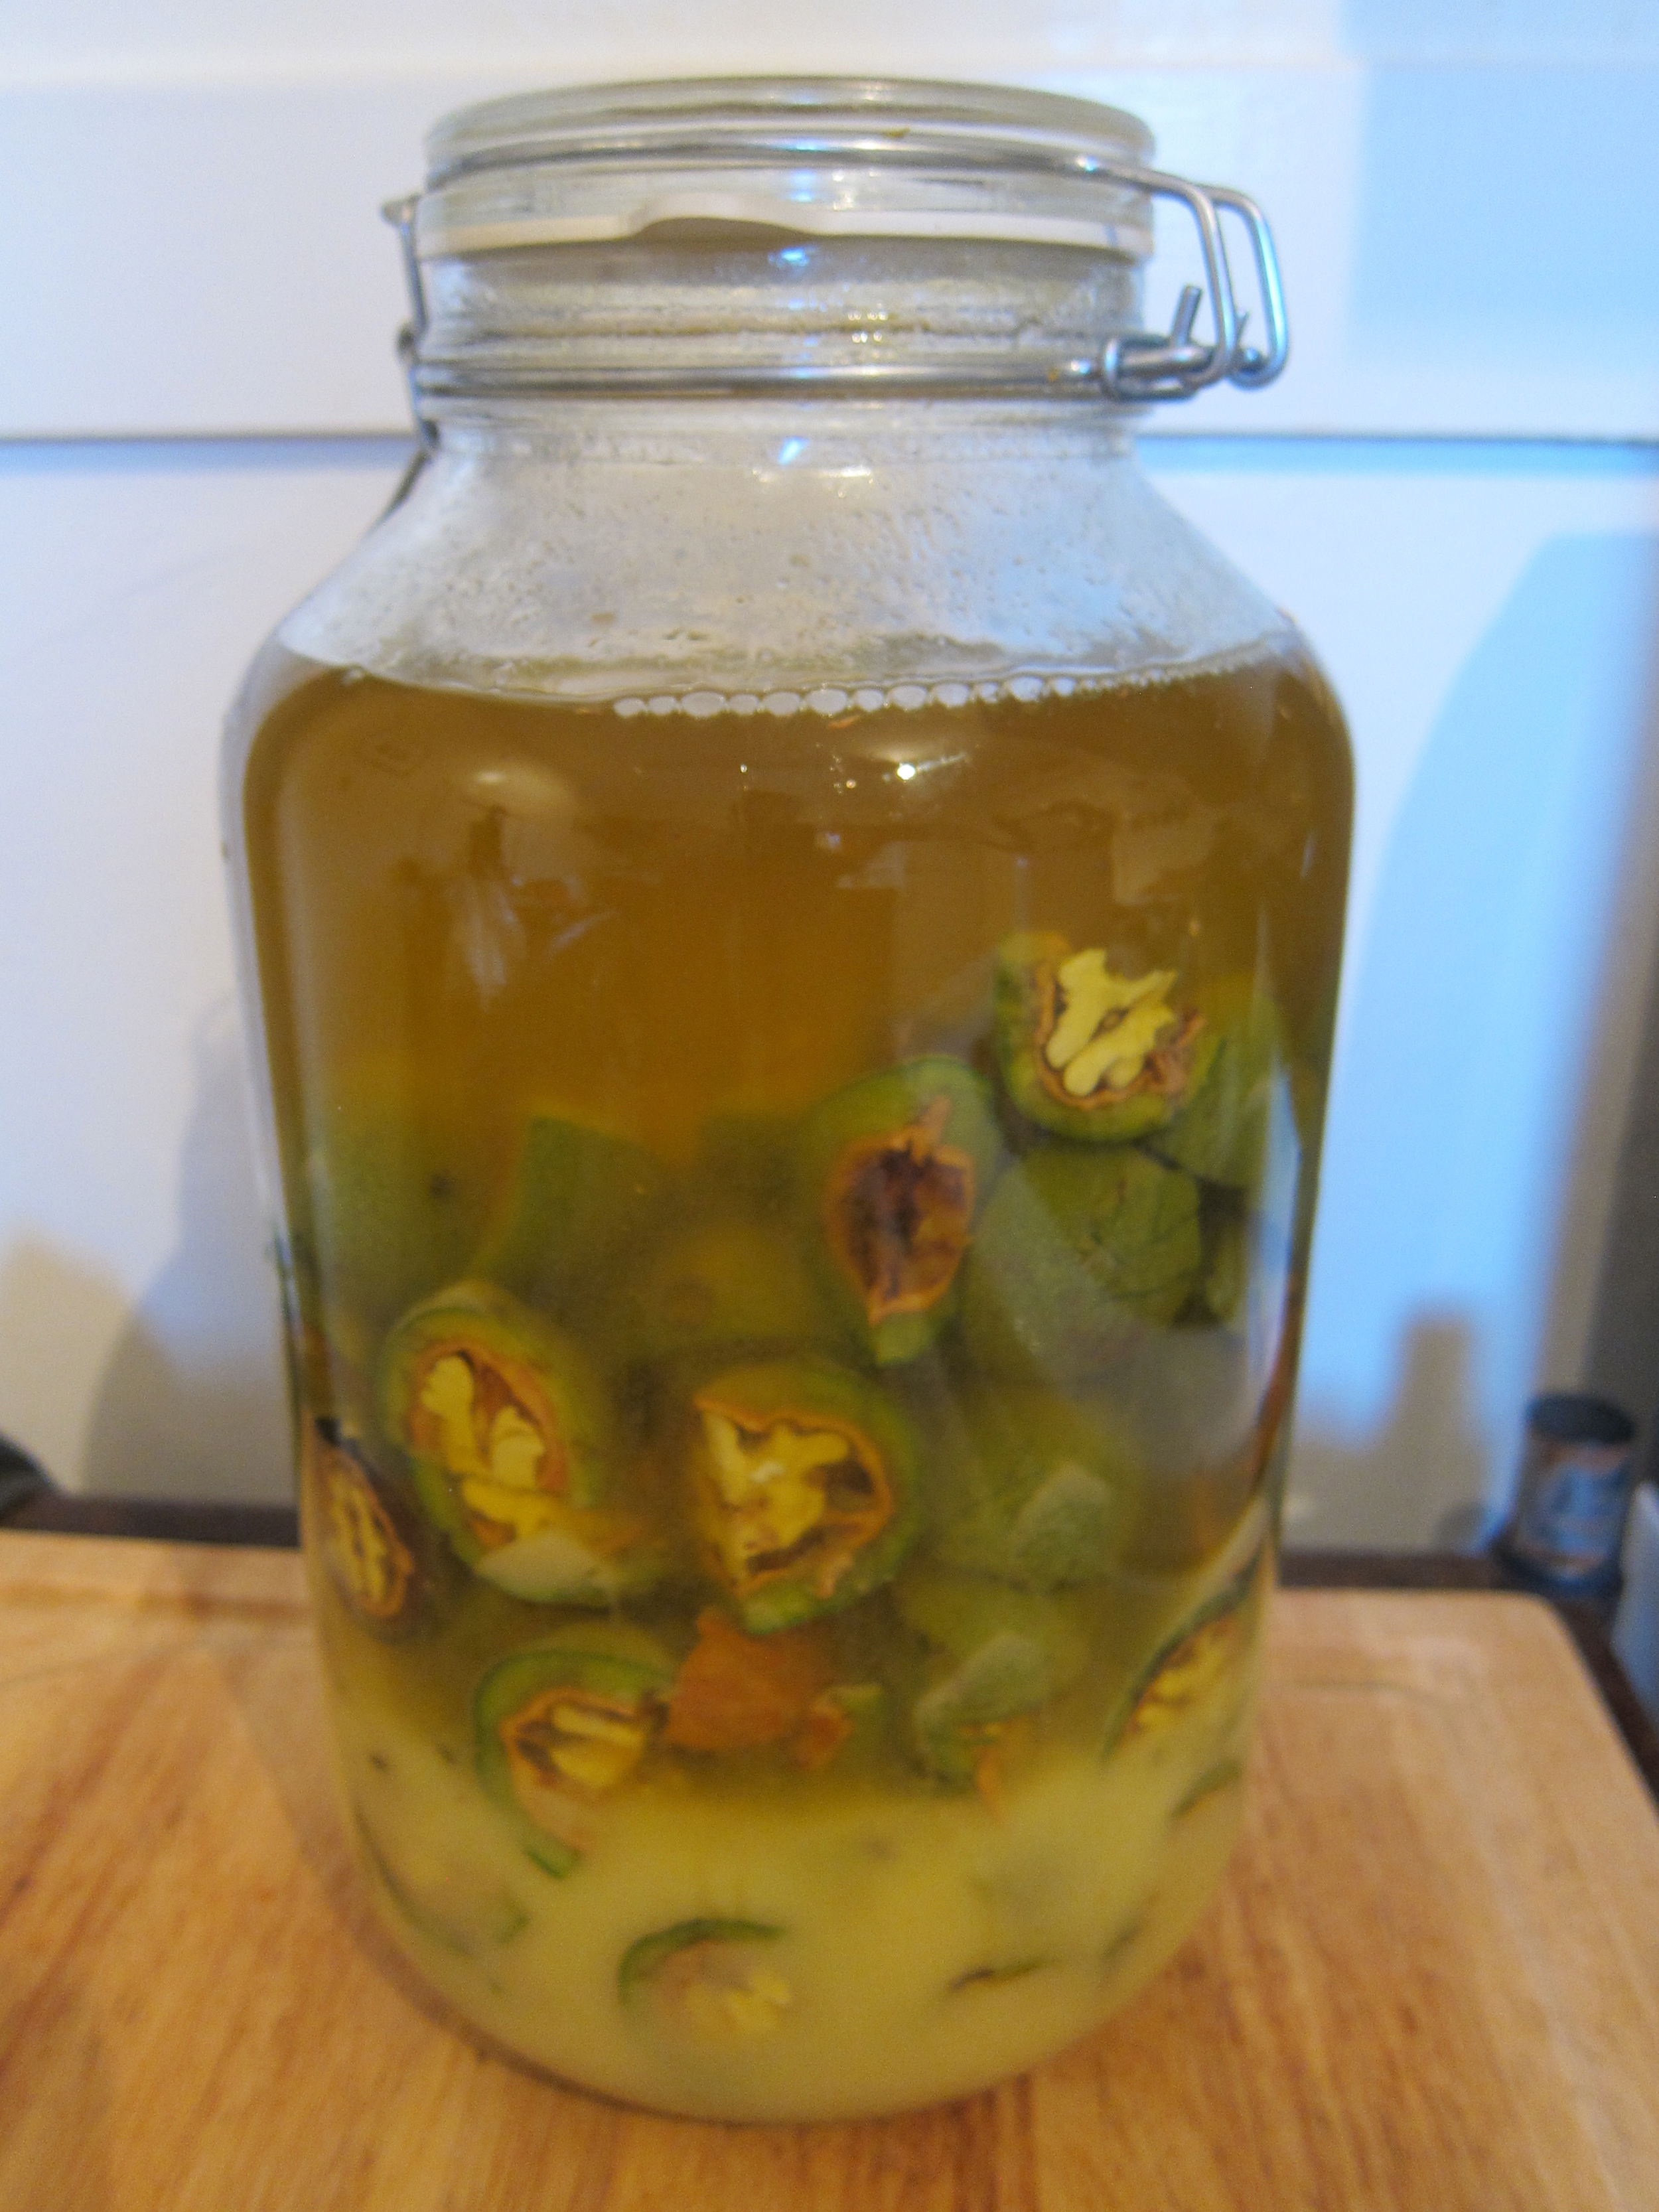
While jars are drying, quarter walnuts then divide into jars with 1/4 each of the Everclear and sugar. Screw the lids tightly onto jars and shake vigorously. Over time the nocino liquid will darken. It happens quite fast and it's pretty impressive! Allow jars to sit for 6 weeks in a cool dark place, shaking occasionally to dissolve sugar.

Using a cheesecloth or fine mesh strainer, strain the liquid and discard the walnuts. Add any other ingredients of your choosing (vanilla bean, orange peel, etc.) and pour nocino from the jars into smaller bottles. Close bottles and let the liqueur marinate for another 6 months to 1 year. You can taste the nocino as it rests to learn about the flavor changes and begin drinking once it's to your liking.
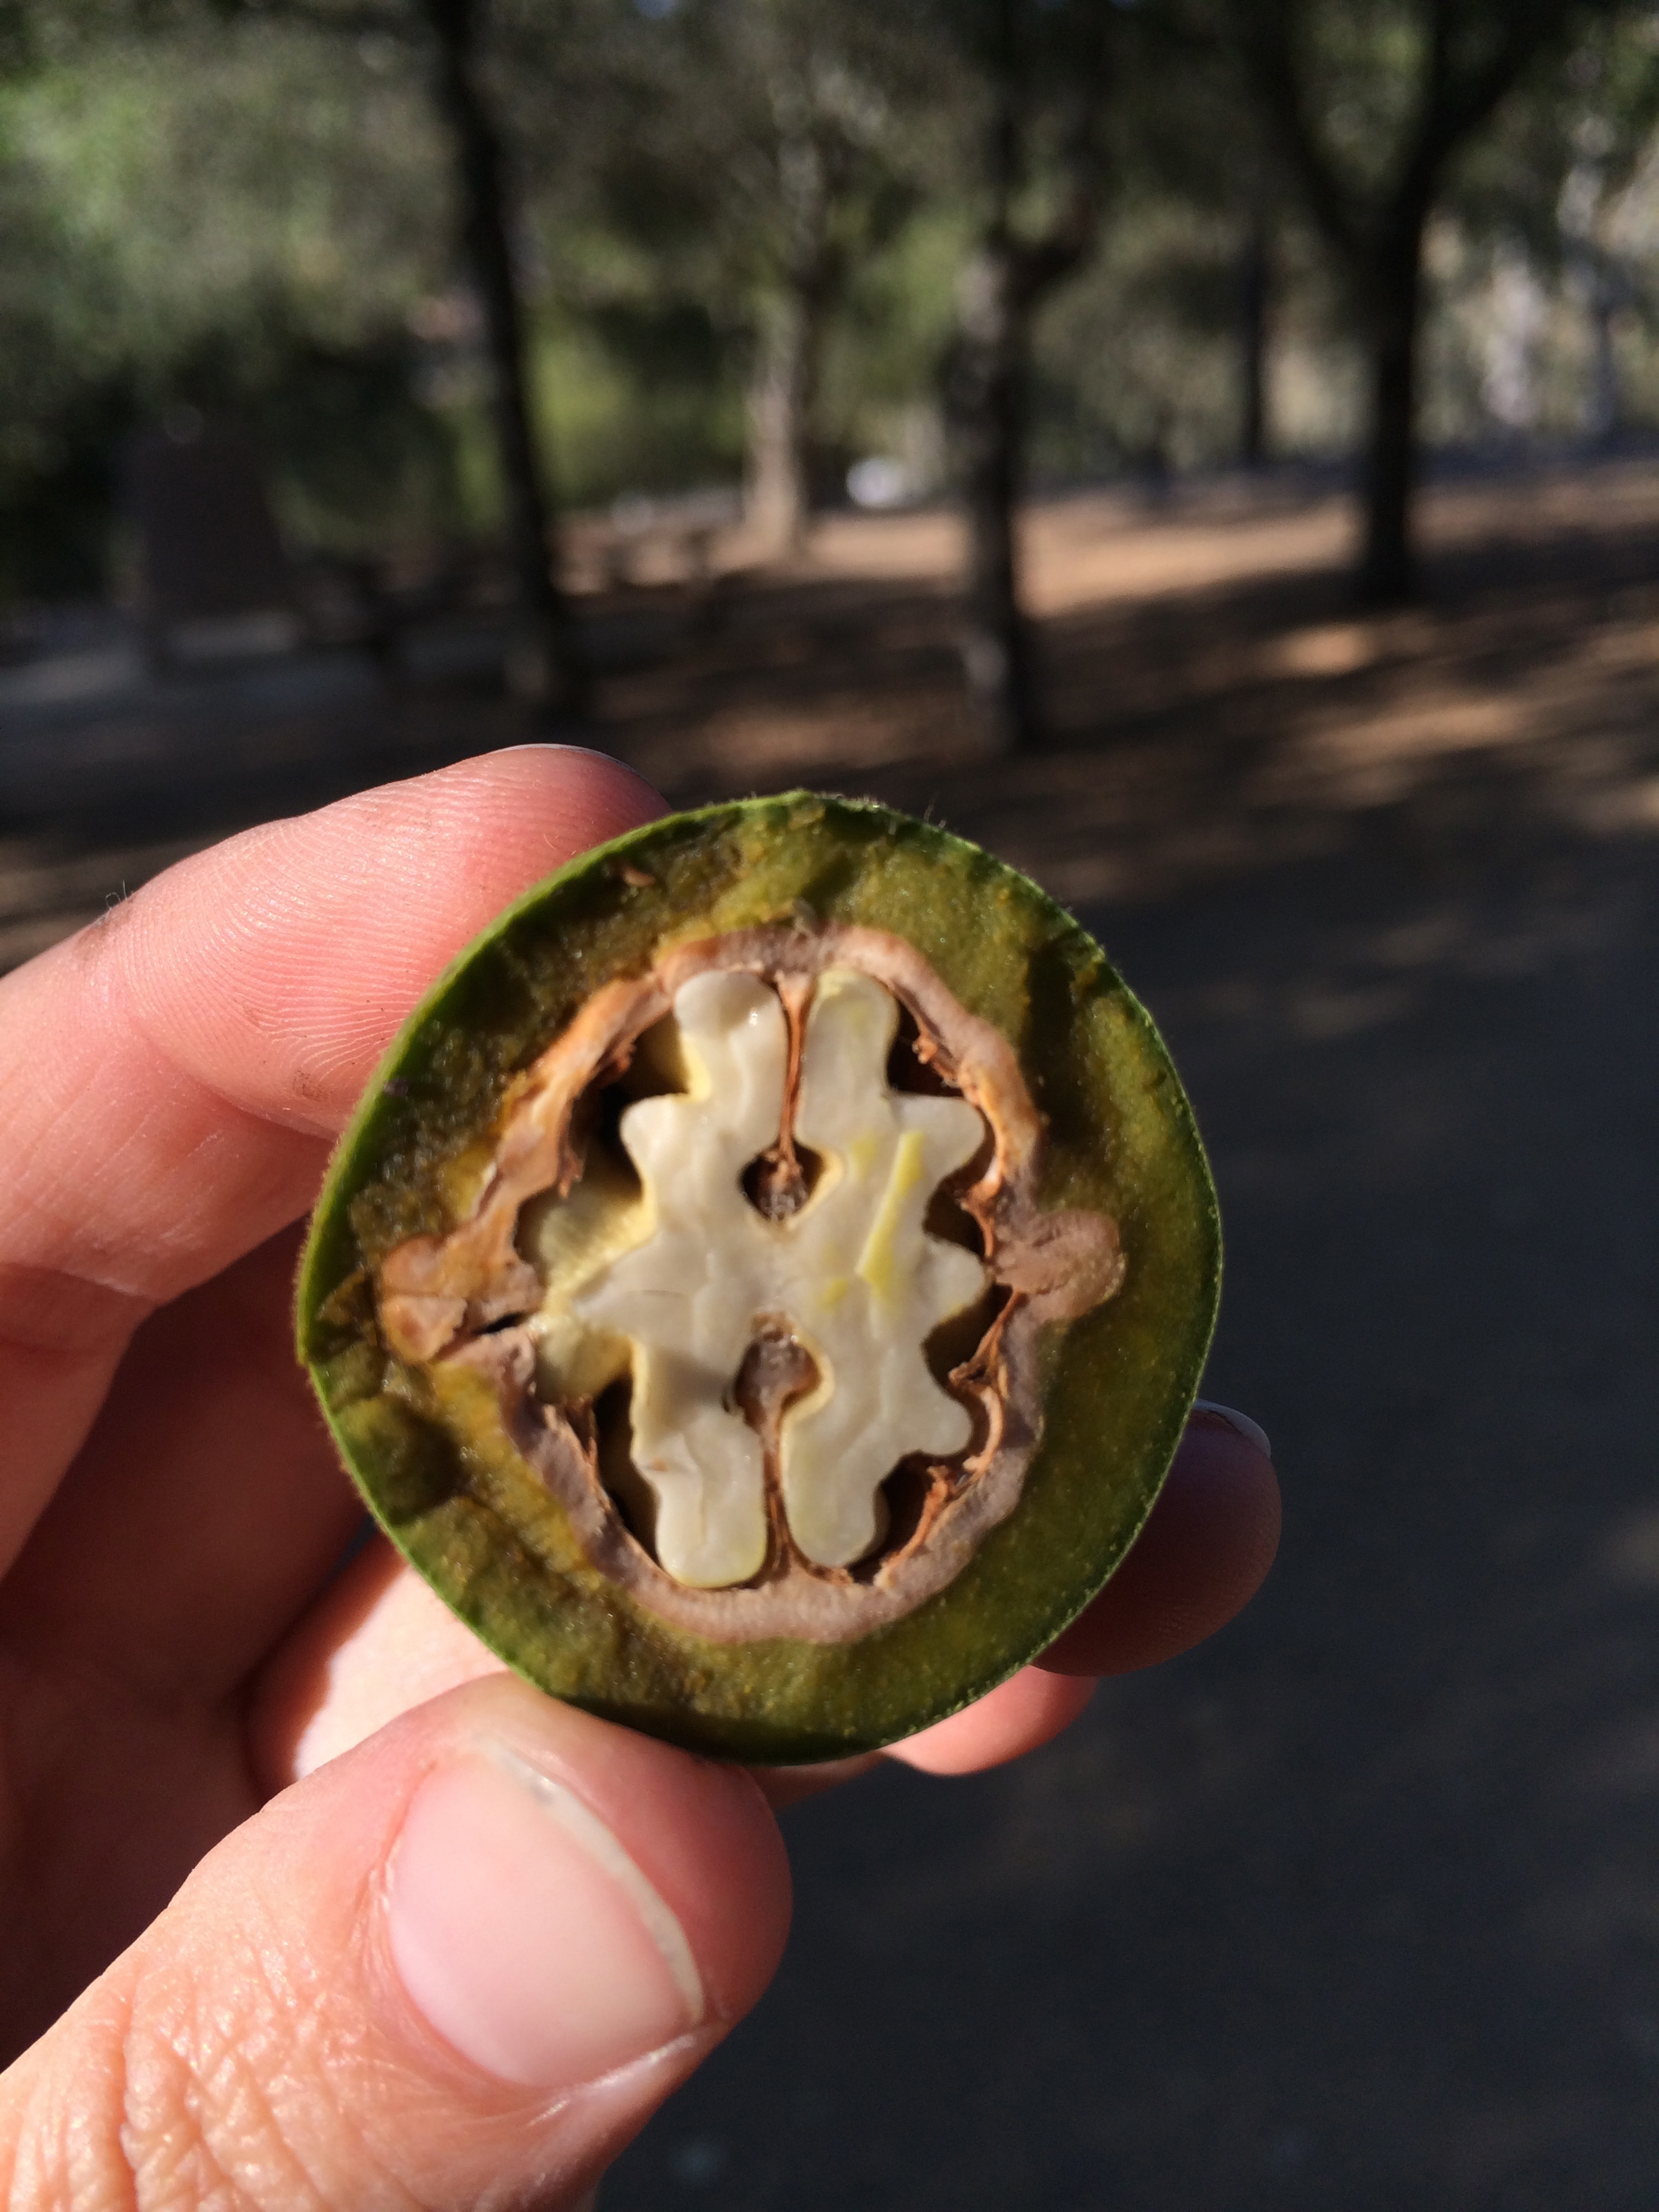
If walnuts are harvested too late in the season, the shells will have started to harden.

Forage Heist: Copenhagen Style

Unfortunately, I was not able to venture out on the original adventure, but I did get to appreciate some of the plunder and I learned what to look for, so that I was able to forage these goods myself on another day.
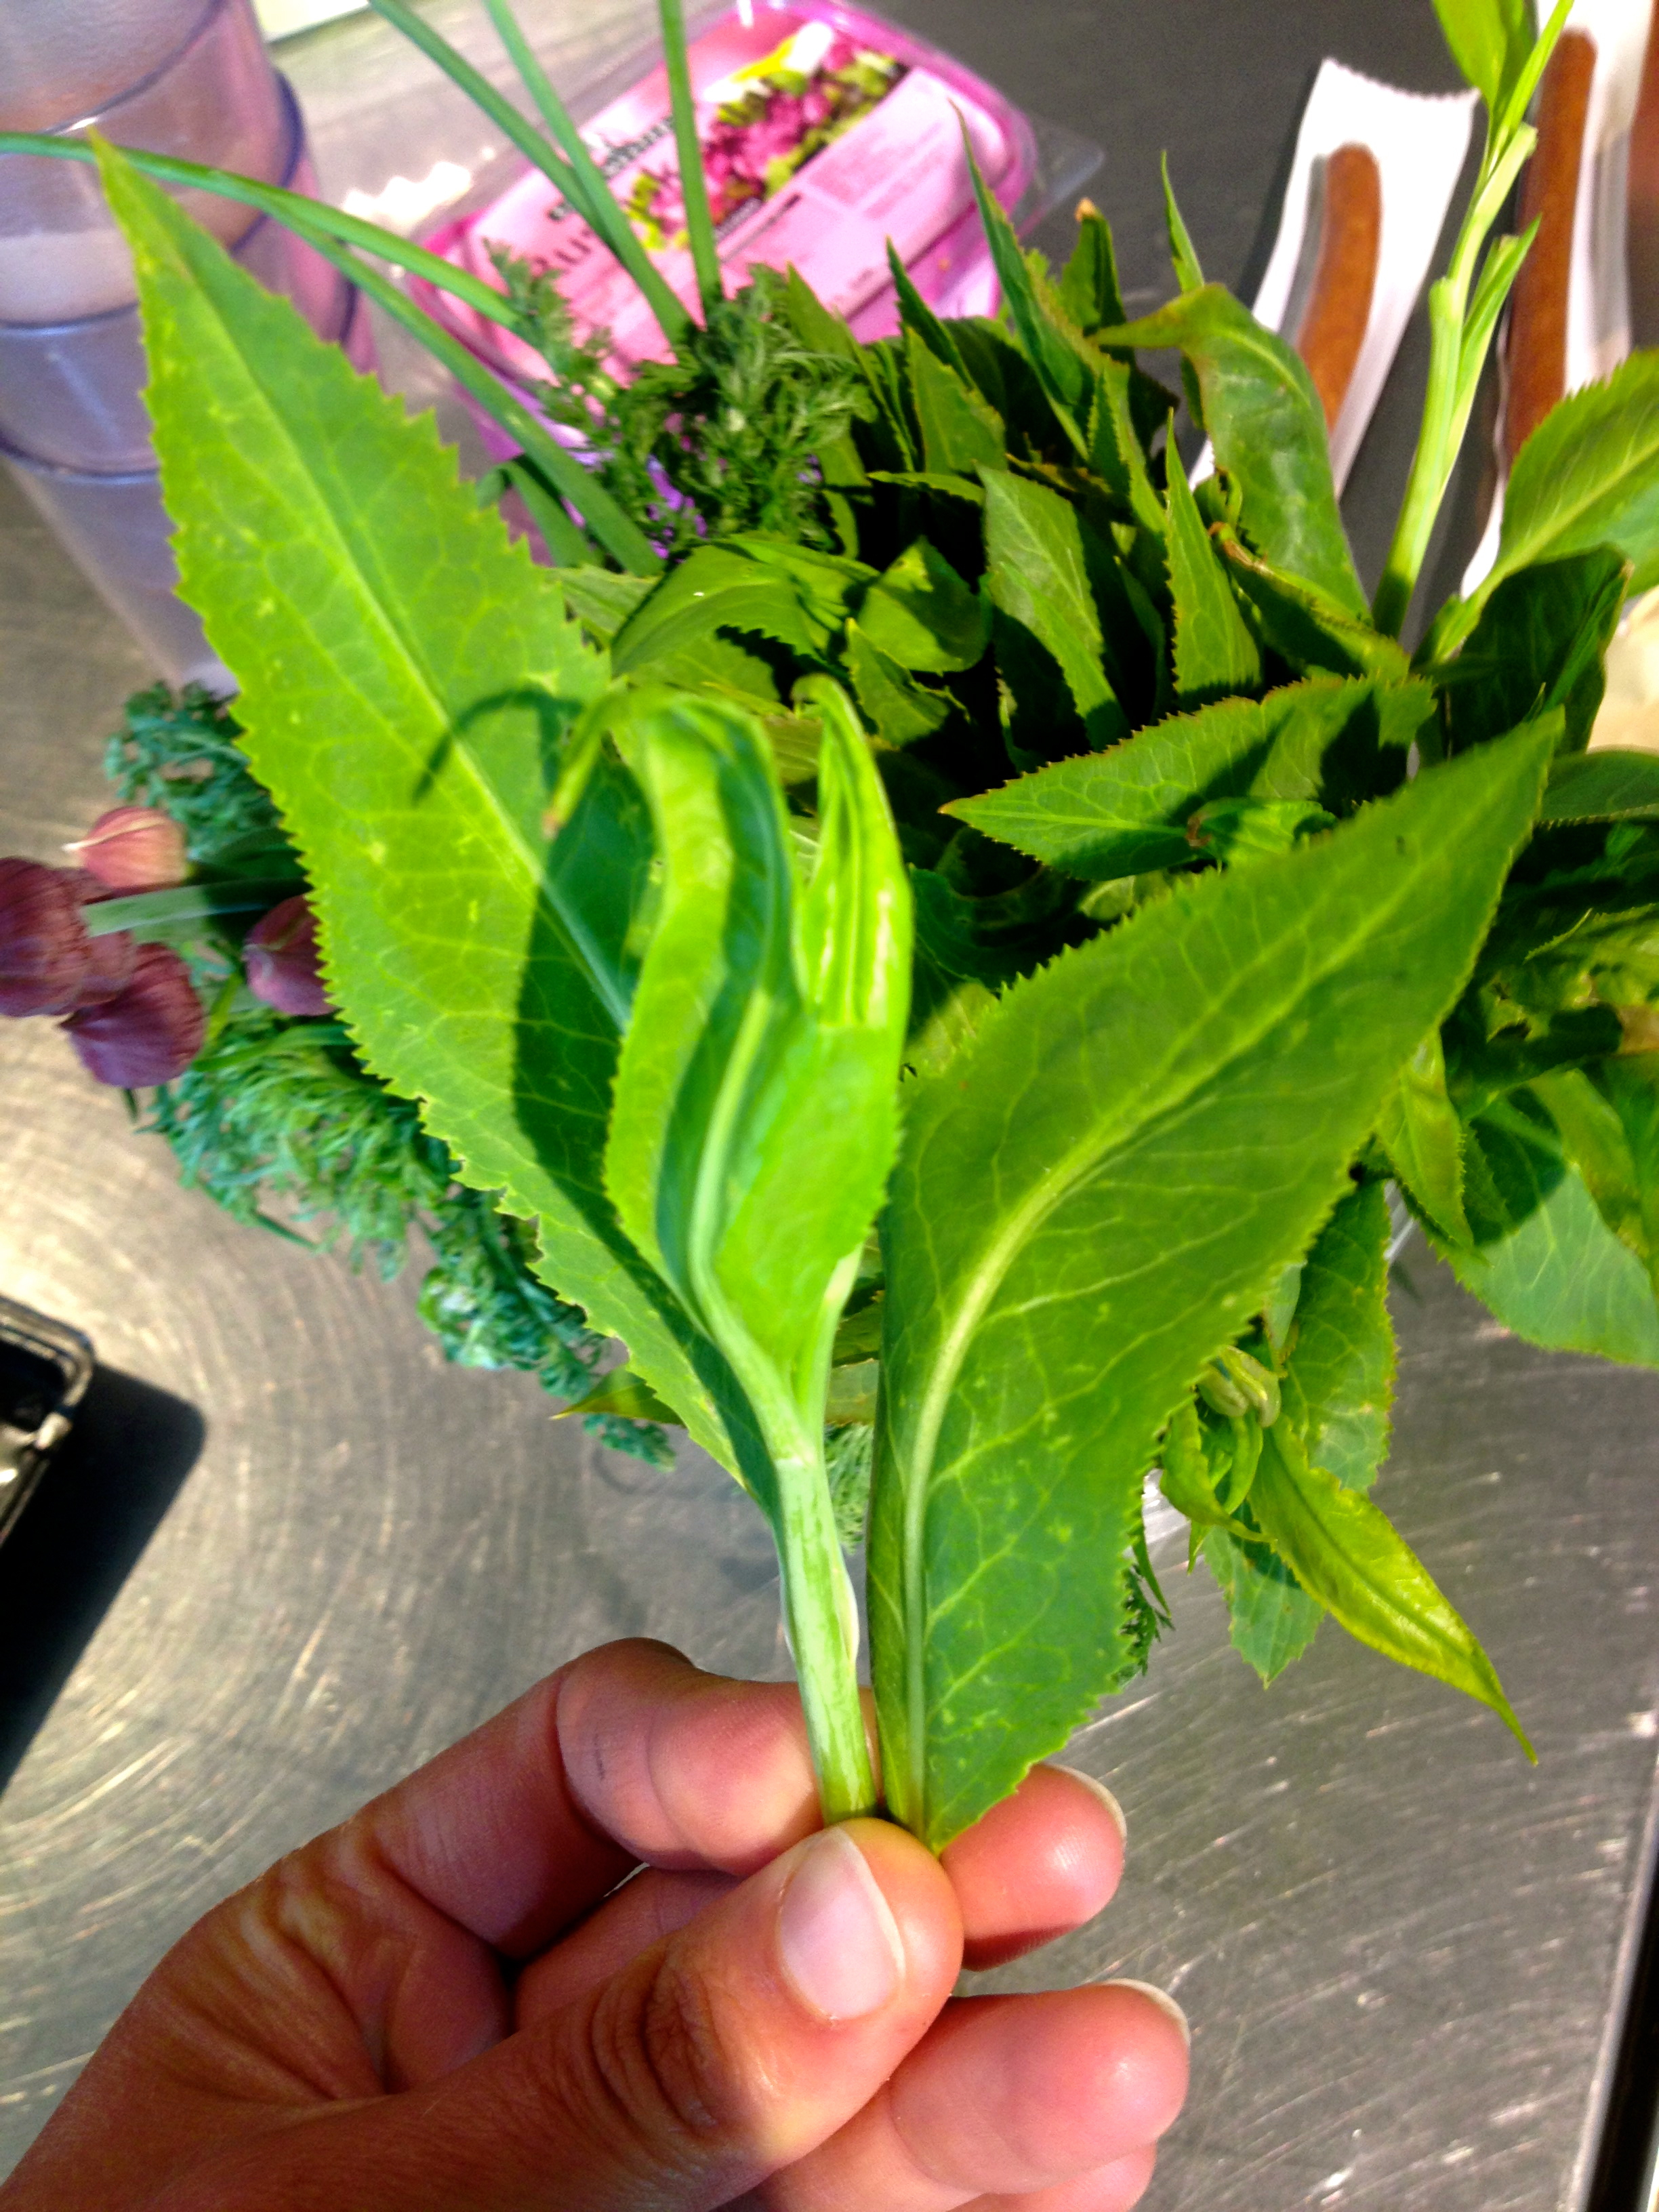
Lepidium latifolium/Dittander: Also known as “pepperwort” or peppergrass, the leaves are very spicy in a deliciously wasabi, make-the-upper-nasal-tract-sting kind of way. Very strong - a little goes a long way and I like to use it to give brightness to richer fare, such as silky cured salmon or egg salad smørrebrod.
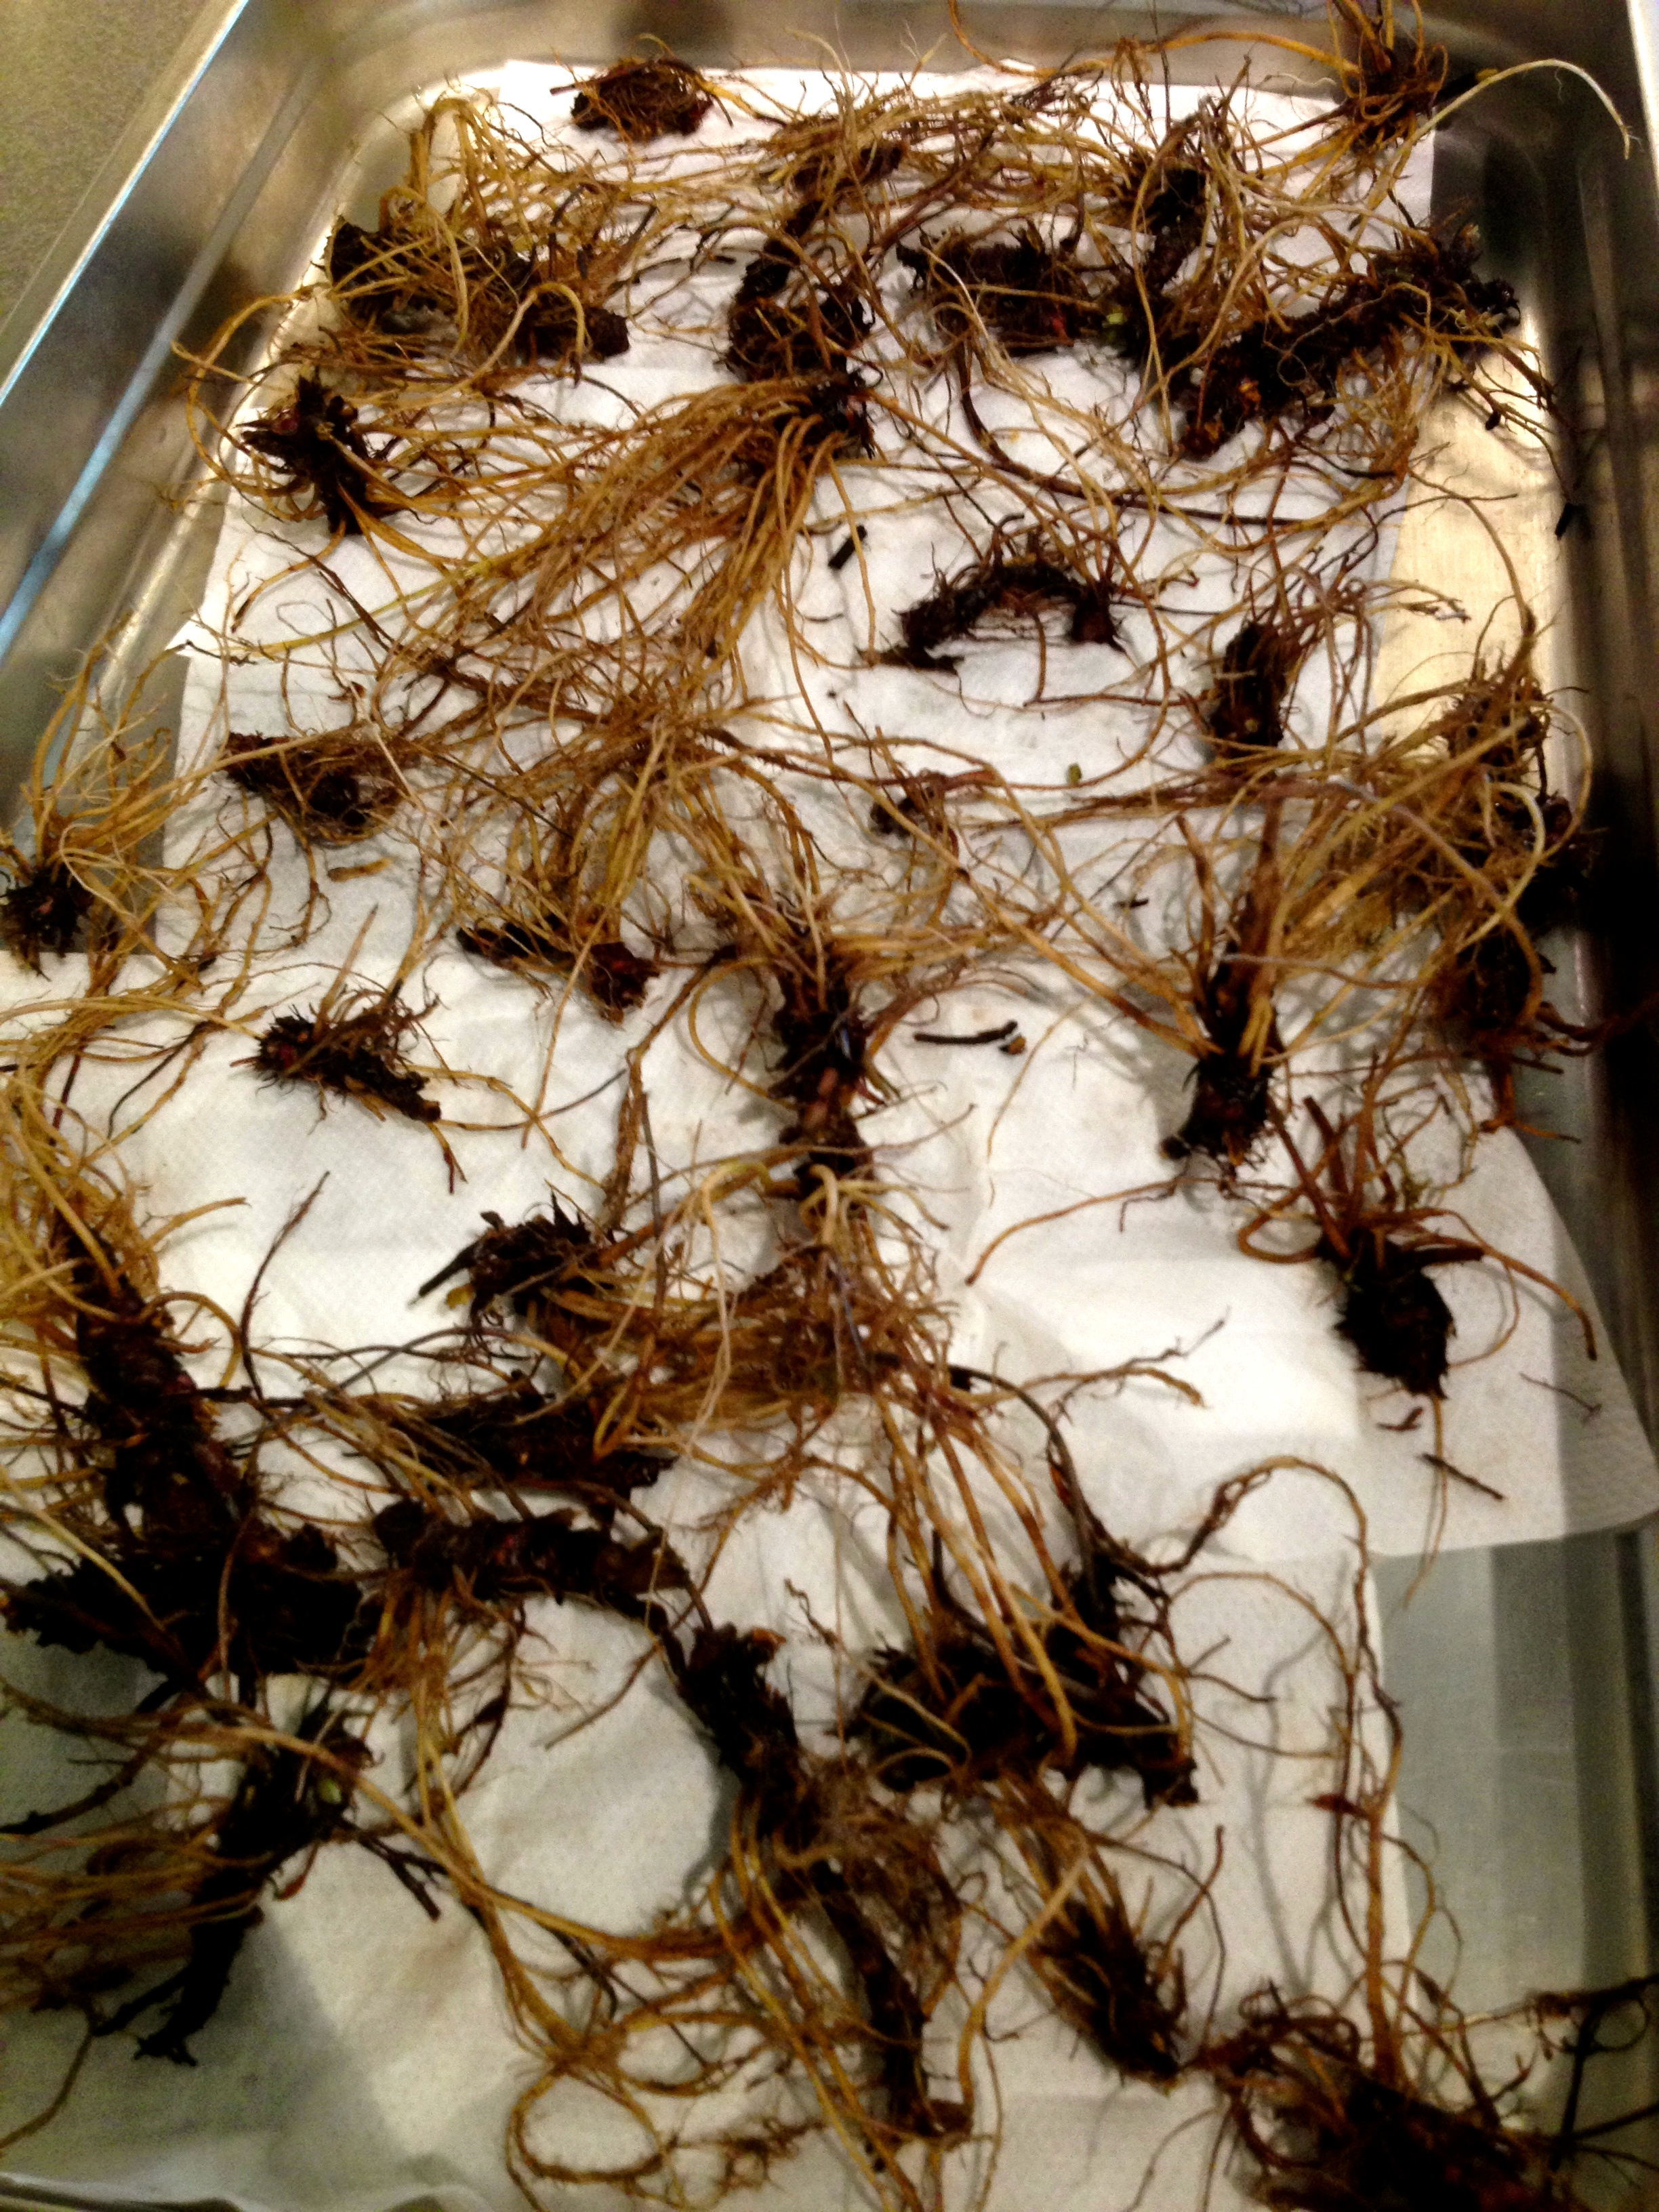
Clove root/wood Aven: The roots of the Geum urbanum plant with a musky, clove aroma and flavor. I would love to find this one in the Bay Area!
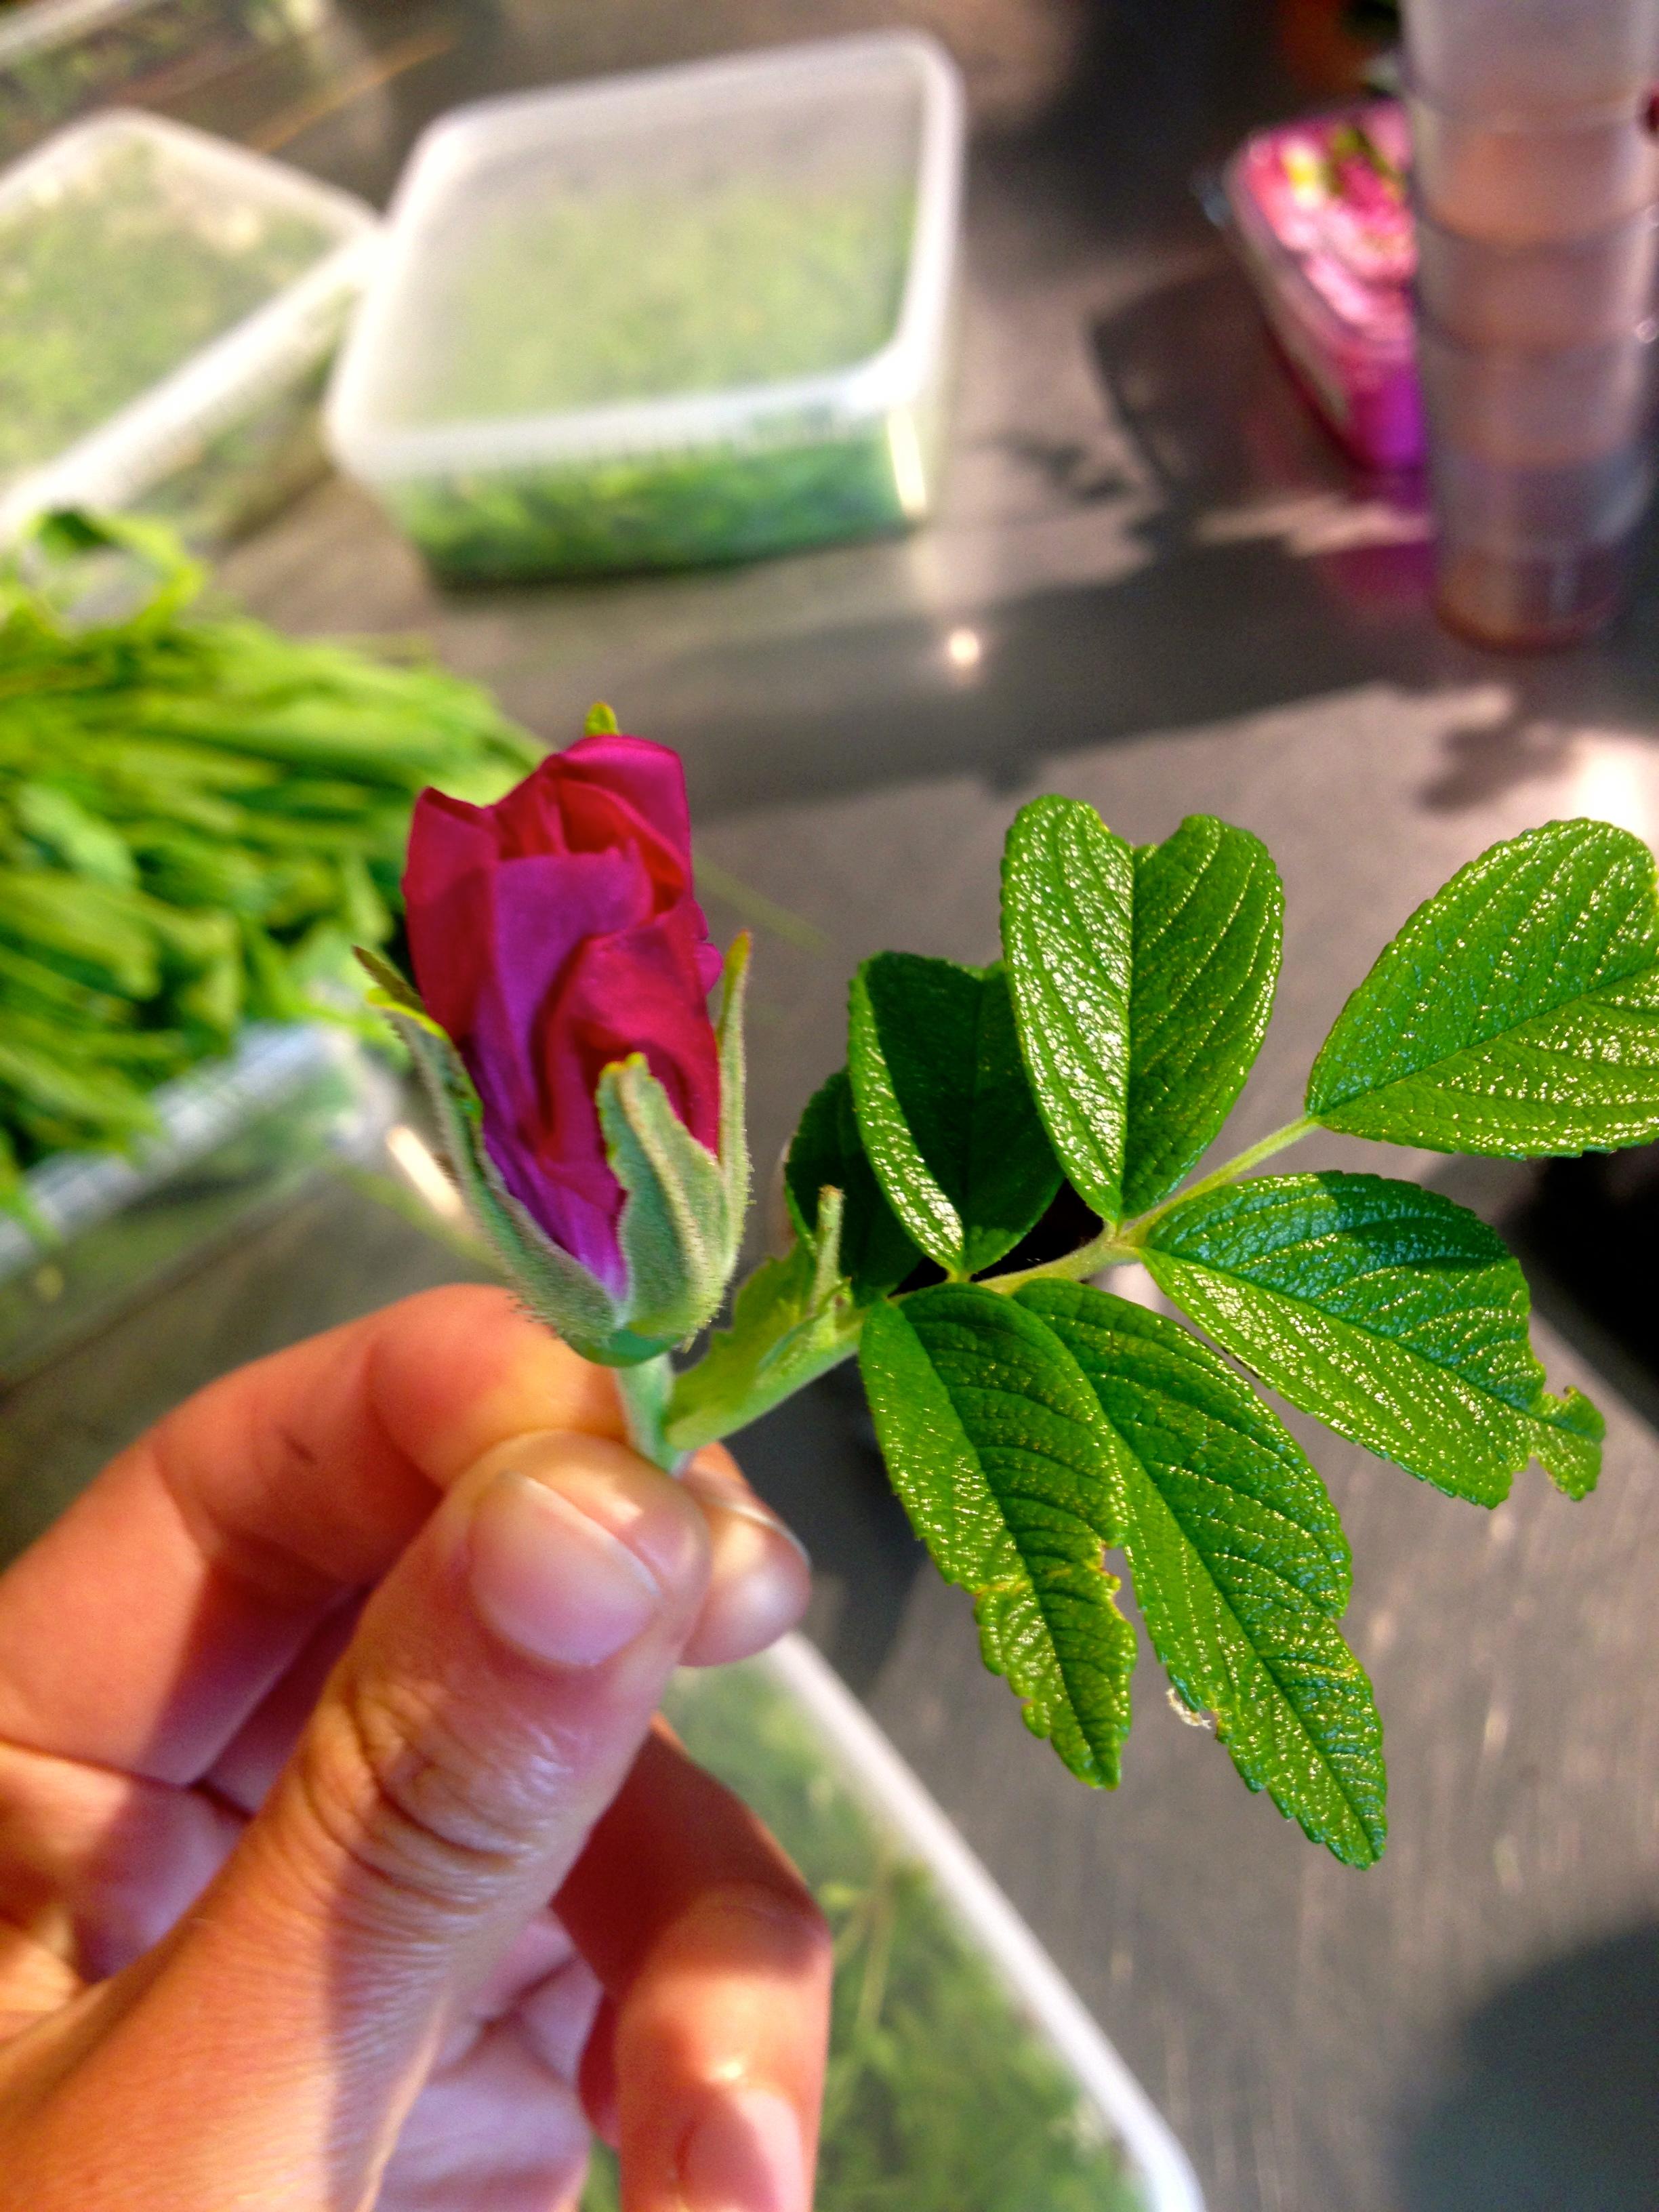
Rosa rugosa: Common name “beach rose”, very strong rose water smell as opposed to the softer, perfumey and often too ladylike smell of conventional roses. This vibrant flower can be found on most coastlines (including Northern California!) and adds a beautiful floral aroma to foods and beverages, such as the Danish Summer Cocktail.
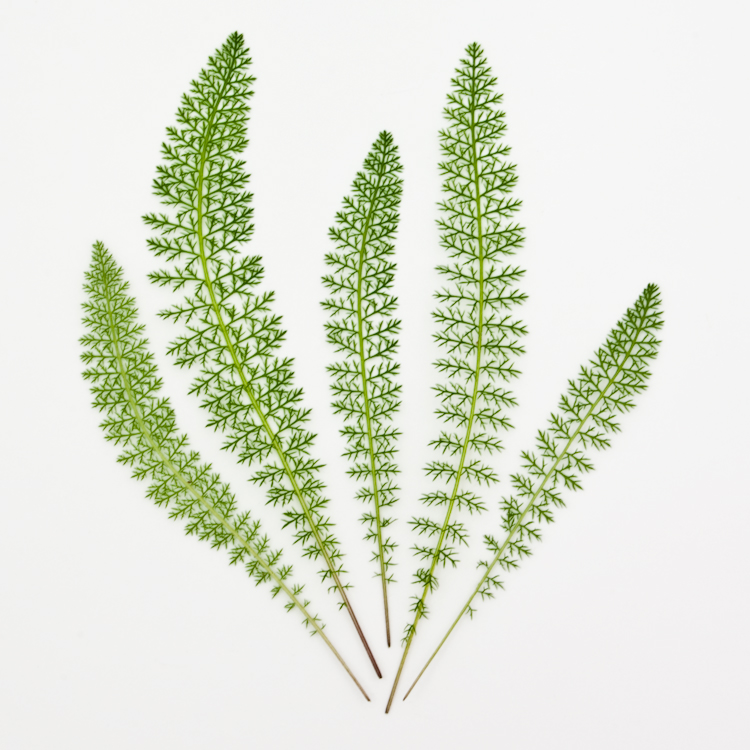
Image courtesy of http://www.christinecotephoto.com/Images/Yarrow.html
Achillea millefolium: Common name “yarrow”, this lacey looking plant is more commonly used for medicinal purposes, such as bug bites and wound healing, but also has a nice subtle vegetal taste and is good as you’d use most greens. Can be eaten fresh (preferably when smaller, cut up small and use in salads) or cooked.
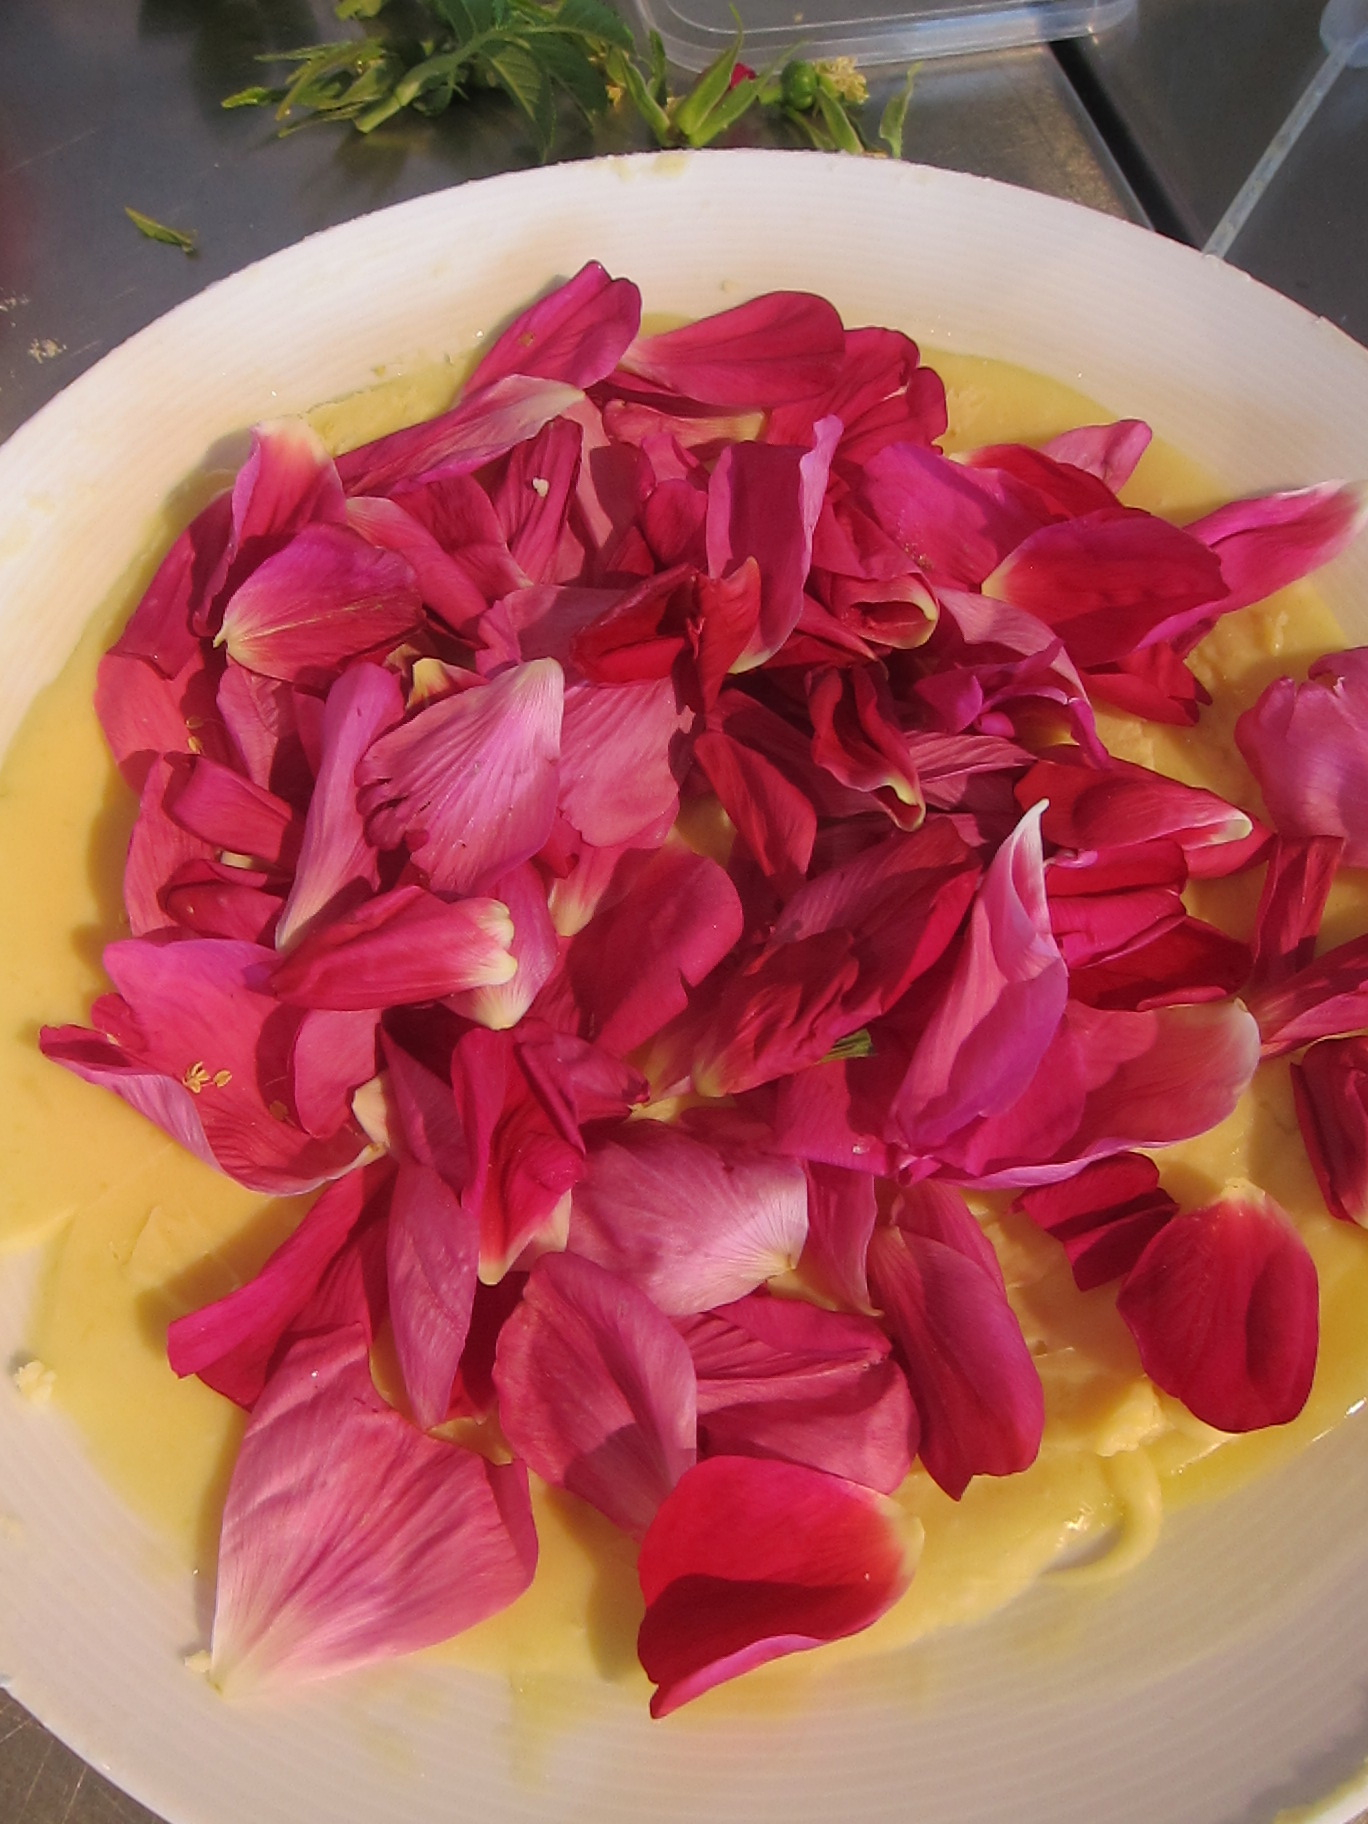
Beach rose enfleurage: Solid, odorless fat used to capture the floral fragrance.

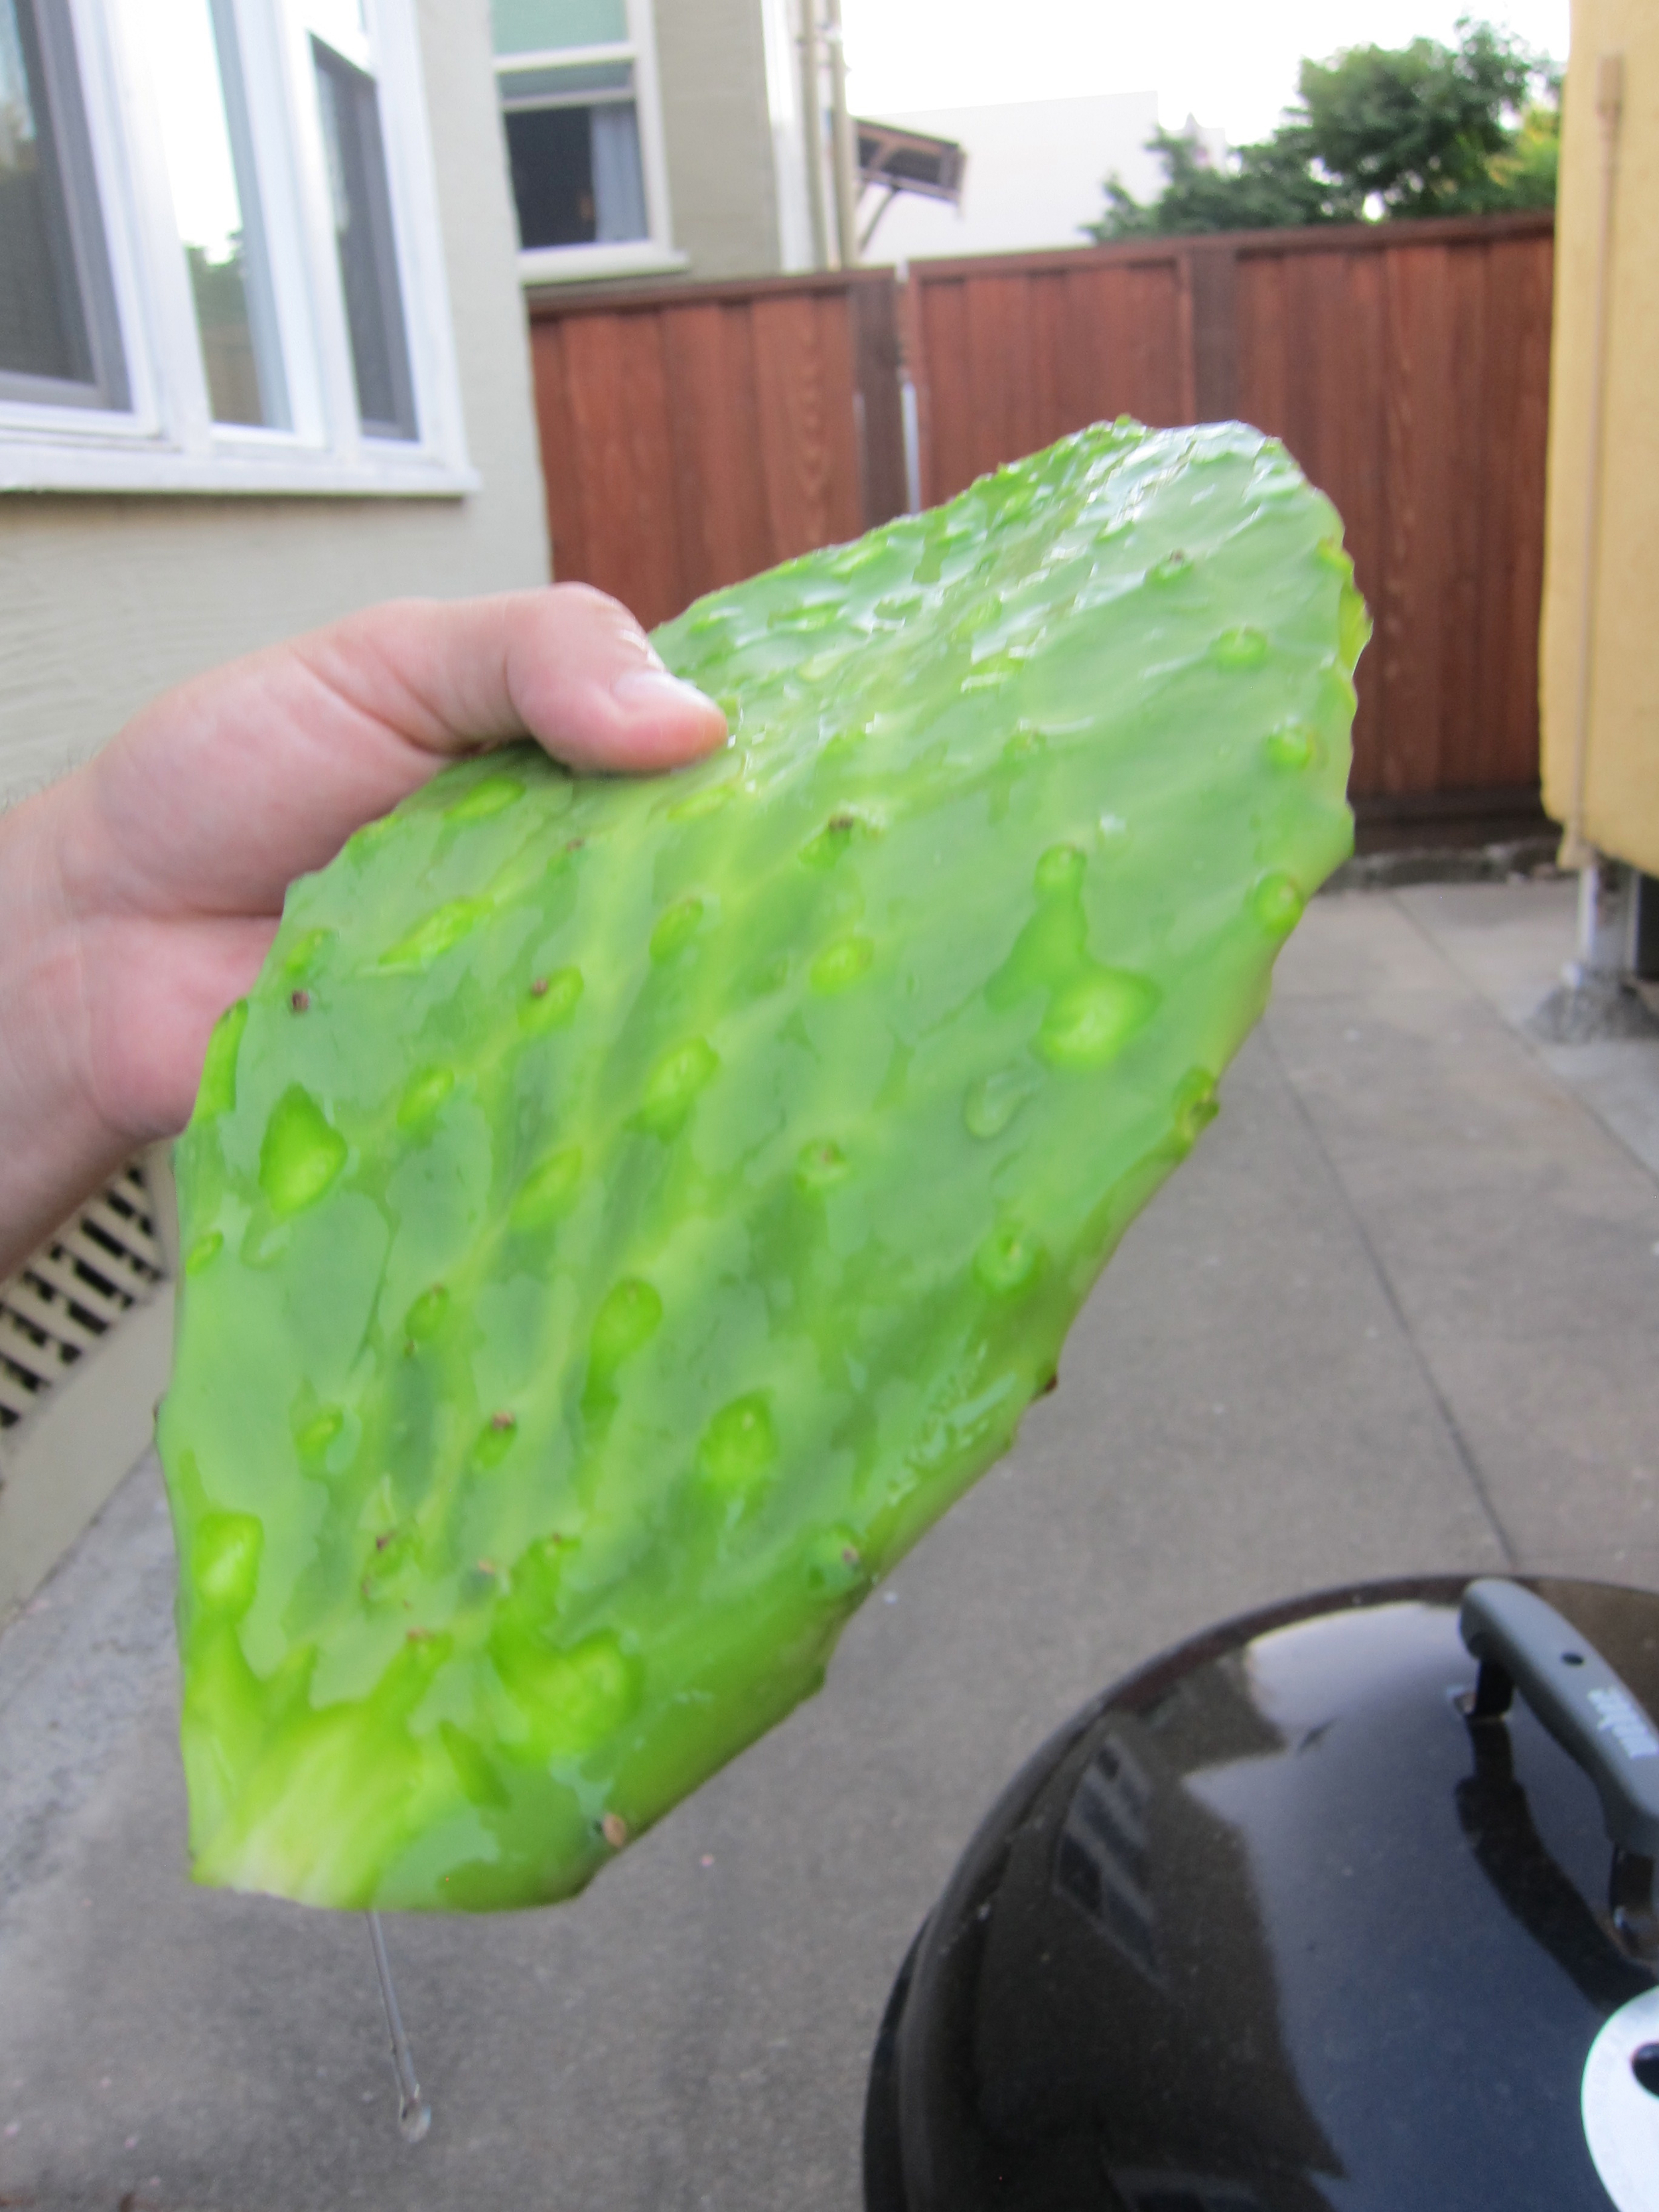
Processing Nopales
Cacti can be sticky business.
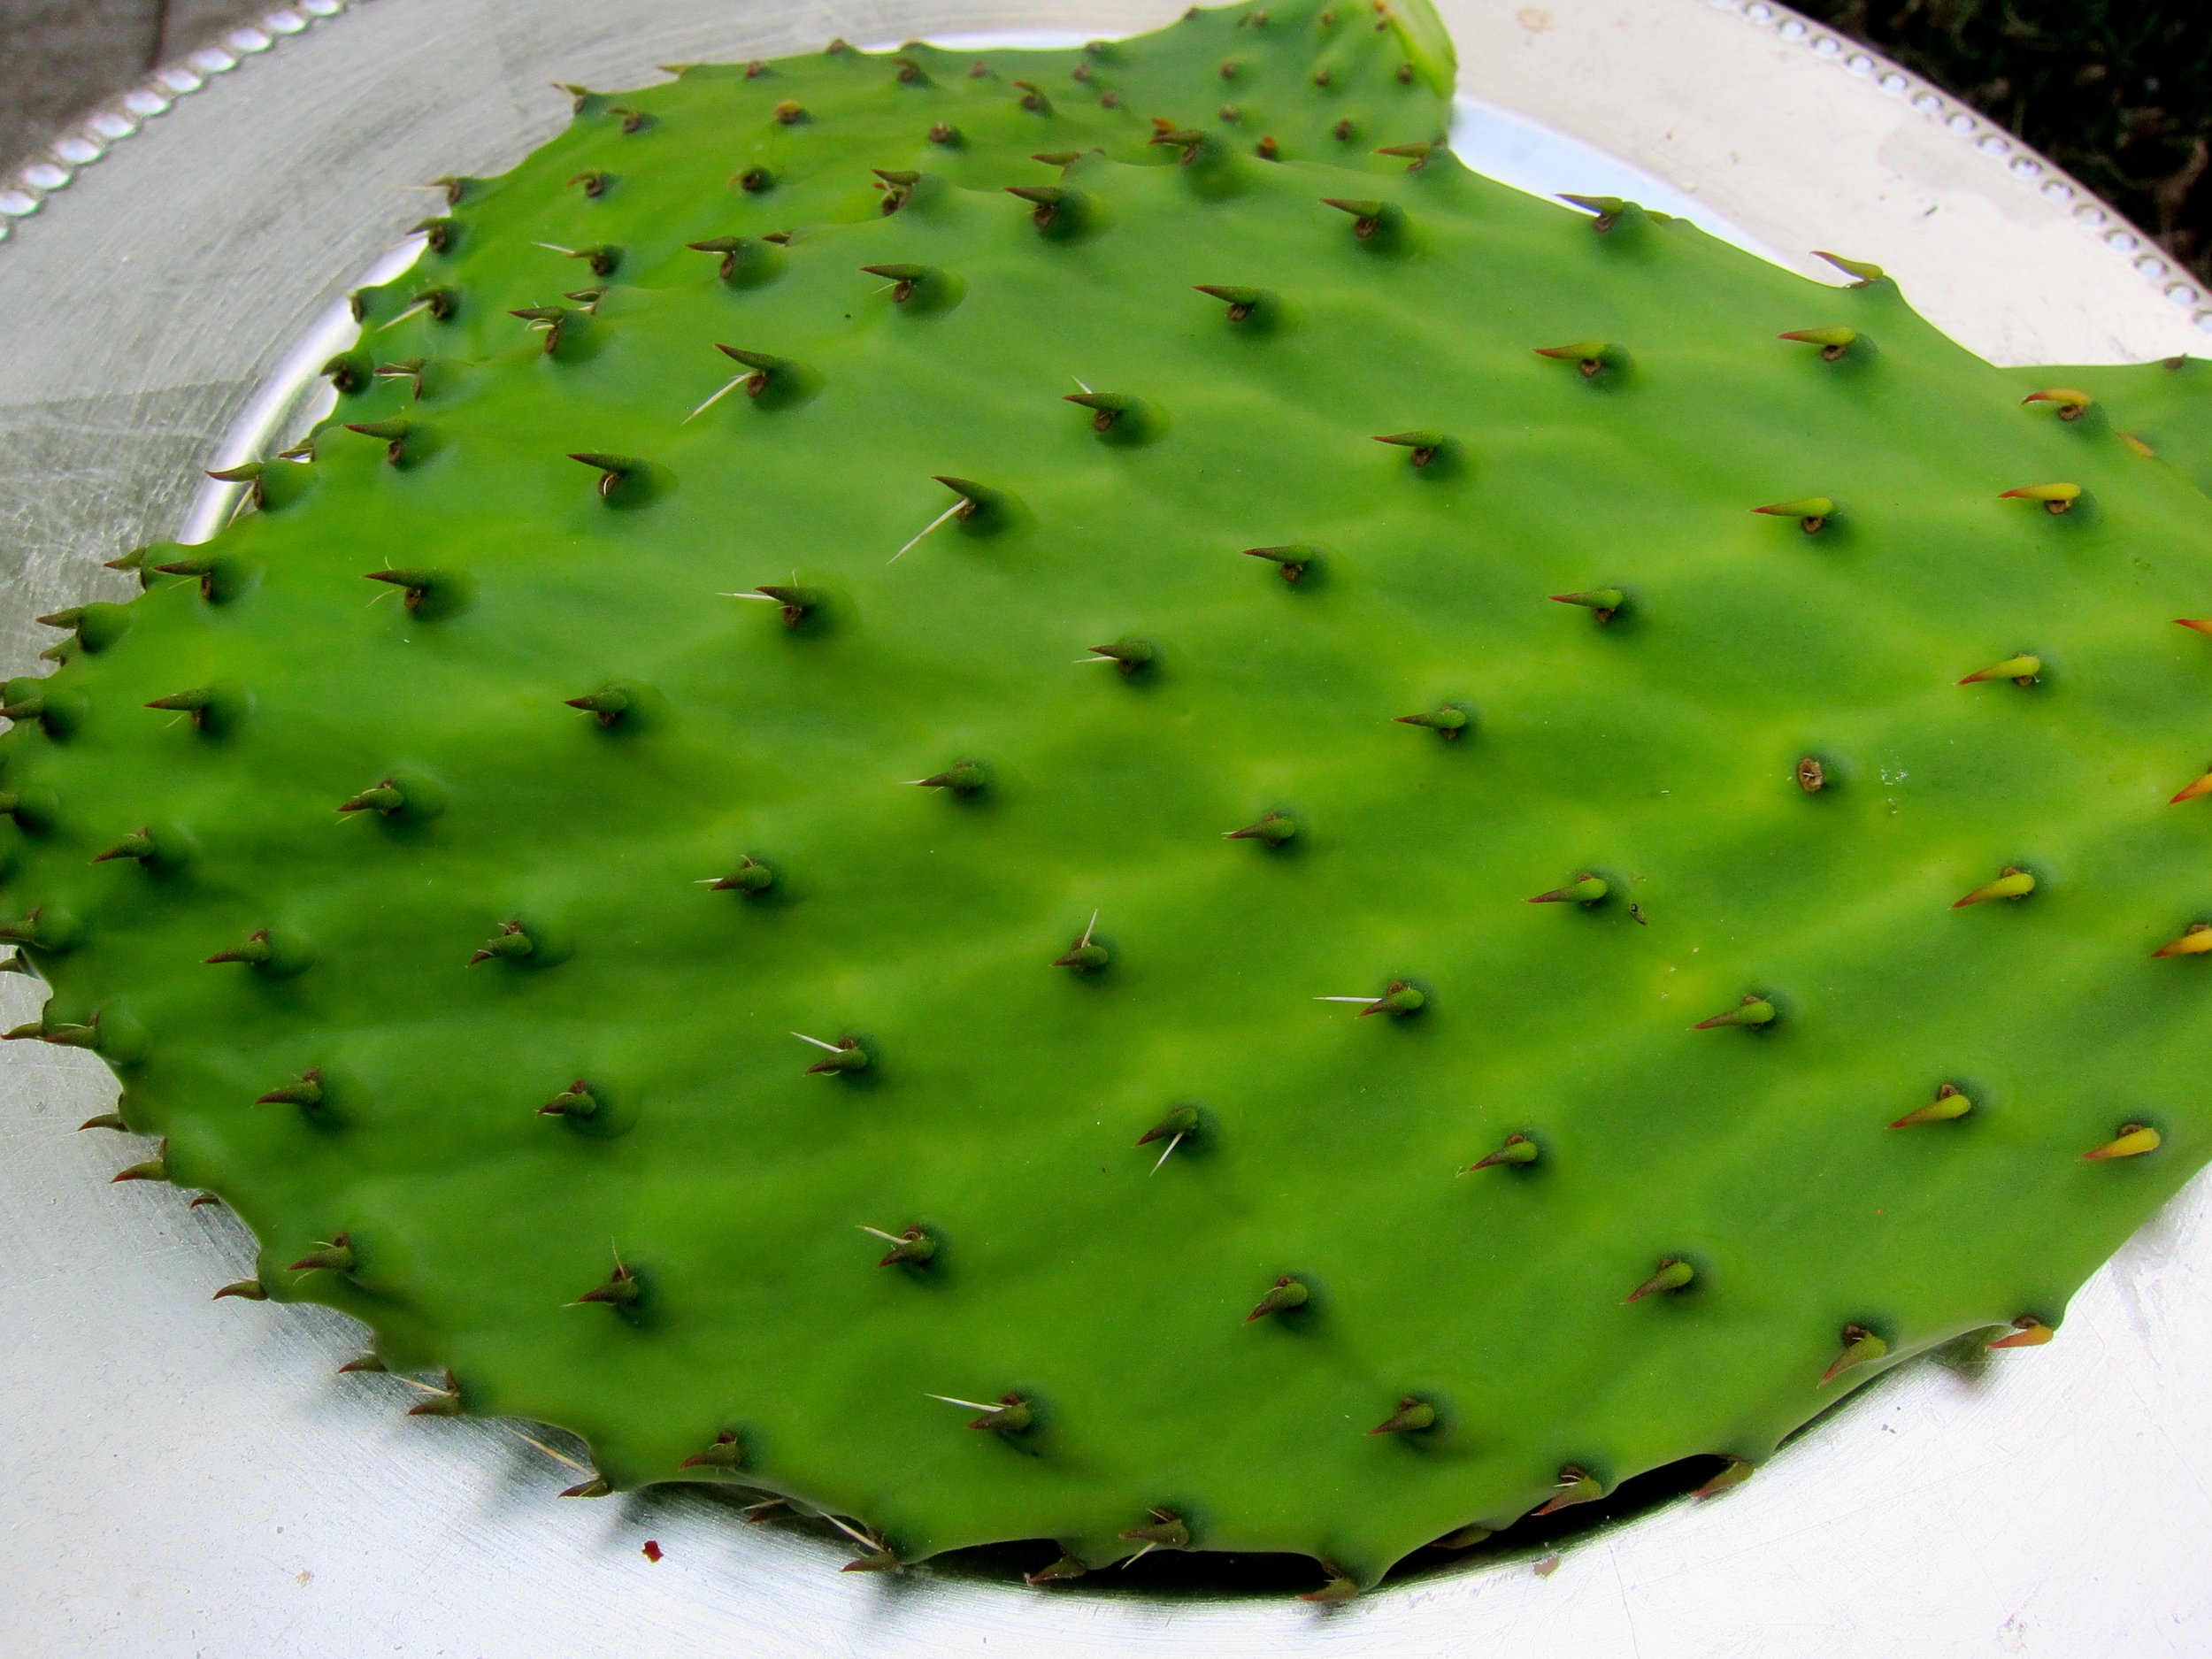
Nopales can be sticky - it’s true. But, when your front yard hands them to you, what choice do you have but to work with them?
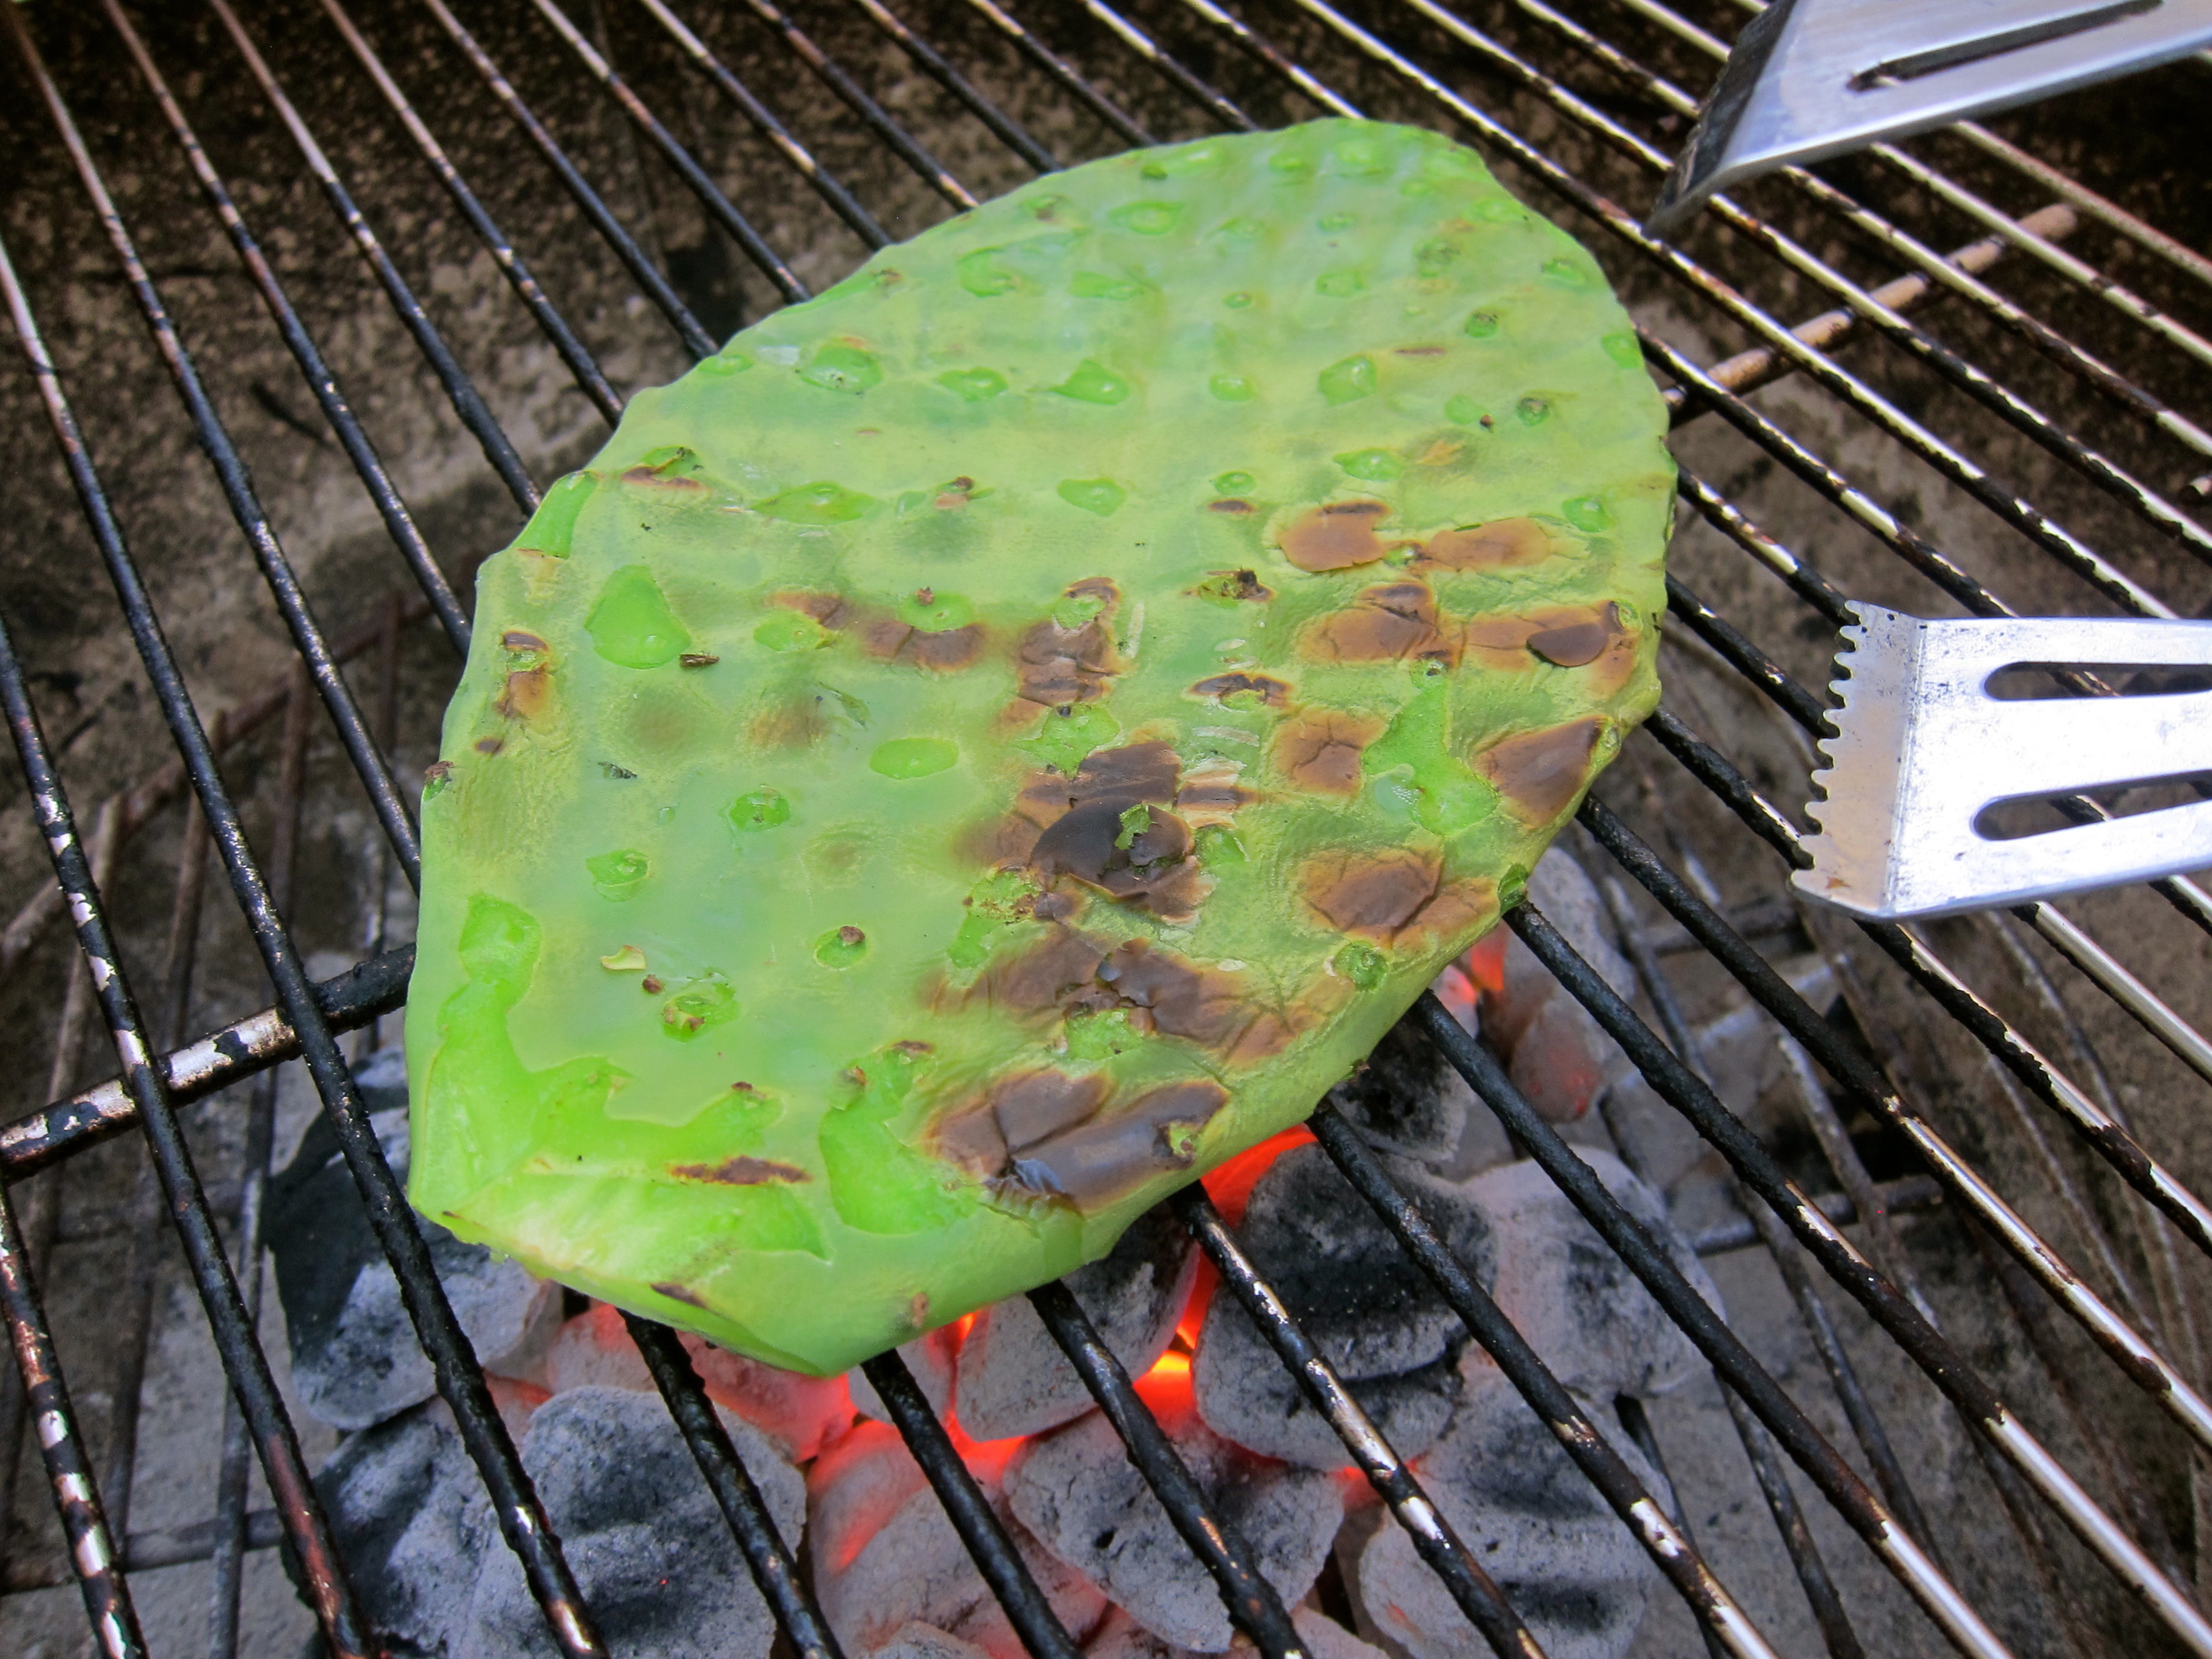
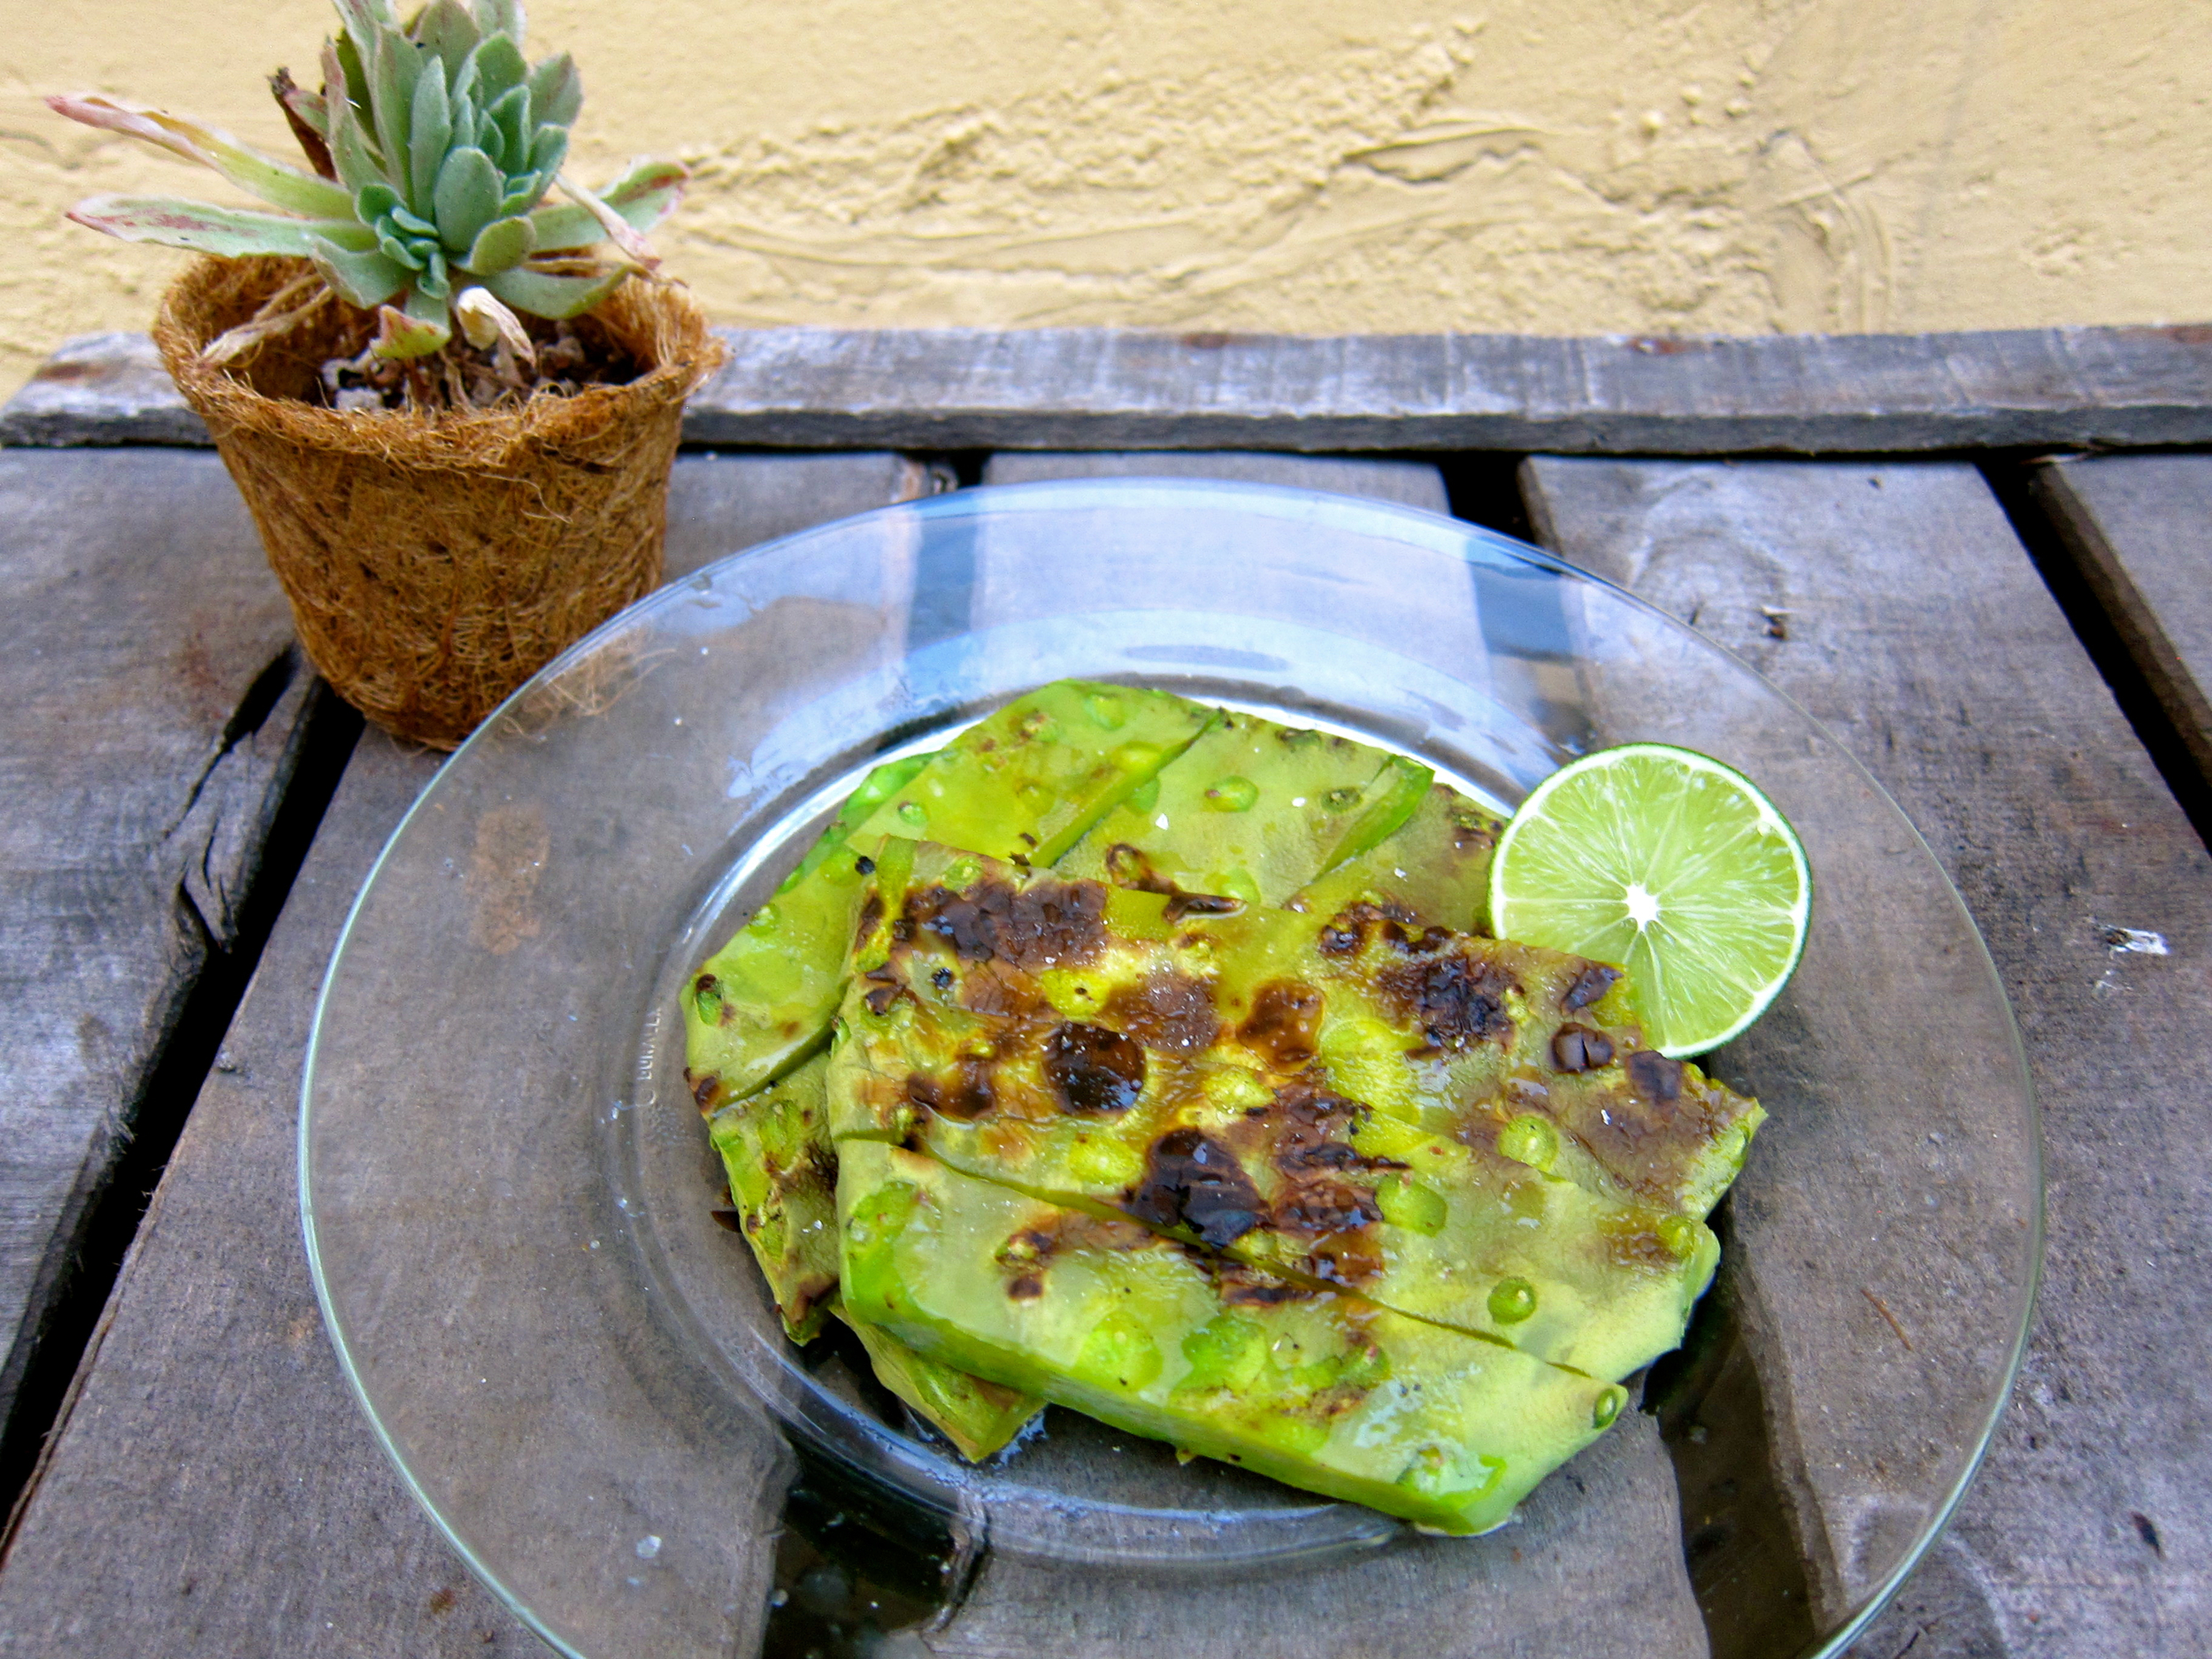
The same succulent plant in my yard provides a plethora of prickly pear (tuna) that I have experimented with many times, but this was my first foray into the flat leaved nopales. The processing was leagues easier than their prickly fruit counterpart, which was refreshing and less painful, but they did have a pretty distinct sliminess that you have to get used to. We also tried pickling them, which helped with the sliminess a bit and both the grilled or pickled nopales were great in tacos and on chili. Also delicious in fried in cornmeal batter with smoked paprika!
To Process:
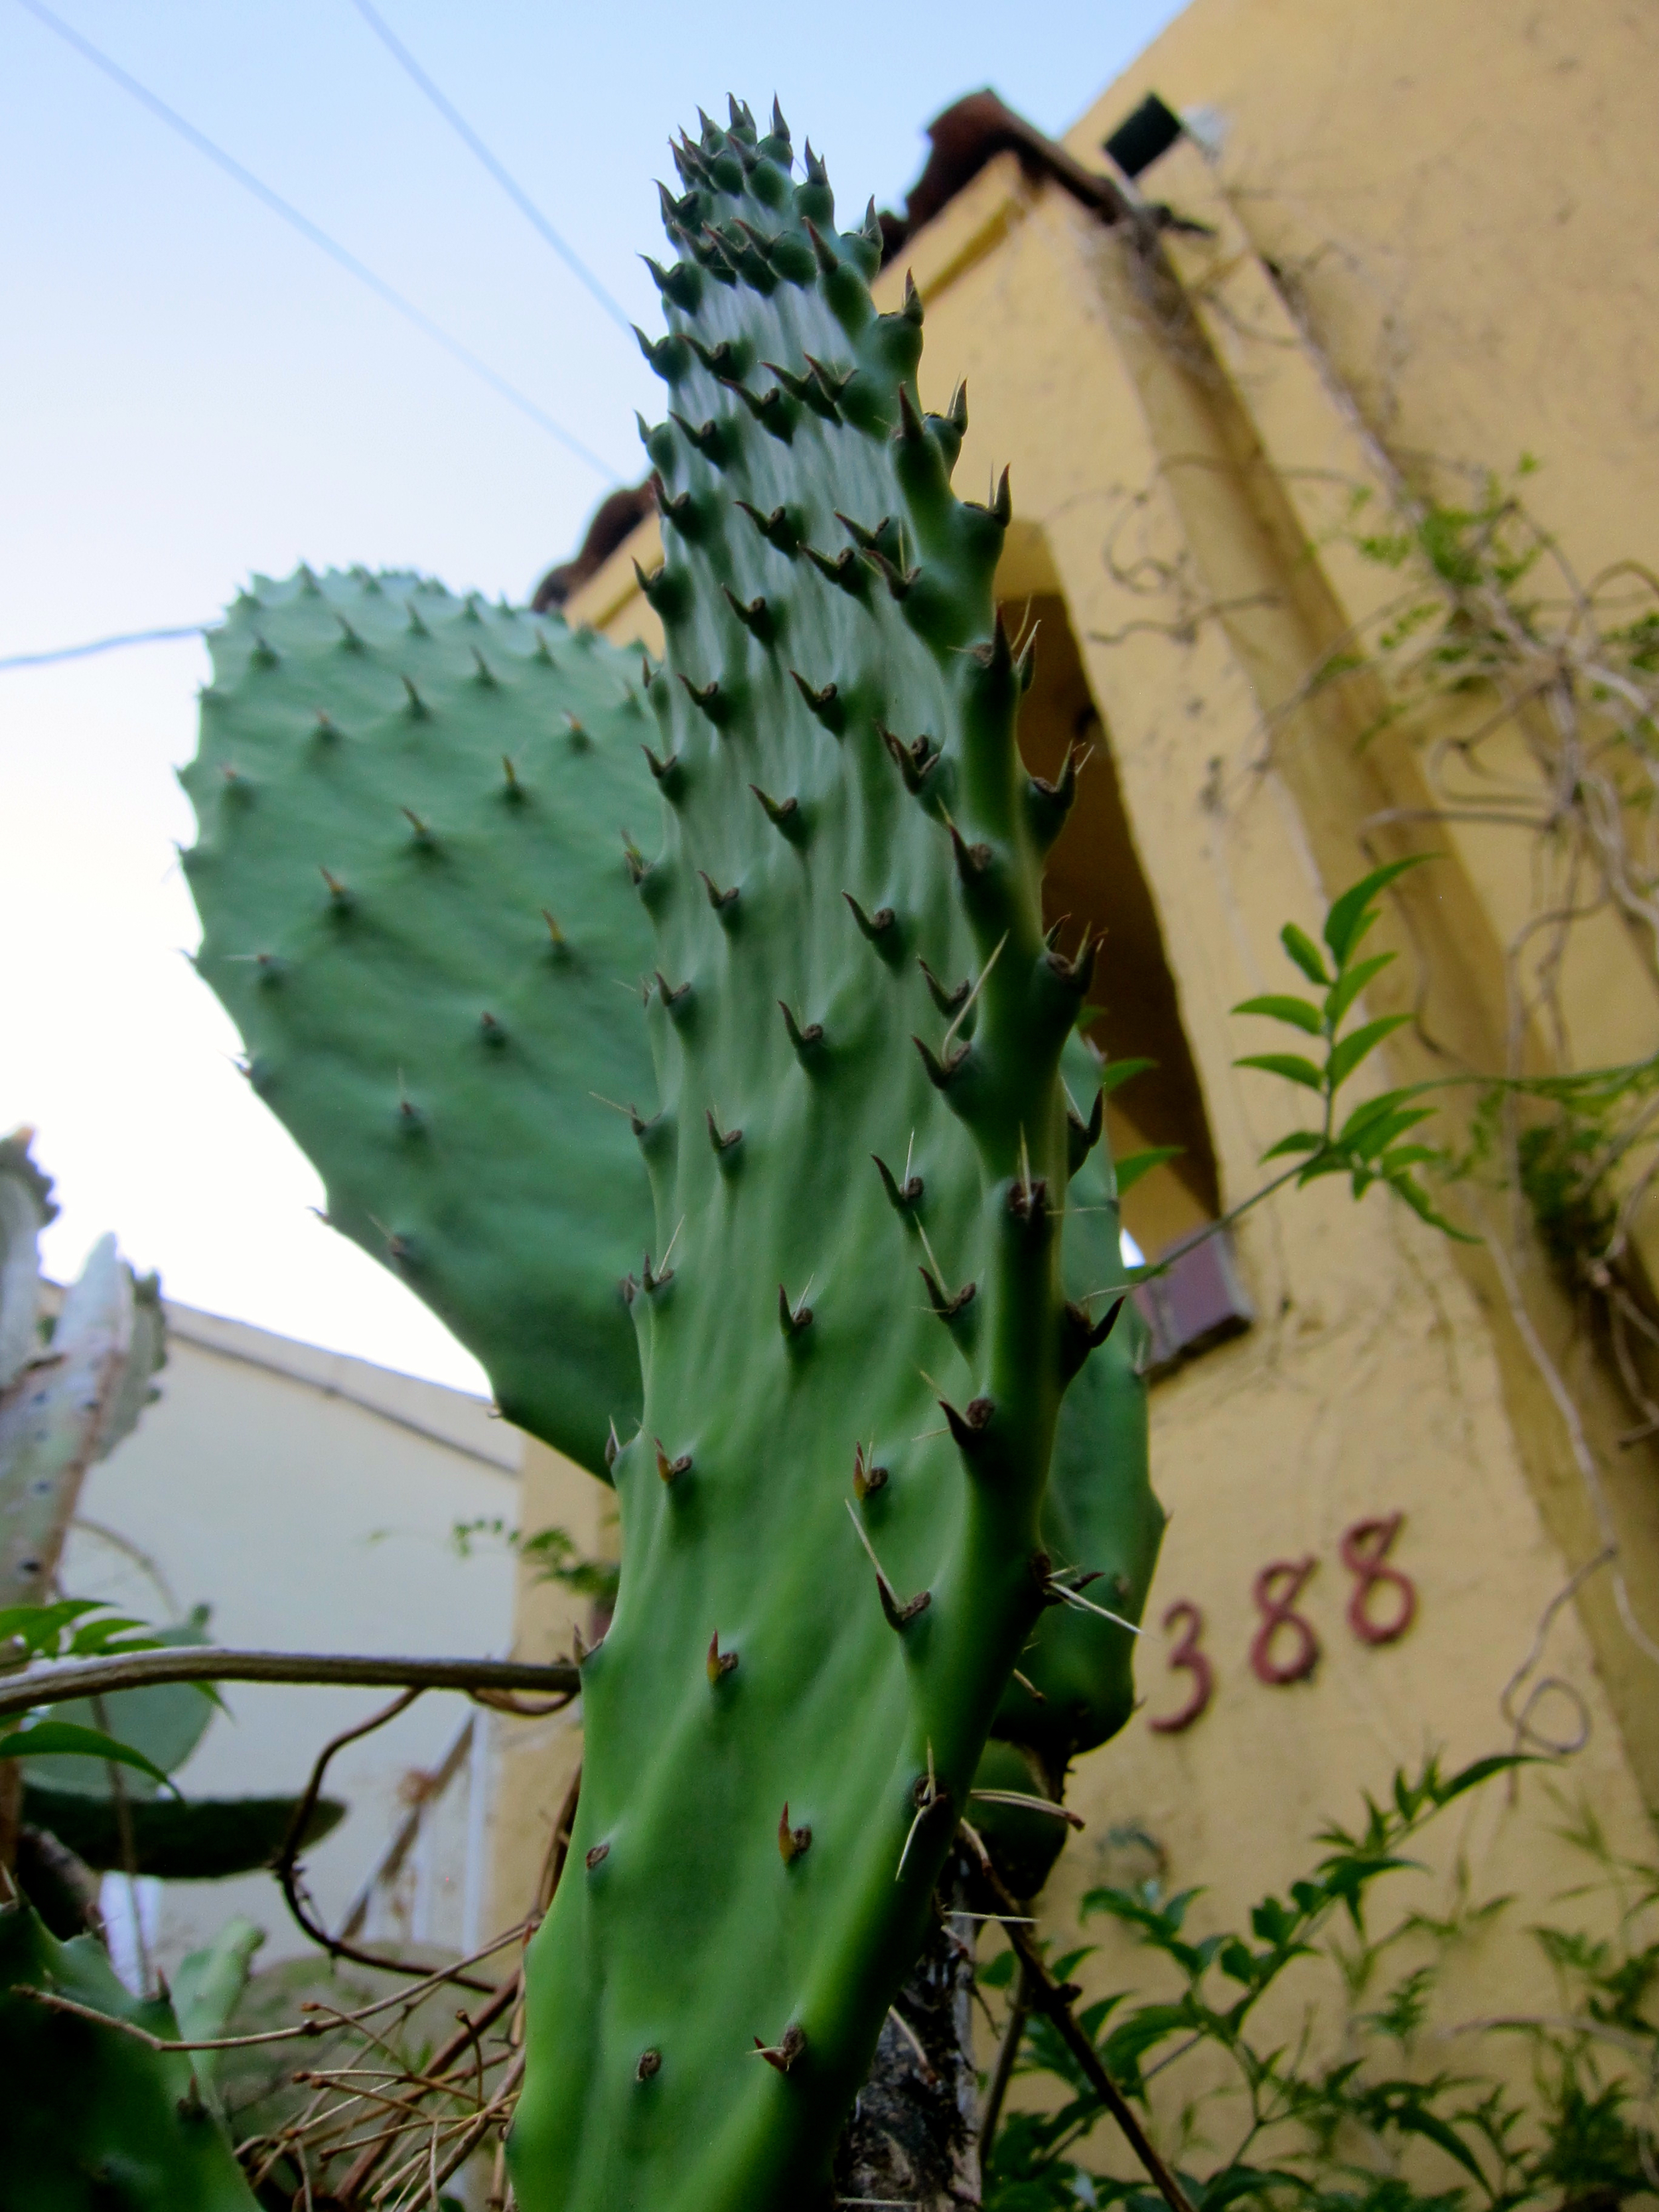
Find the youngest, most soft and plump nopale, as it will make your life easier and be much tastier.
Remove spines with a knife.
Grill on high heat until blistering on both sides.
Slice and eat with tacos or atop other such dishes.

Dandelion Greens Pesto
Put some wild in your pesto spread.

Put some wild in your pesto spread. The added dandelion greens make a lighter, bitterer tasting version of a classic cheese-free pesto. Up the ratio of greens to other ingredients if you desire an even lighter, less rich pesto. Makes about 3/4 cup.
1/2 cup raw pine nuts
1 bunch fresh basil leaves, plucked and chopped
3-4 tablespoons olive oil
1/4 - 1/2 teaspoon salt
2-3 cups chopped dandelion greens
Juice from 1/2 lemon
Combine pine nuts with basil, 3 tablespoons of olive oil, and 1/4 teaspoon salt in a food processor.
Once blended, incorporate dandelion greens and more oil and salt as needed to create desired texture and flavor. Blend in juice from 1/2 lemon.
Pesto may be frozen for up to 1 year, refrigerated for up to 1 week, or used immediately.

Dandelion Greens
Nature's bitter bounty.

Foraged dandelion is the “bread and butter” of wild greens. I am not exaggerating when I say any time I walk farther than a block in my neighborhood (and beyond) I come across delicious tufts of dandelion. Oh yes, people stare, but it’s worth coming home with the makings of a salad or ingredients to sauté with some garlic.
They’re rather bitter, which some don’t like but others, such as myself, greatly appreciate. If the bitterness is too much for you, try drizzling with lemon or vinegar.
Suggested uses: Any time you use greens such as in soups and savory porridge, salads, pesto, stir-frys, etc.
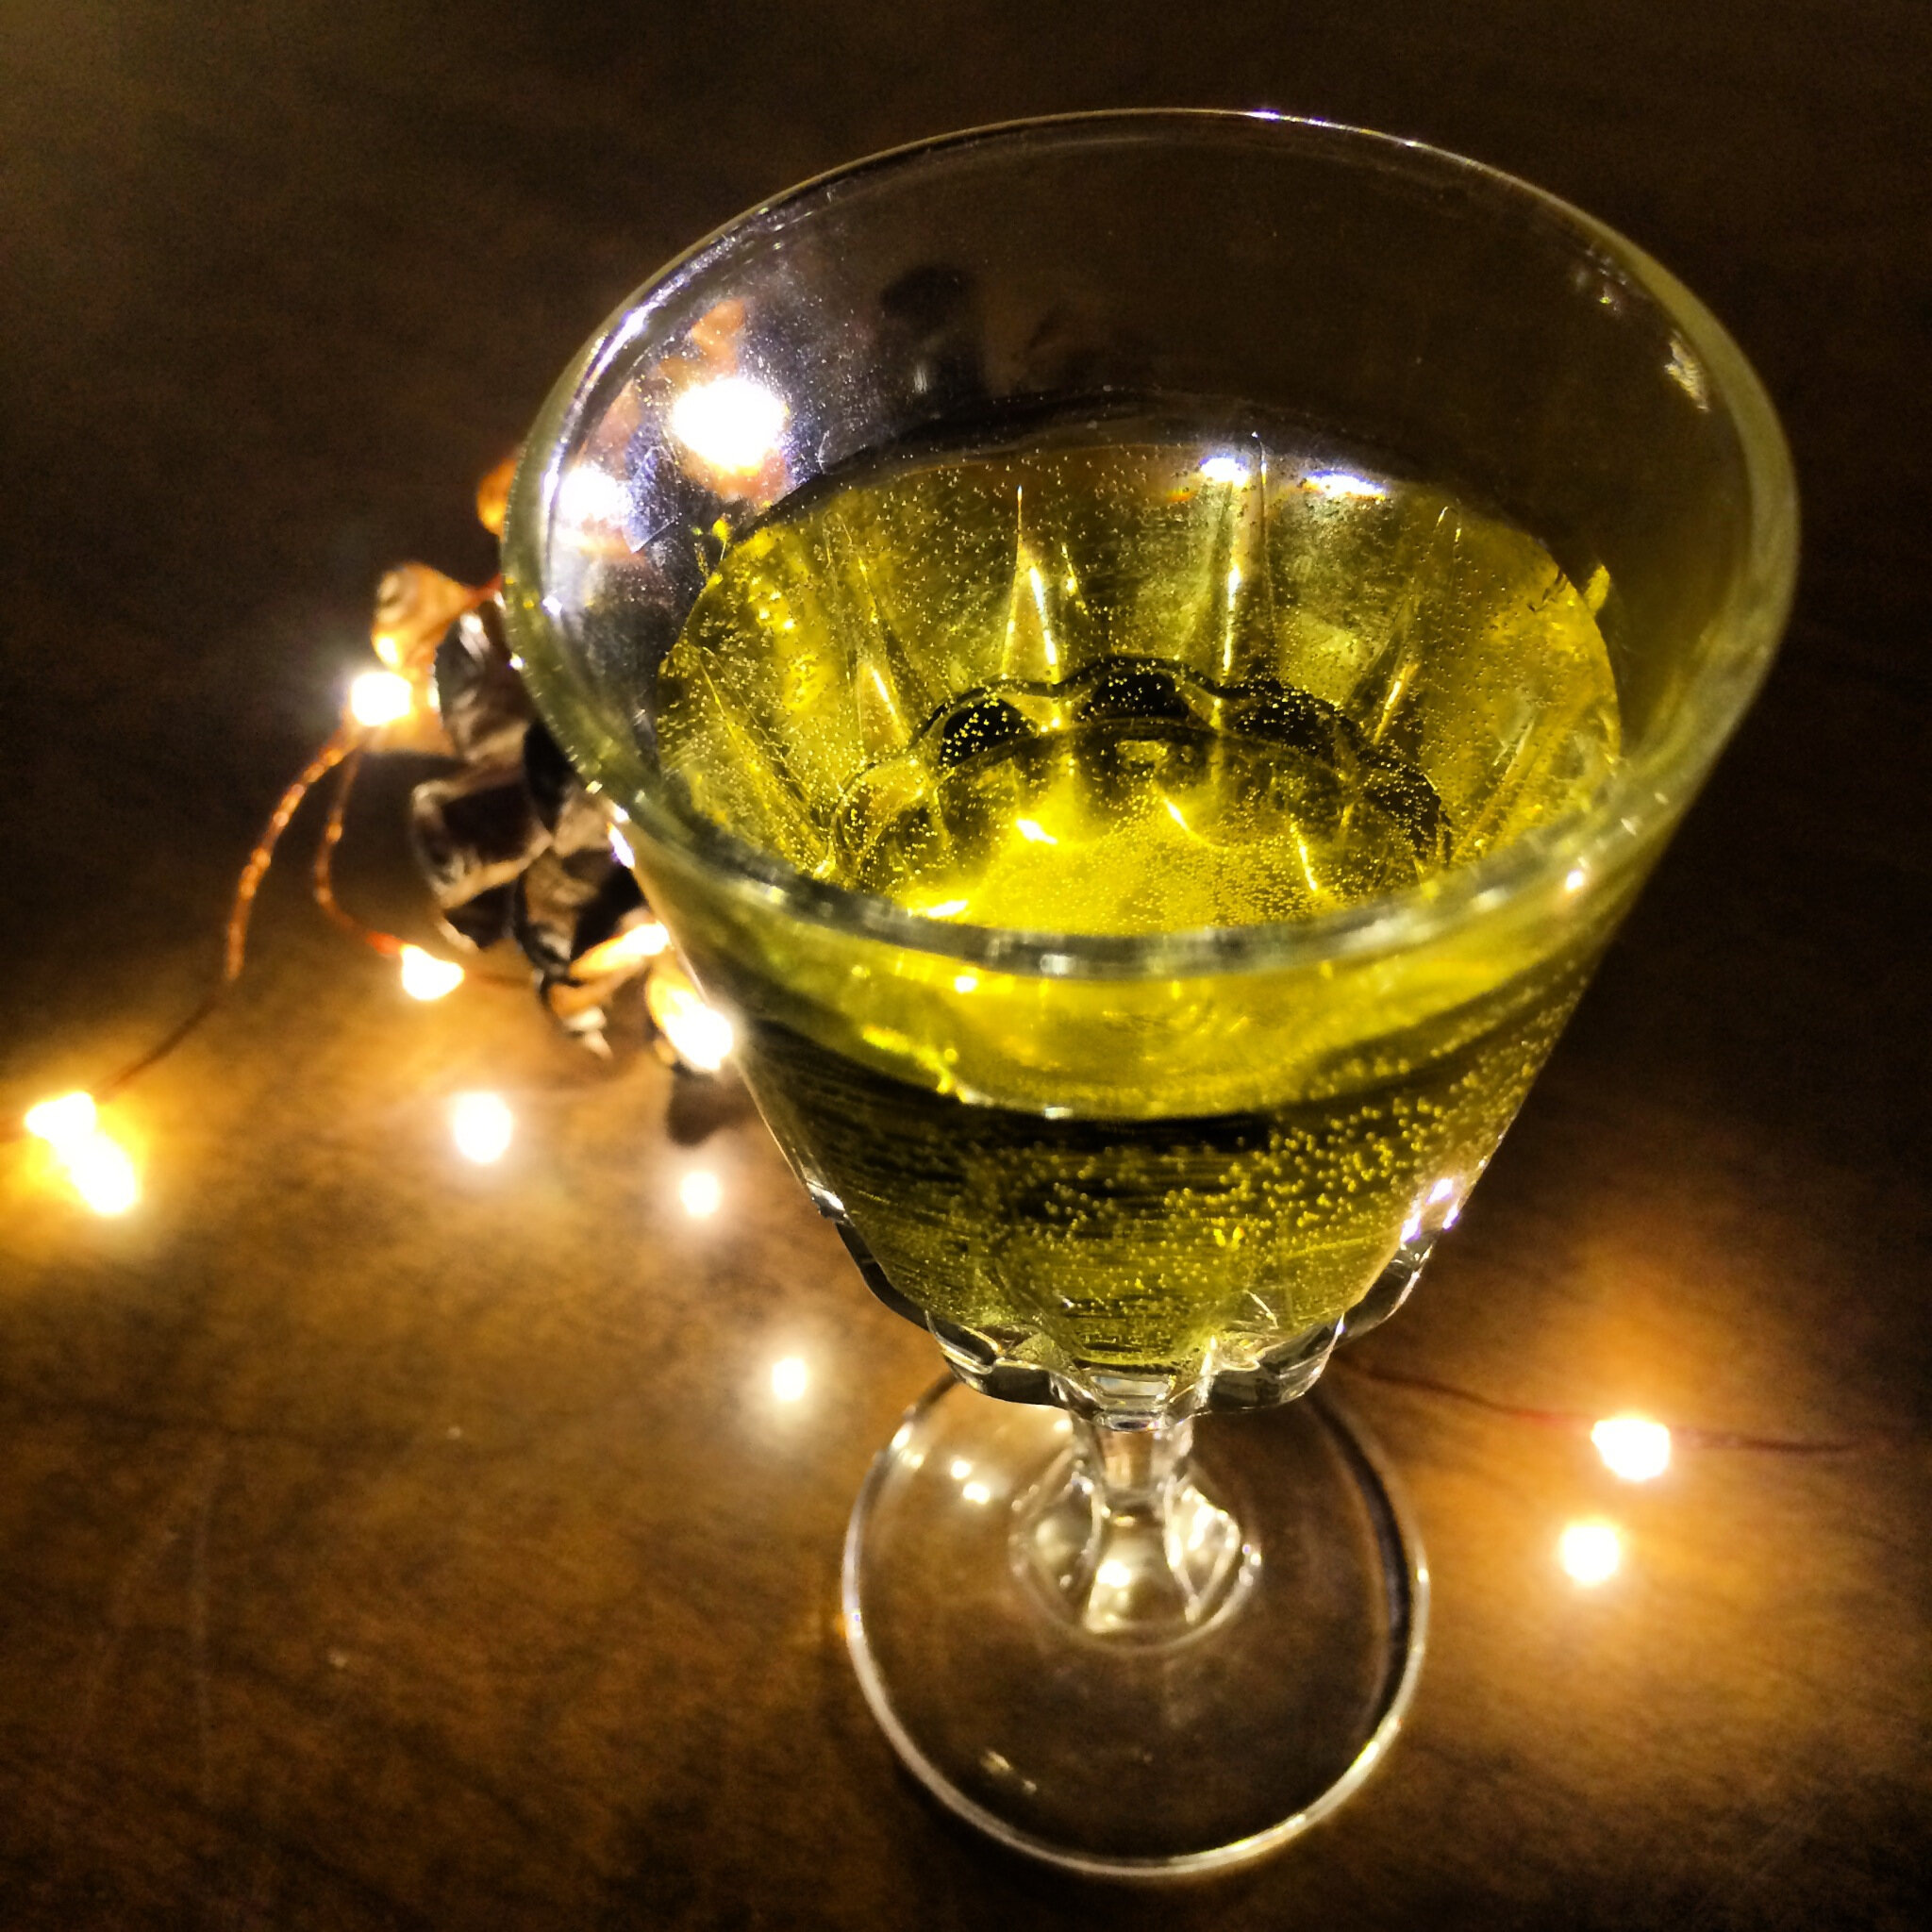
Dandelion Wine: Aged 6 months
Tasting summer.

Last June I made wine from foraged dandelion flowers that would otherwise be considered weeds. I read that in the darkest days of winter, some cultures will pull out the aged dandelion wine, usually on winter solstice, for a taste of summer. This idea intrigued me a sparked the impetus for a winter solstice party.
After 6 months, the wine had a beautiful golden color, lovely vegetal/pollen aroma and taste, and slight effervescence. Although it could use another few months of aging for a more balanced flavor, it’s definitely off to a great start. Until then!
Update in June 2014: I believe we waiting too long and the dandelion wine is now more of a vinegar! Noted for next time I make dandelion wine, at 6 months it tastes pretty good and should be tasted every month thereafter to determine when it's at its peak.
Full dandelion wine making process can be found here.

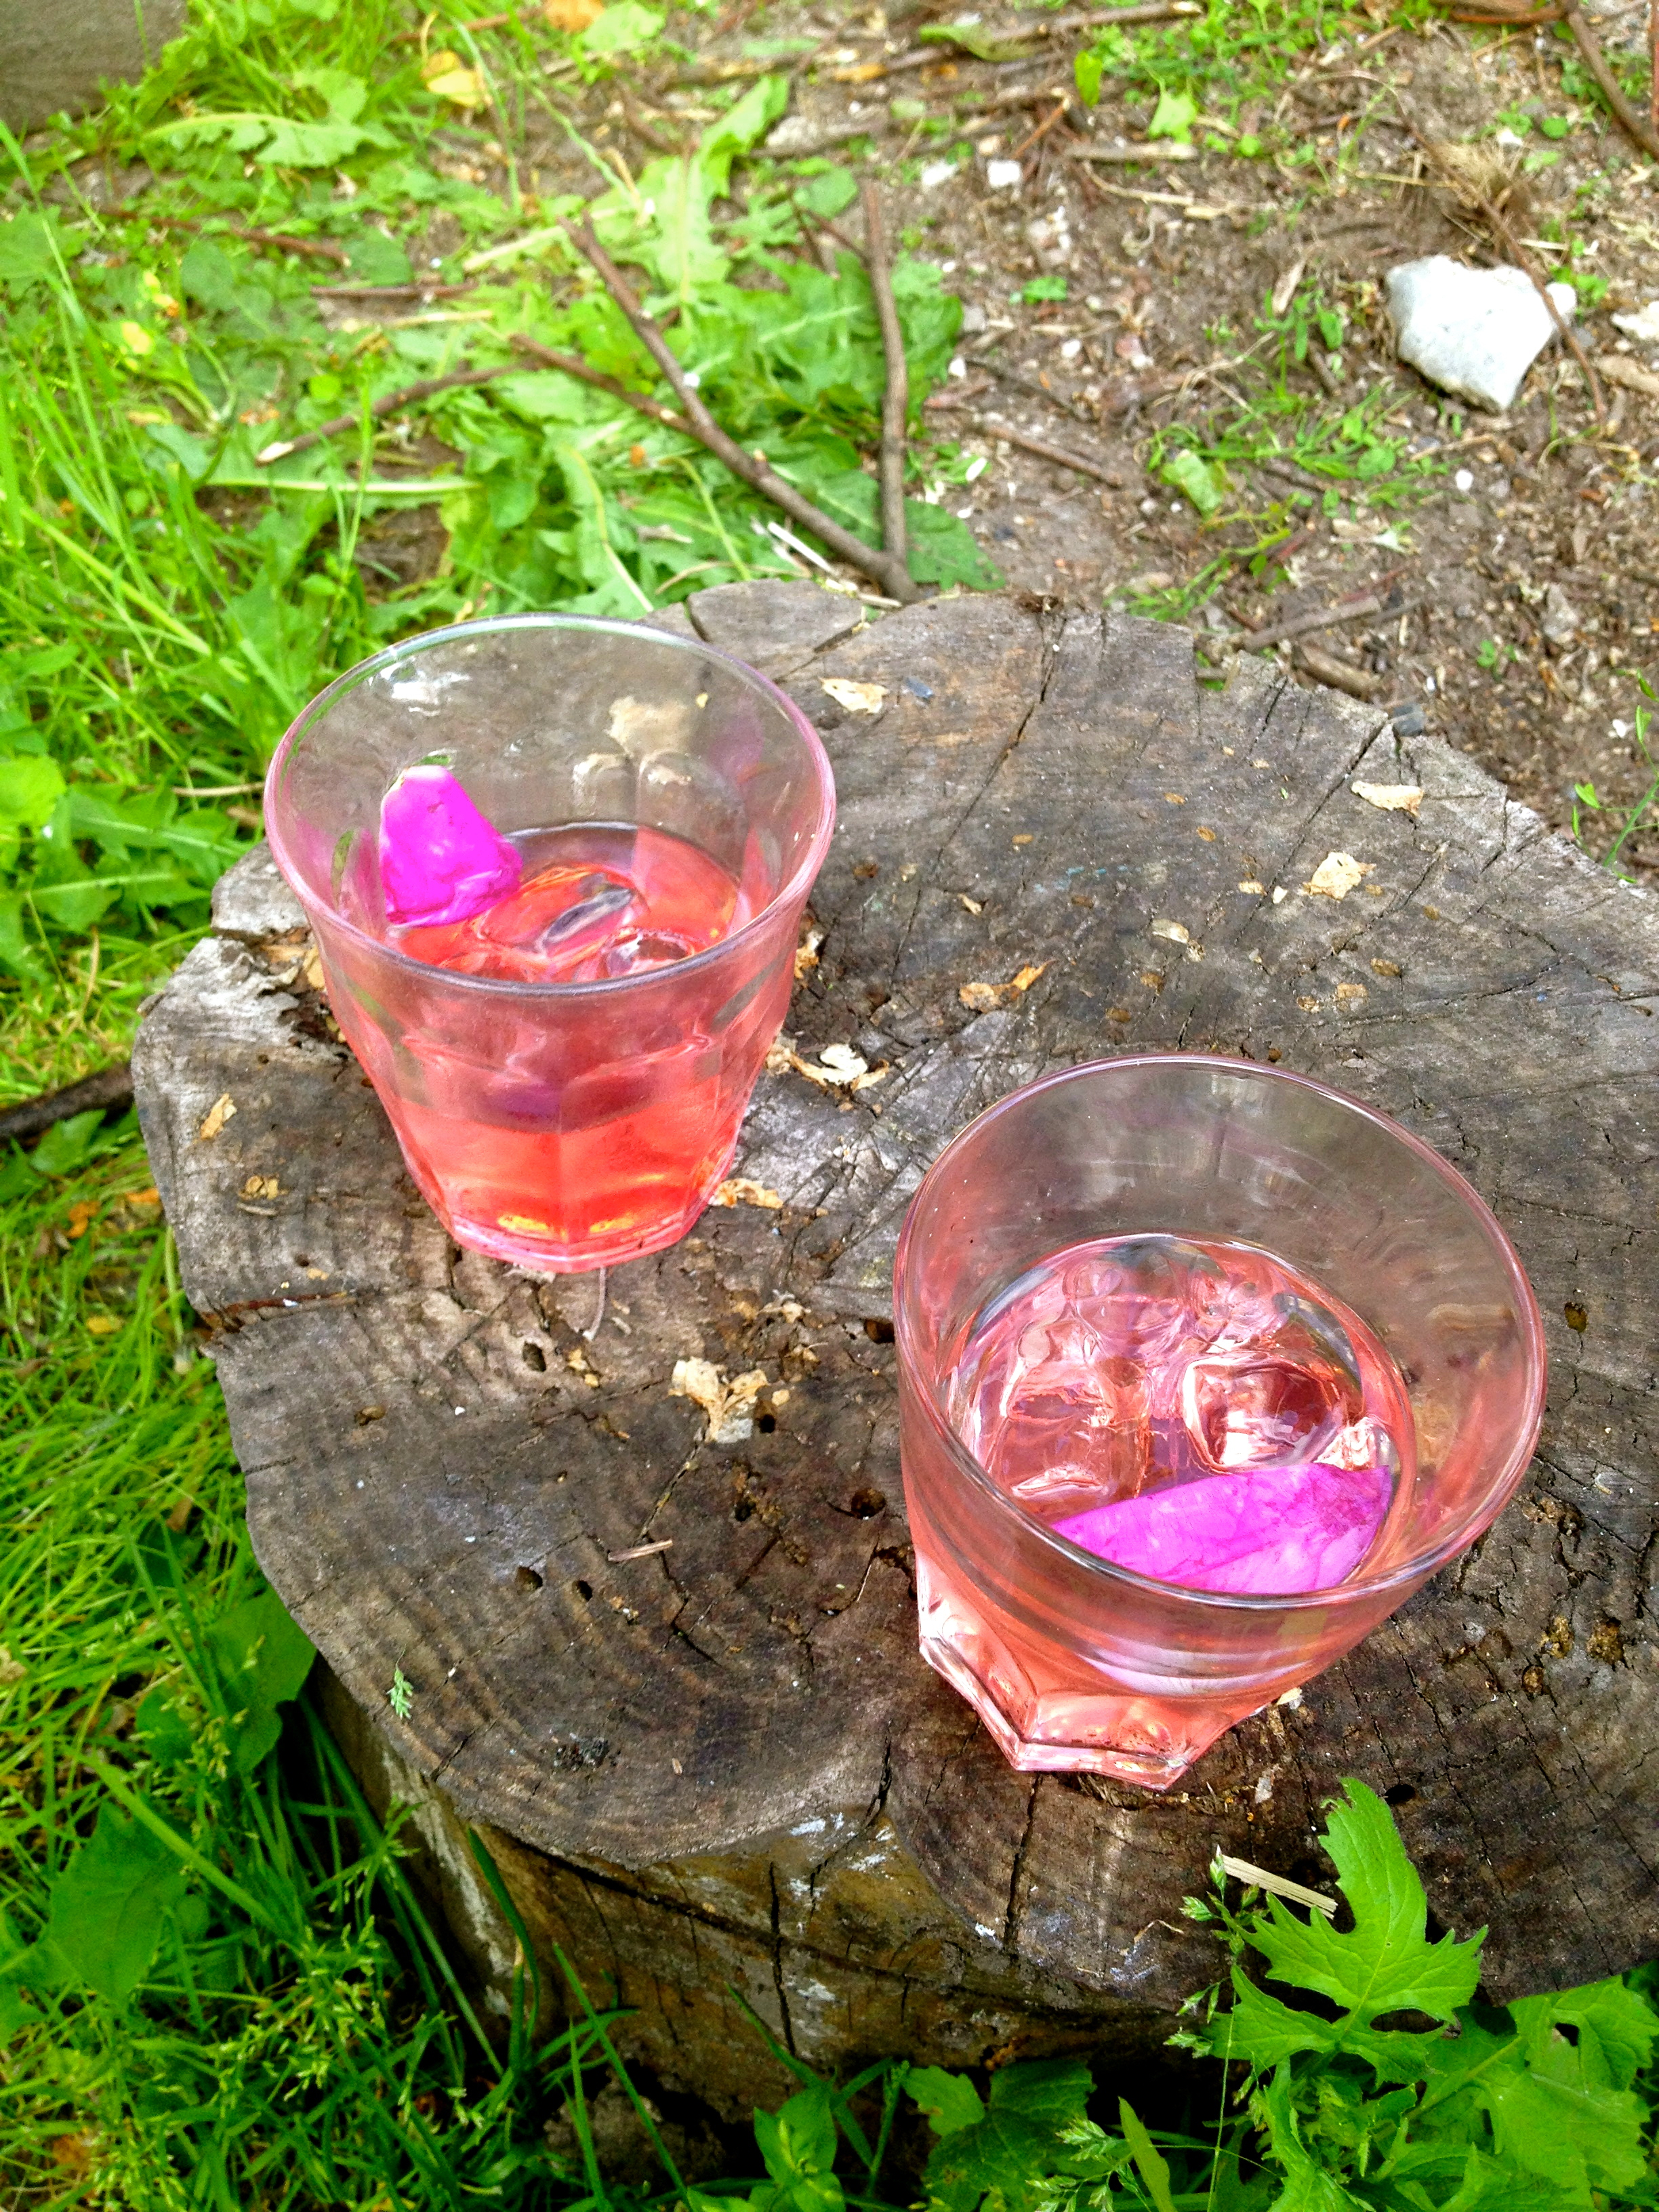
The Danish Summer cocktail
Not just for old Scandinavian men - but they'll drink it too.

Yes - Denmark does have a summer. It's similar to June in the Bay Area, but with about 4 hours of darkness and even more revelry on a warm, sunny day. This cocktail was created during my time at the Nordic Food Lab for a staff get-together (complete with amazing food, of course, including fire roasted mussels and pan au tomaquet with ample garlic) and was well-received. Most importantly, I received major cred from the native Danes of the house for using "old man alcohol", aquavit. Who knew? Guess it just runs in my blood!
“Rosa Rugosa, or beach roses, can be found on most coastlines. They have a vibrant pink color and a beautiful floral aroma.”
2 parts aquavit (I had Aalborg)
1 part cranberry juice (good quality, but the kind with added sugar, as this cocktail does require some sweetness)
1 part cold water
Cracked black pepper (okay, maybe that part's not Scandinavian)
Foraged beach rose (or other edible flower garnish)
Stir or shake aquavit, cranberry, and water and pour over ice. Grate black pepper over each drink and garnish with beach rose.
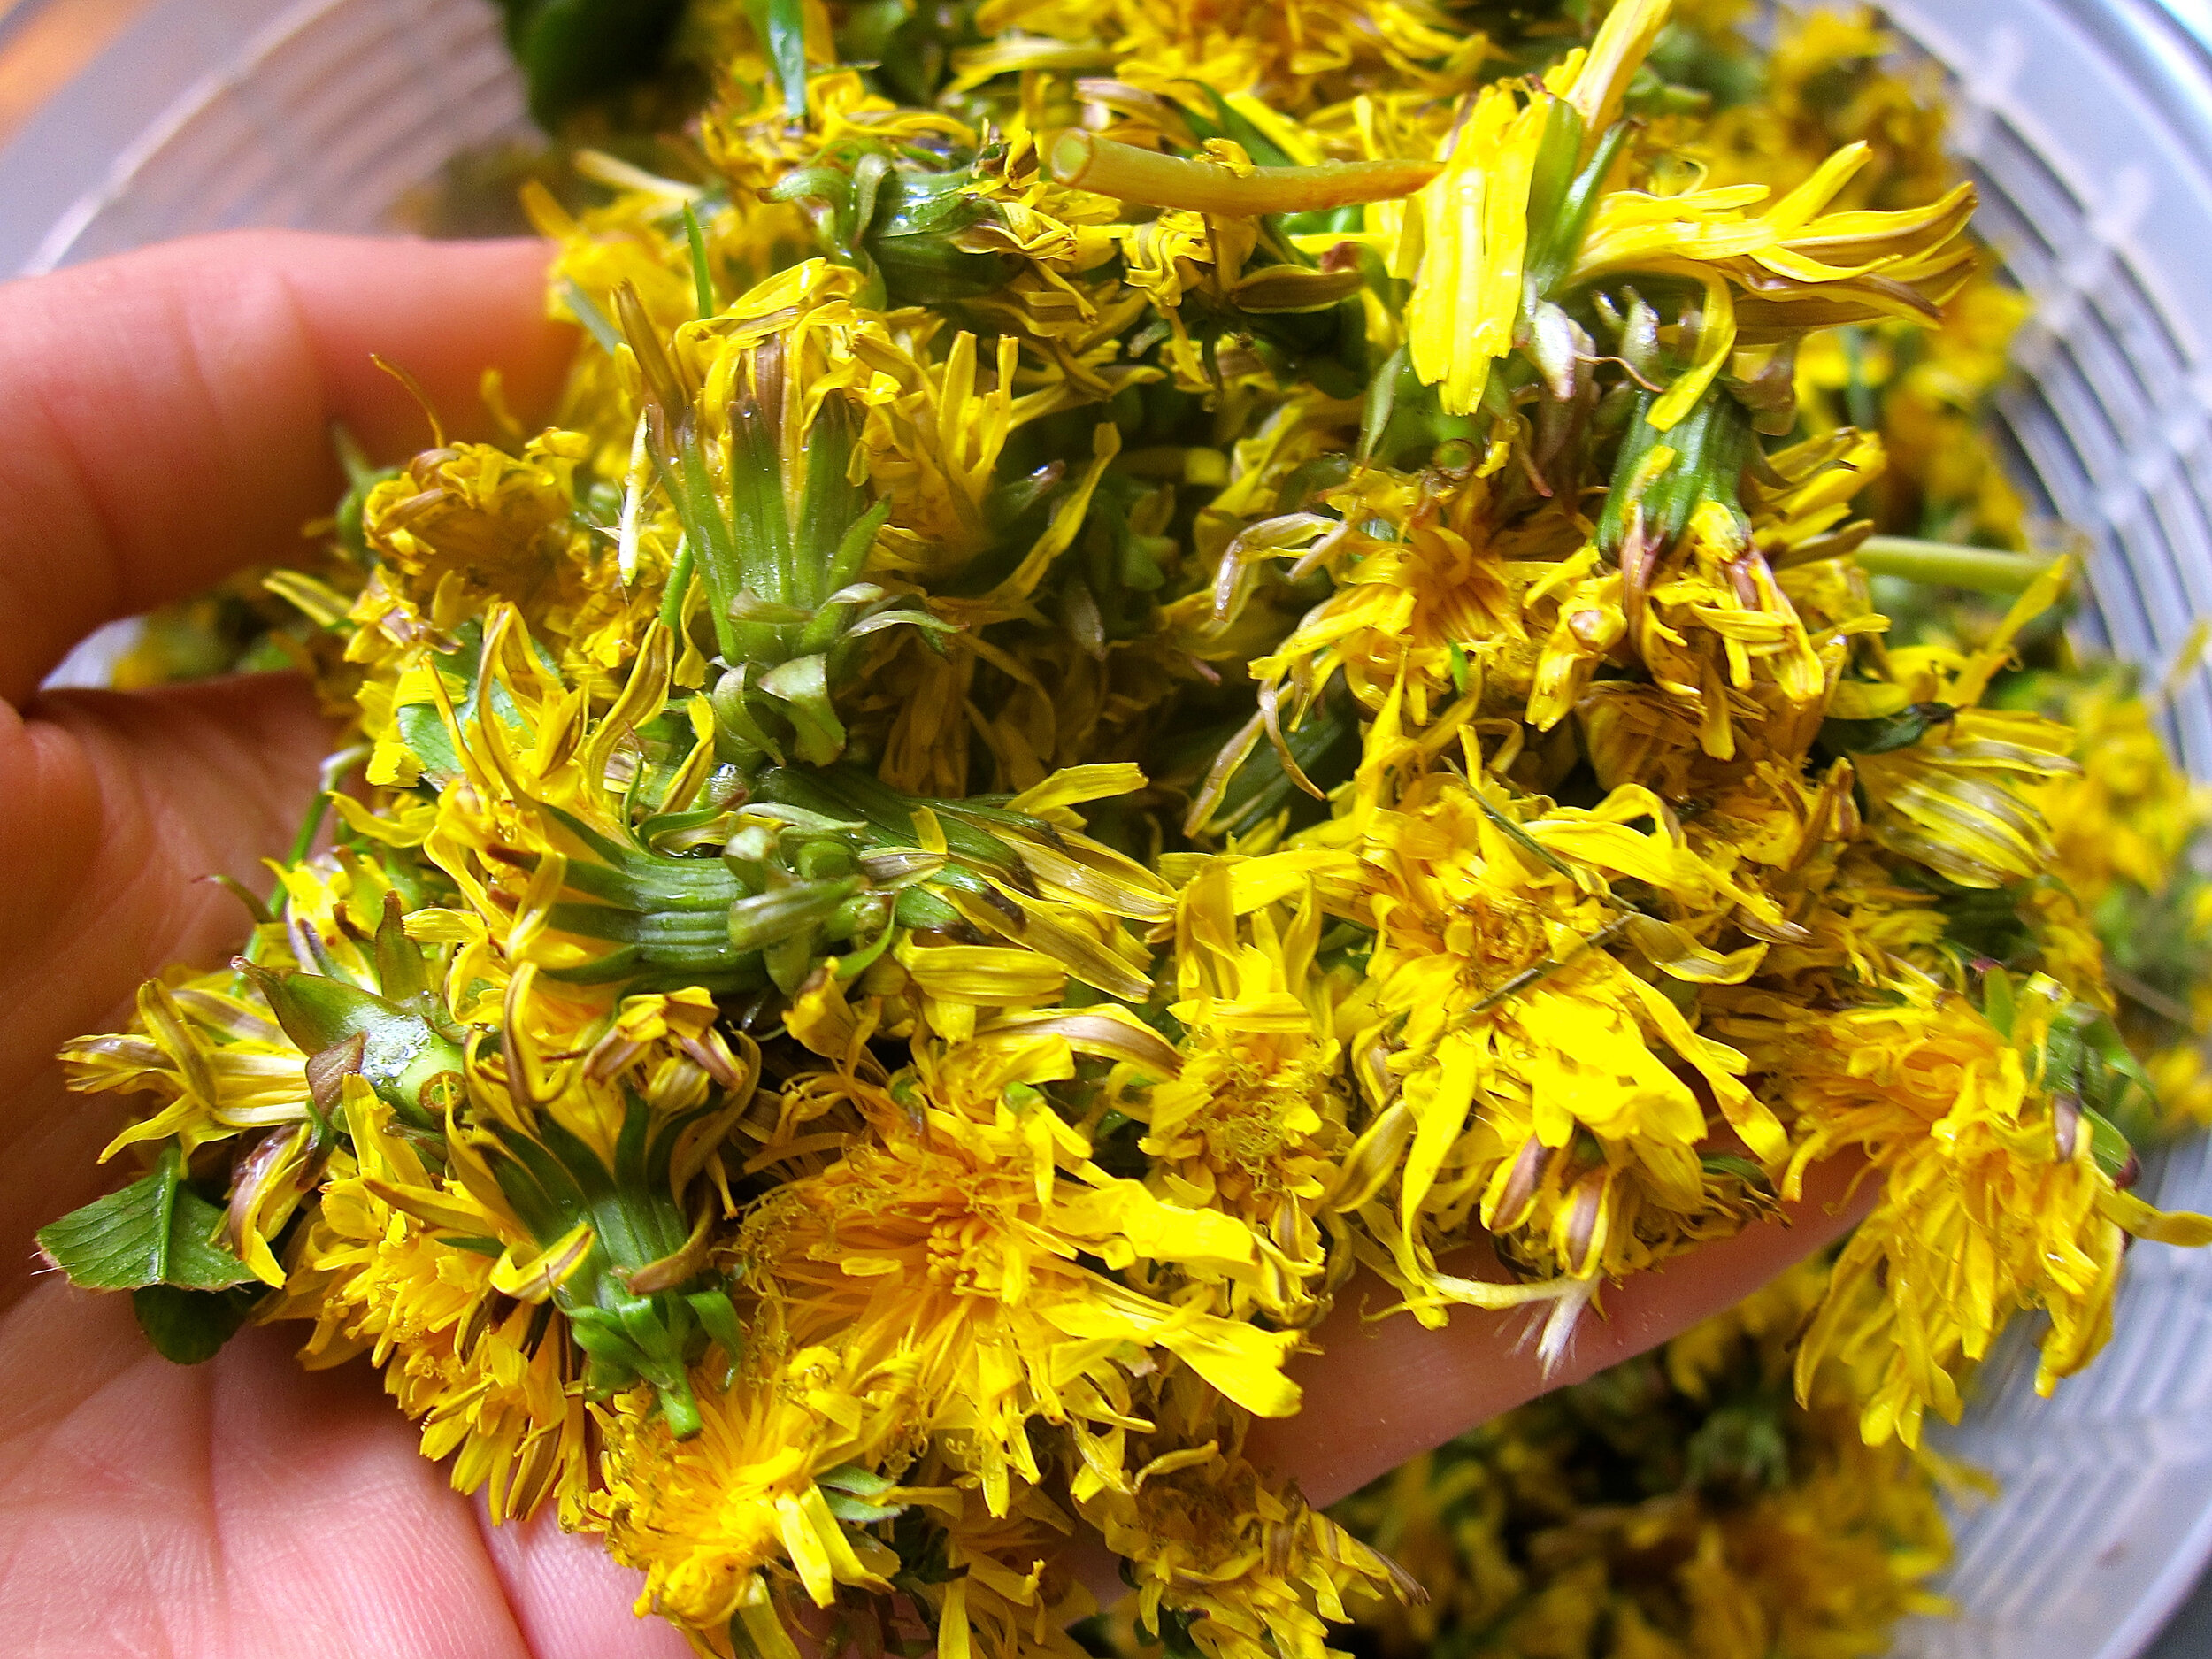
Dandelion Wine
A classic method for preserving a taste of summer.

I told someone that I had made dandelion wine and they said, “that’s really a thing?”. Yes, it’s a thing. I have always wanted to make dandelion wine - not sure where the desire came from (maybe because how even the sound of it delightfully rolls of the tongue?), but it aches all the same. So finally this spring I set forth on the task and have several delicious looking bottles put up to age from 6-12 months. My plan in to try them in 6 (because I won’t be able to resist) and drink some with others on the Winter Solstice.

1 gallon dandelion flowers, can leave ends of flowers on, but remove stems (your leg muscles may or may not be sore for a few days after this excursion)
2 cups turbinado sugar*
1 1/3 cup honey*
3-4 oranges
2-3 lemons
1-2 teaspoons/1/2 packet yeast (I used champagne yeast for dry, delicate flavor. Bread yeast is not recommended)
Few pinches of yeast nutrient (not necessary, but recommended)
*Sugar quantity will determine potential alcohol and potential sweetness, use more or less depending on your preferences.
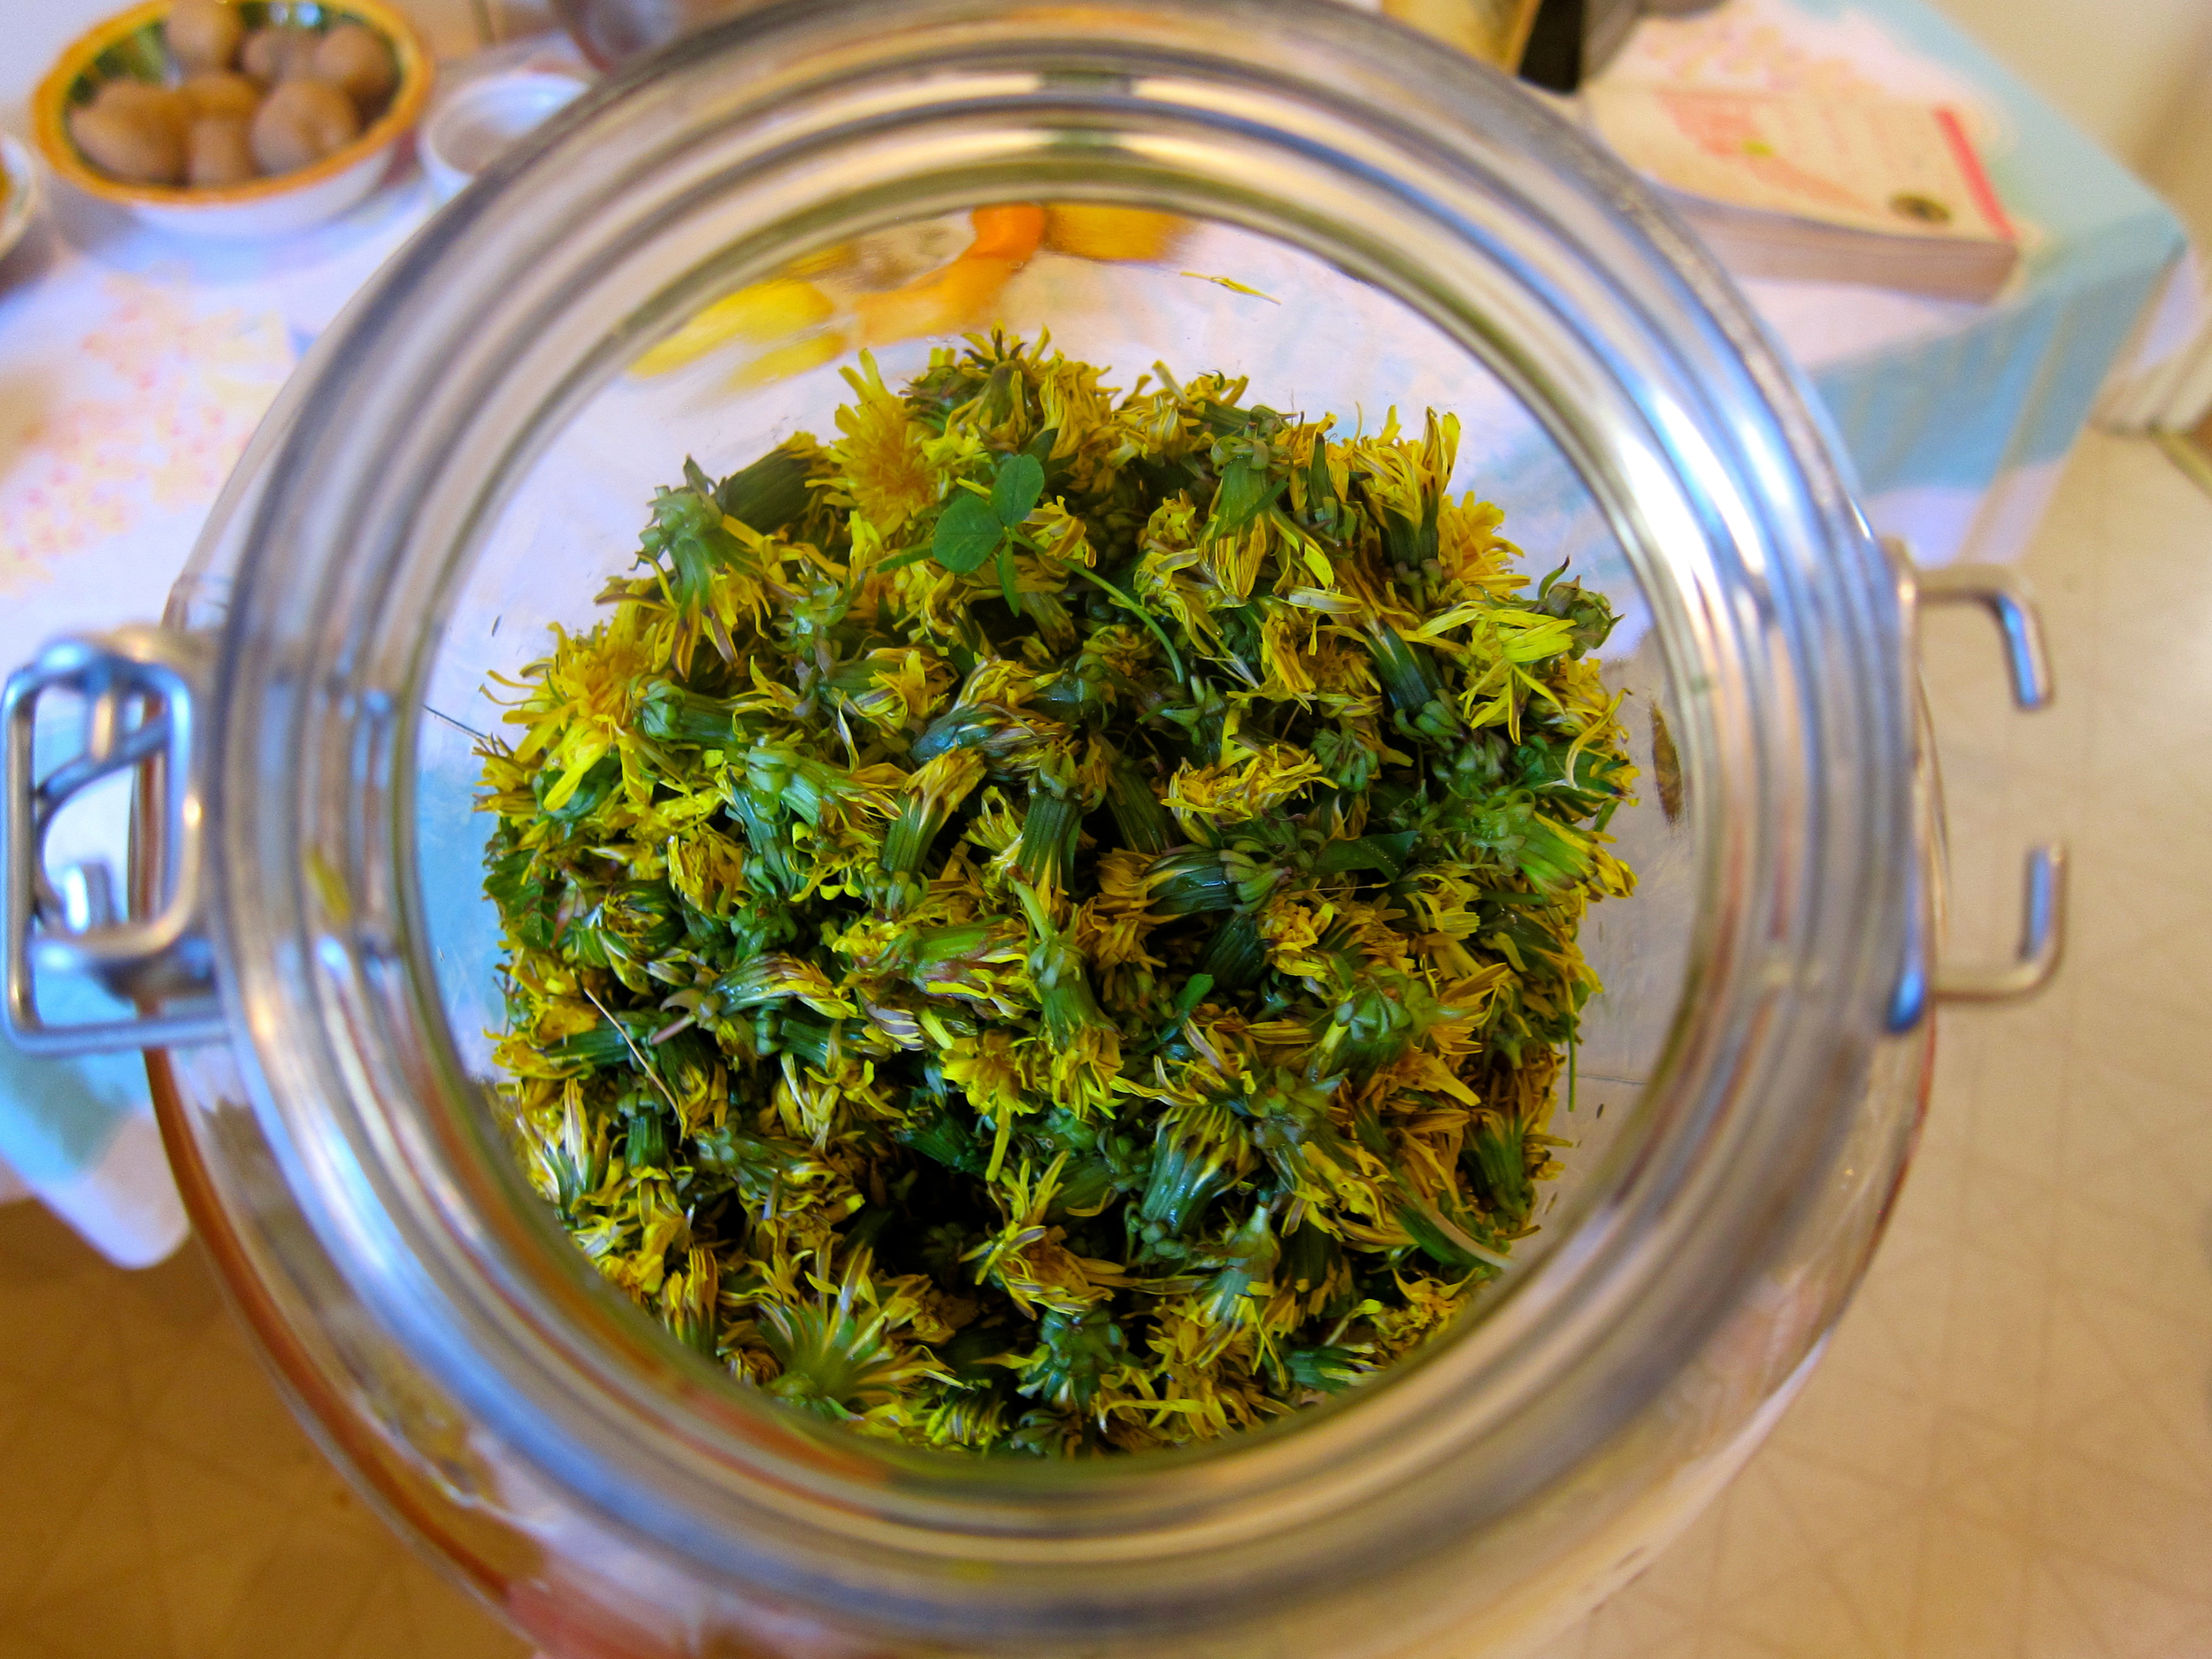
Process One (2 days) - Make Dandelion Infusion
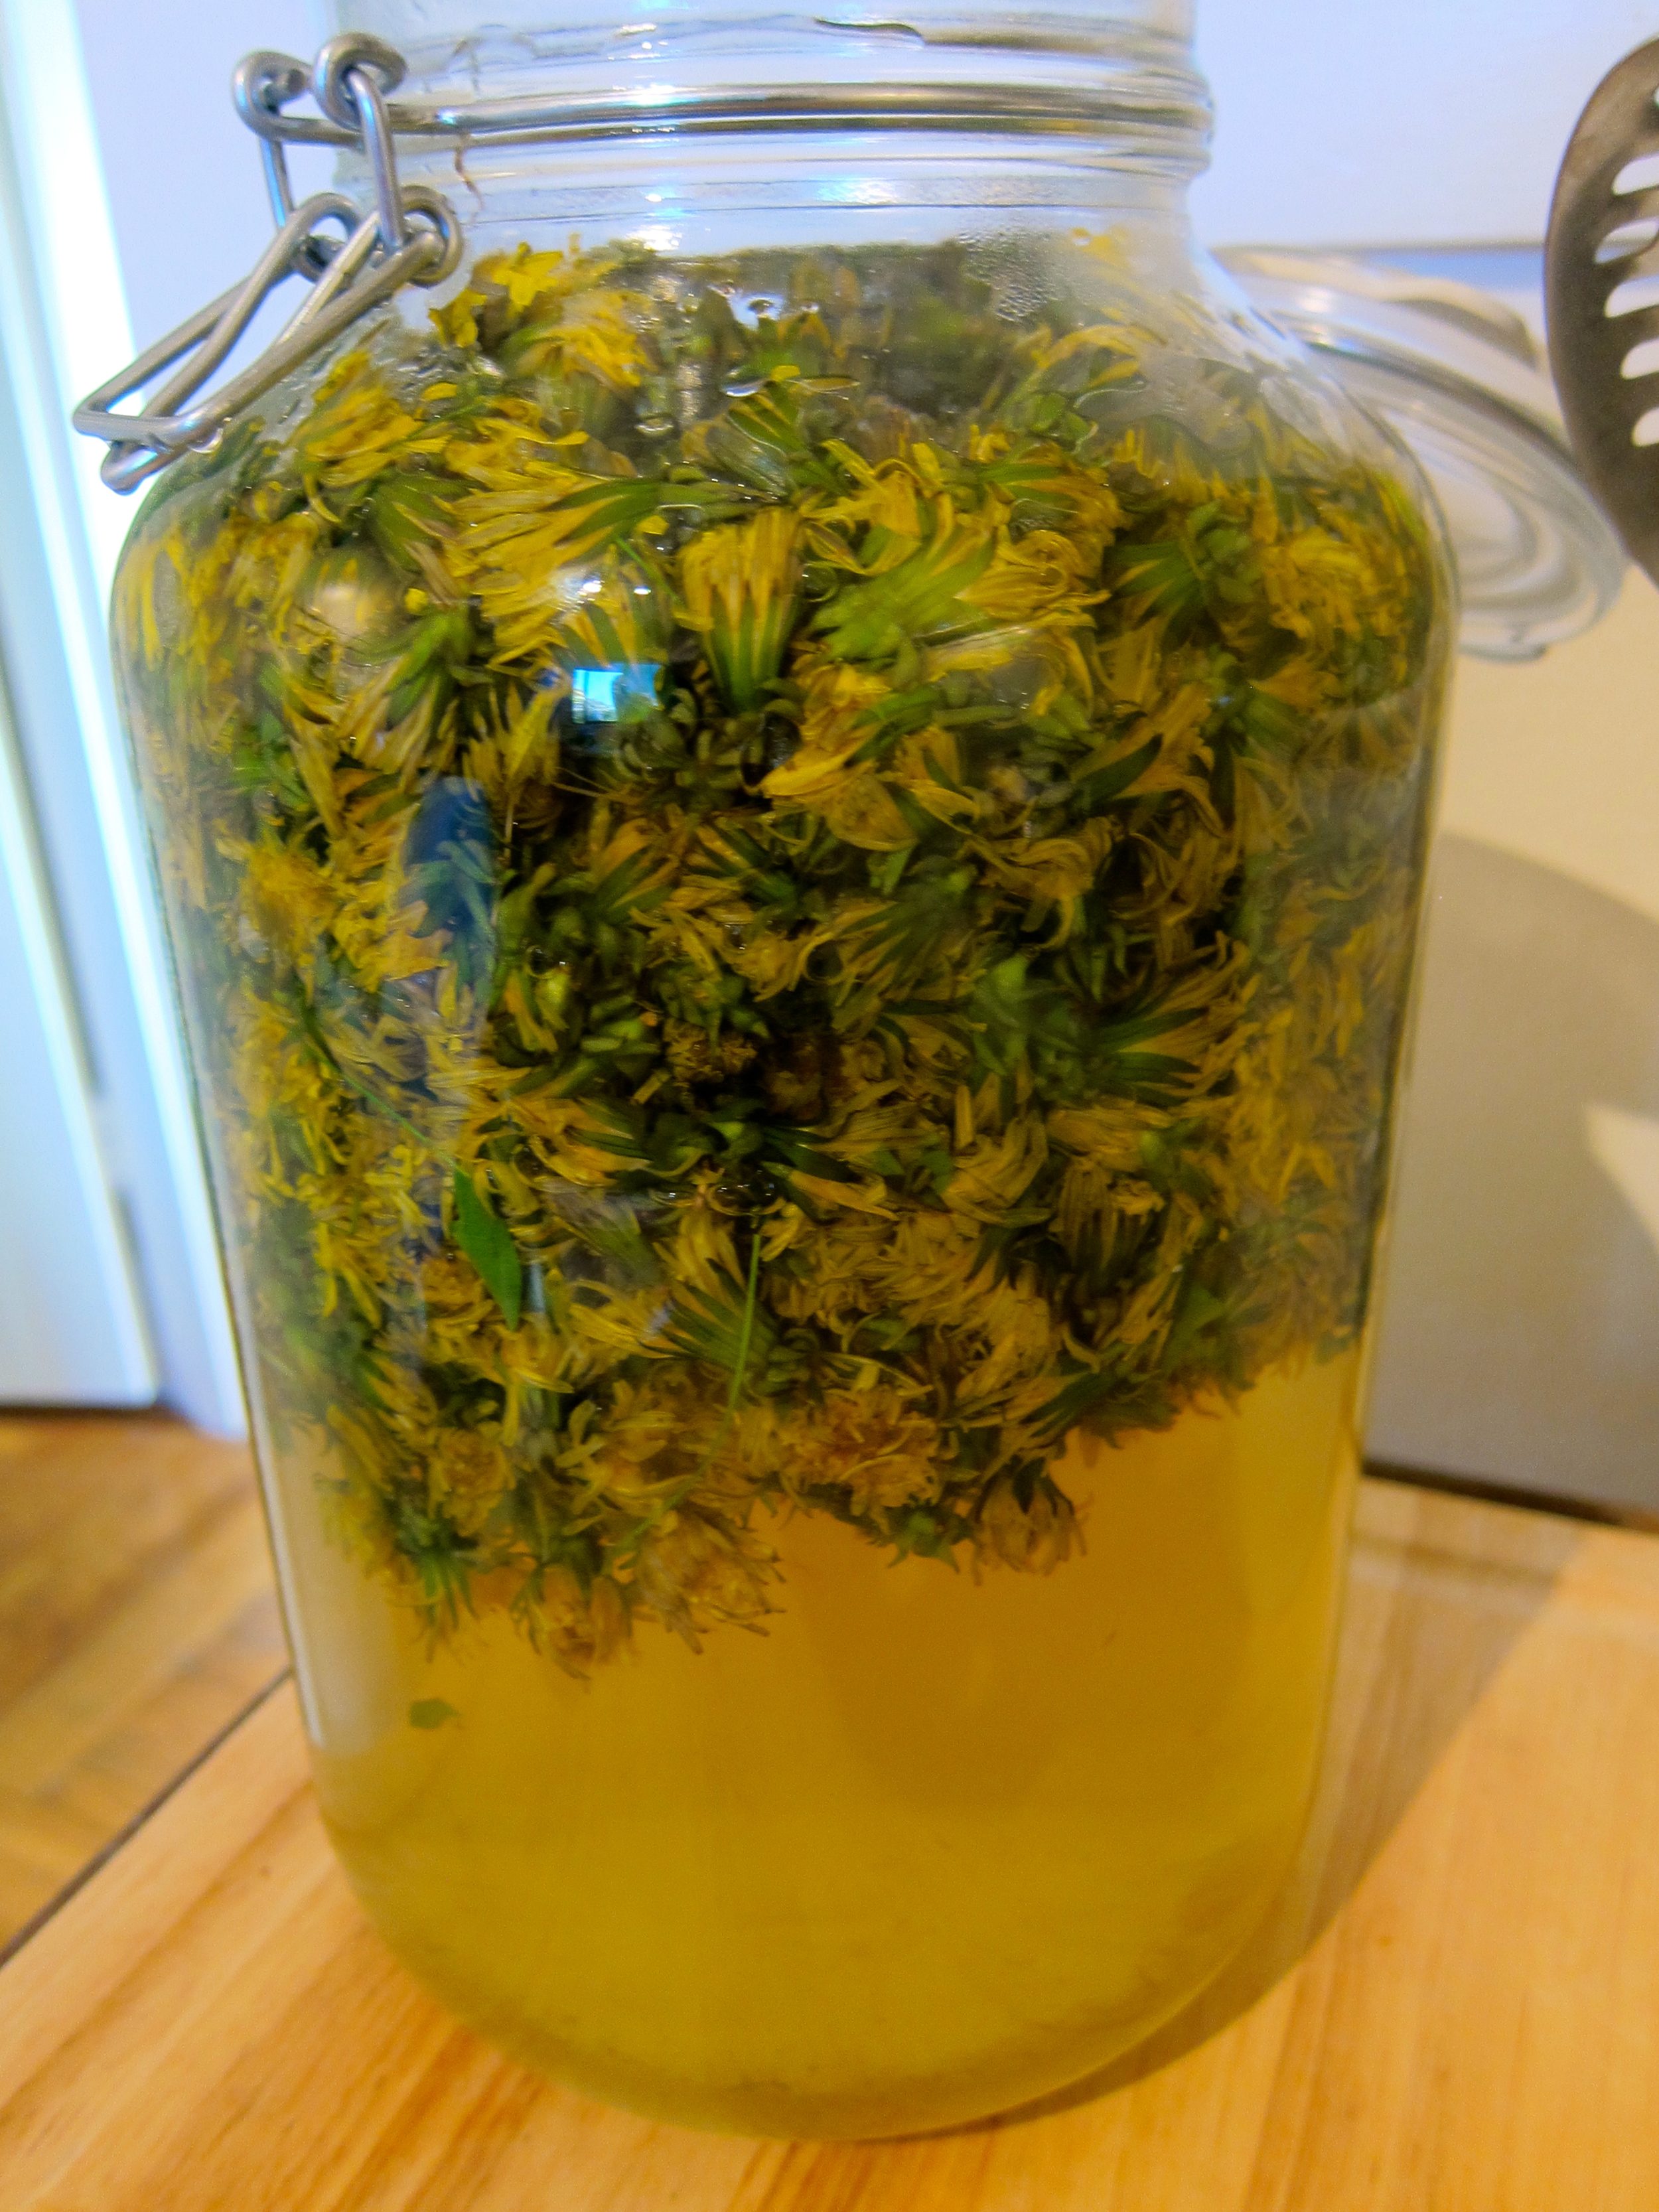
Boil 1 gallon of water, pour over dandelion flowers in glass or food-grade plastic container at least 1.25 gallons large.
Cover and let sit for 48 hours.
Strain out liquid, squeeze flowers to extract remaining liquid.
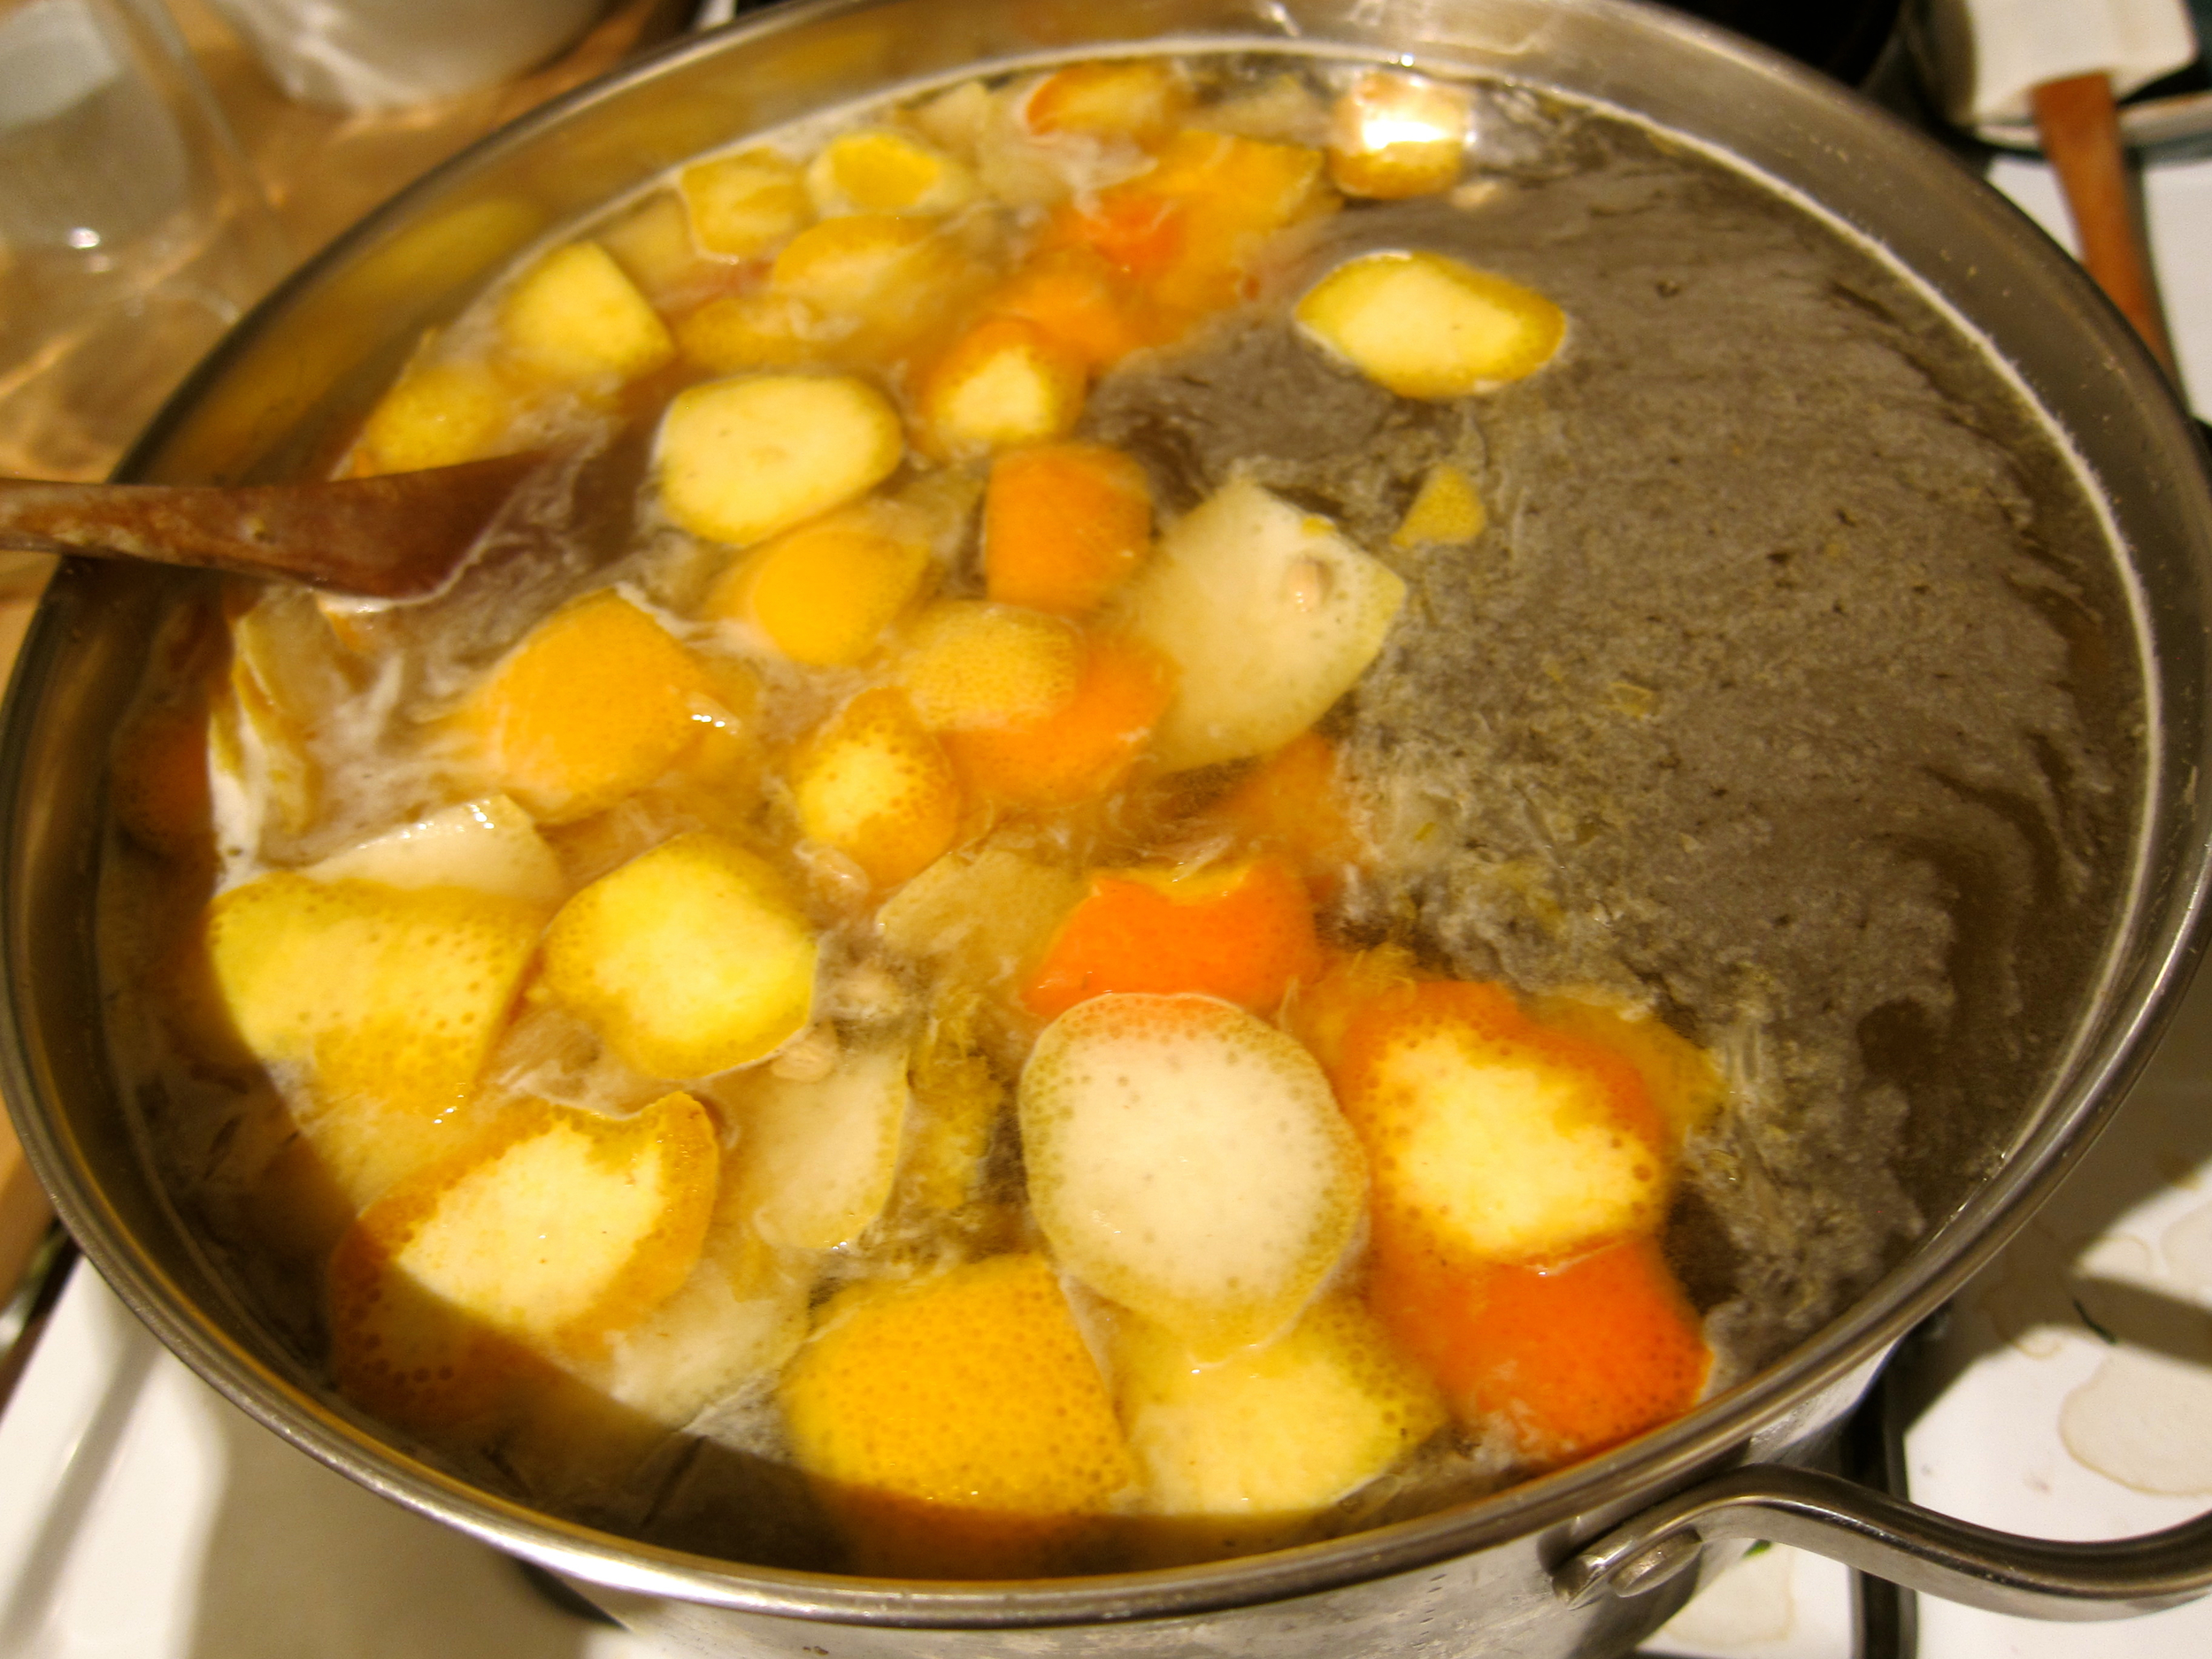
Process Two (2-3 weeks) - Fermentation
Heat dandelion liquid with sugar, honey, and the juice and skin from the citrus (cut the skin off and slice prior to juicing) for 30 minutes on medium heat, stirring occasionally to dissolve sugar. Cool to lukewarm.
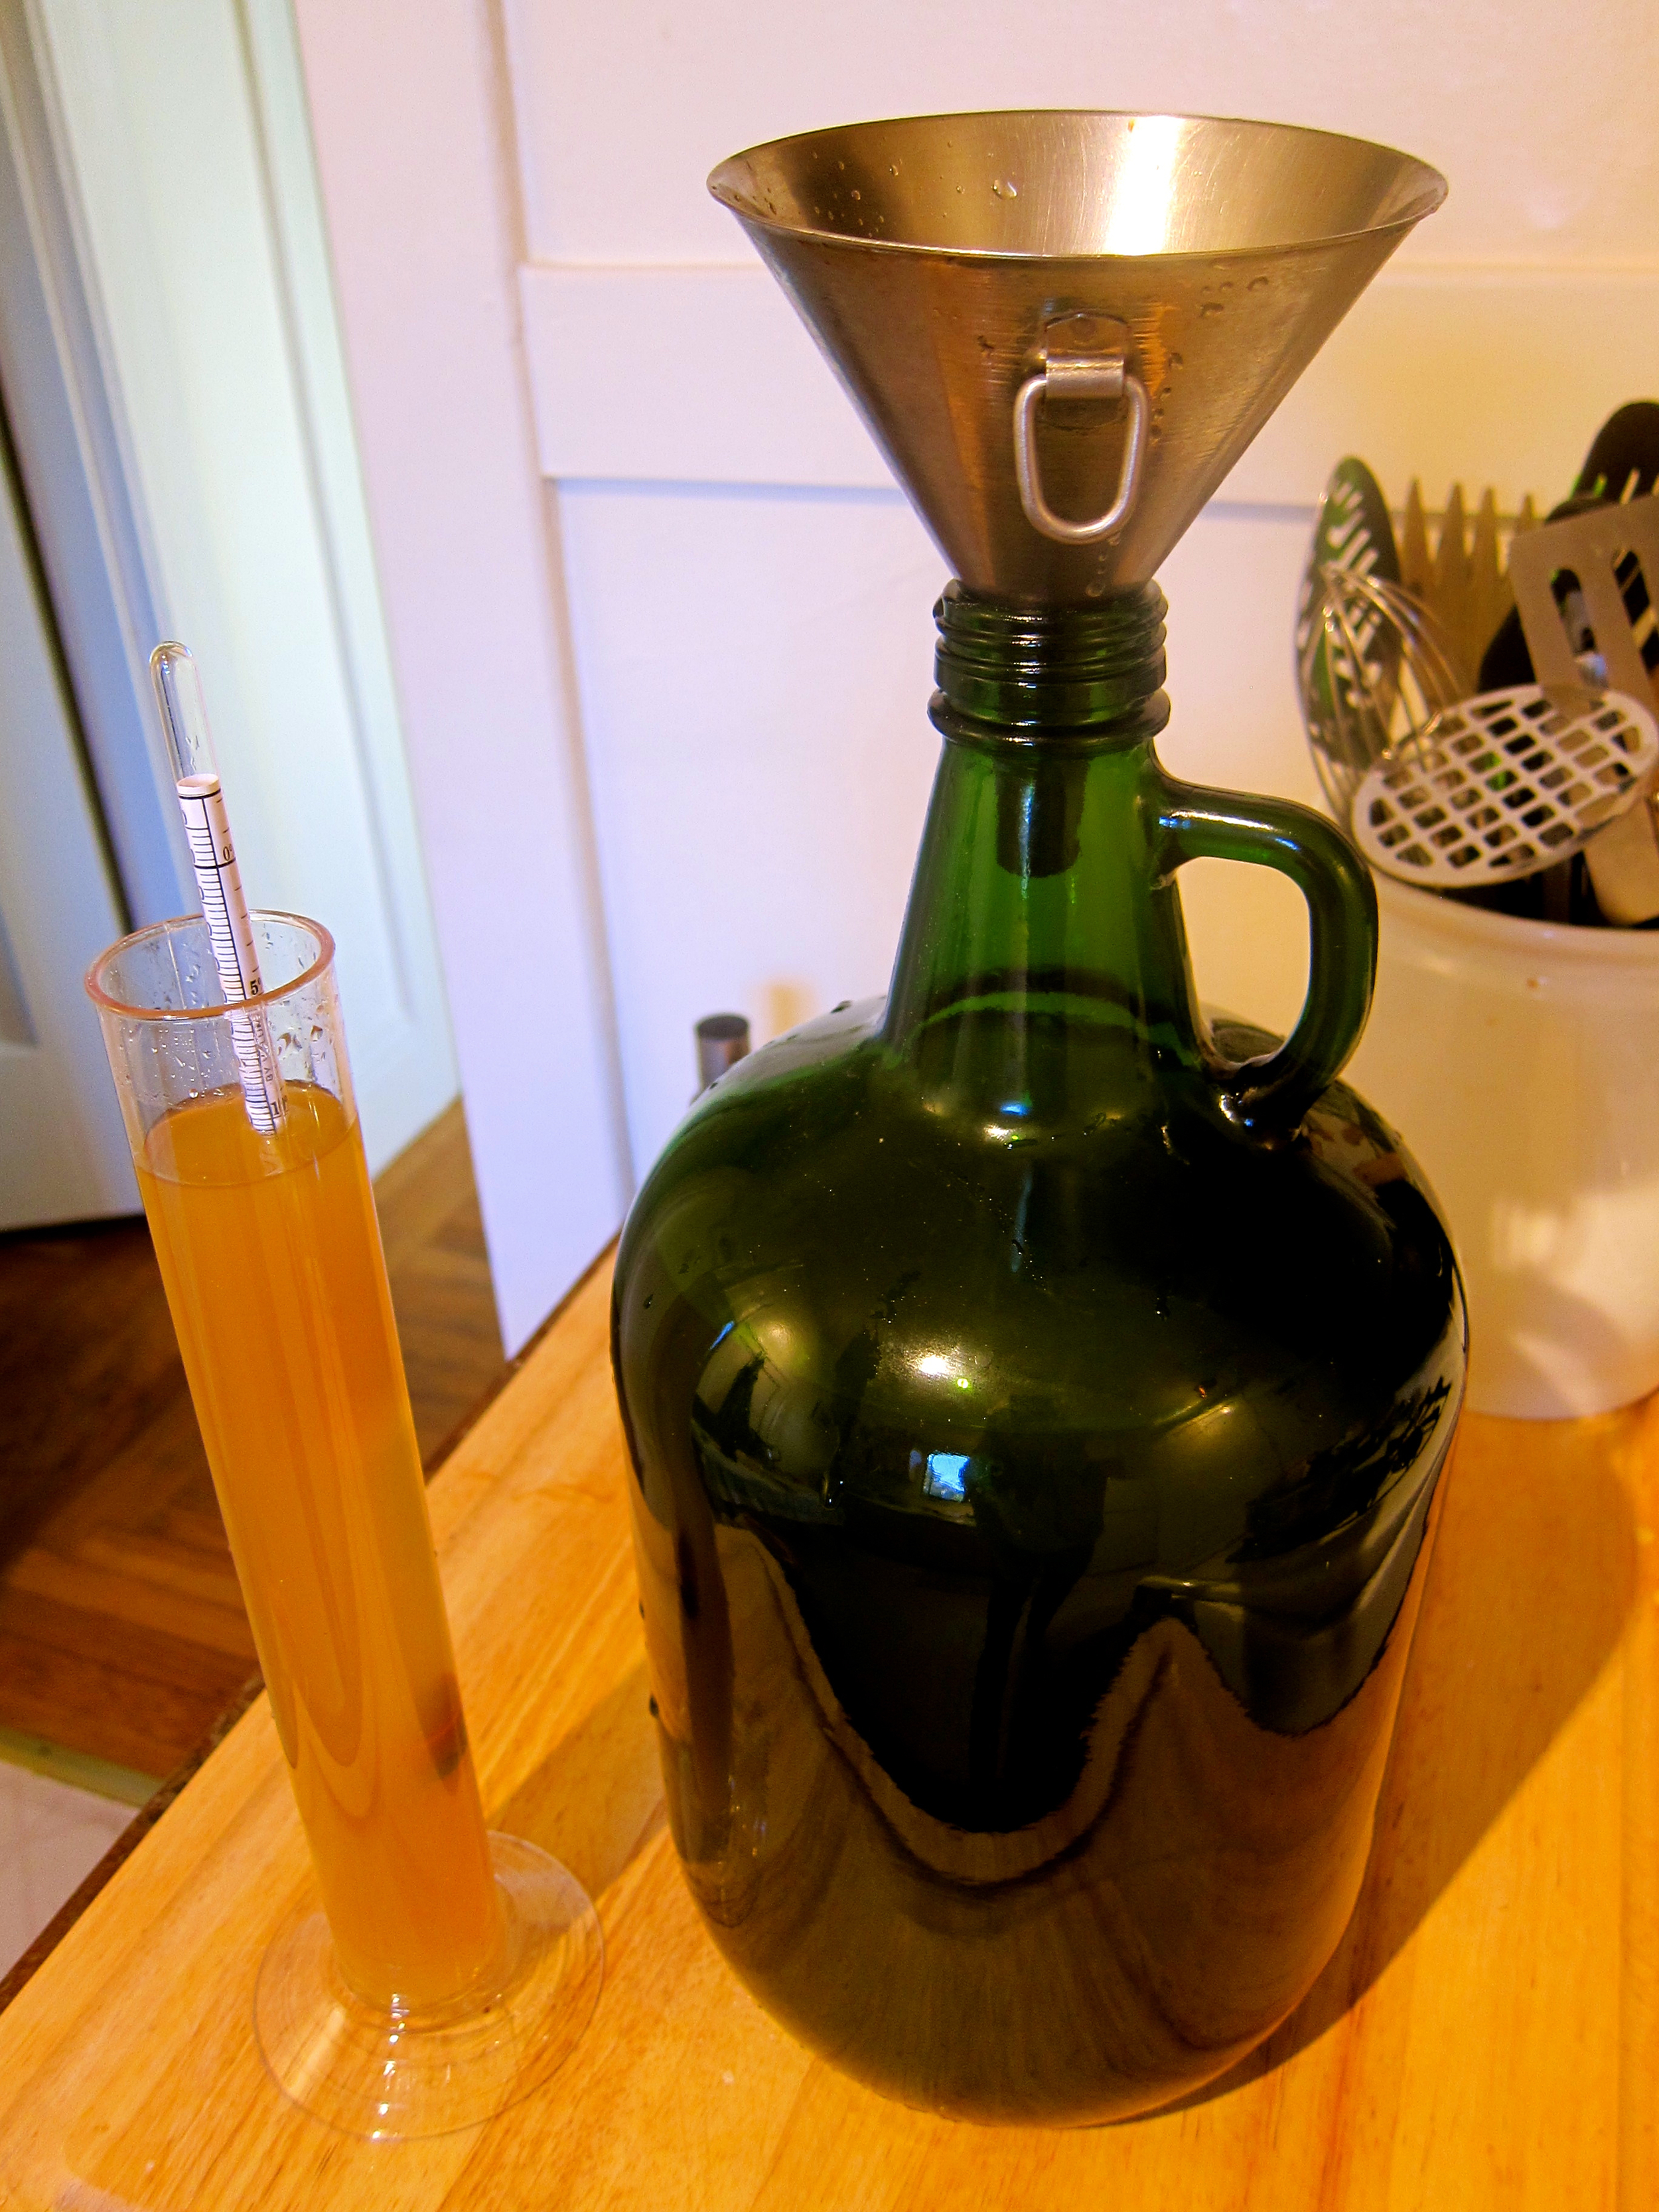
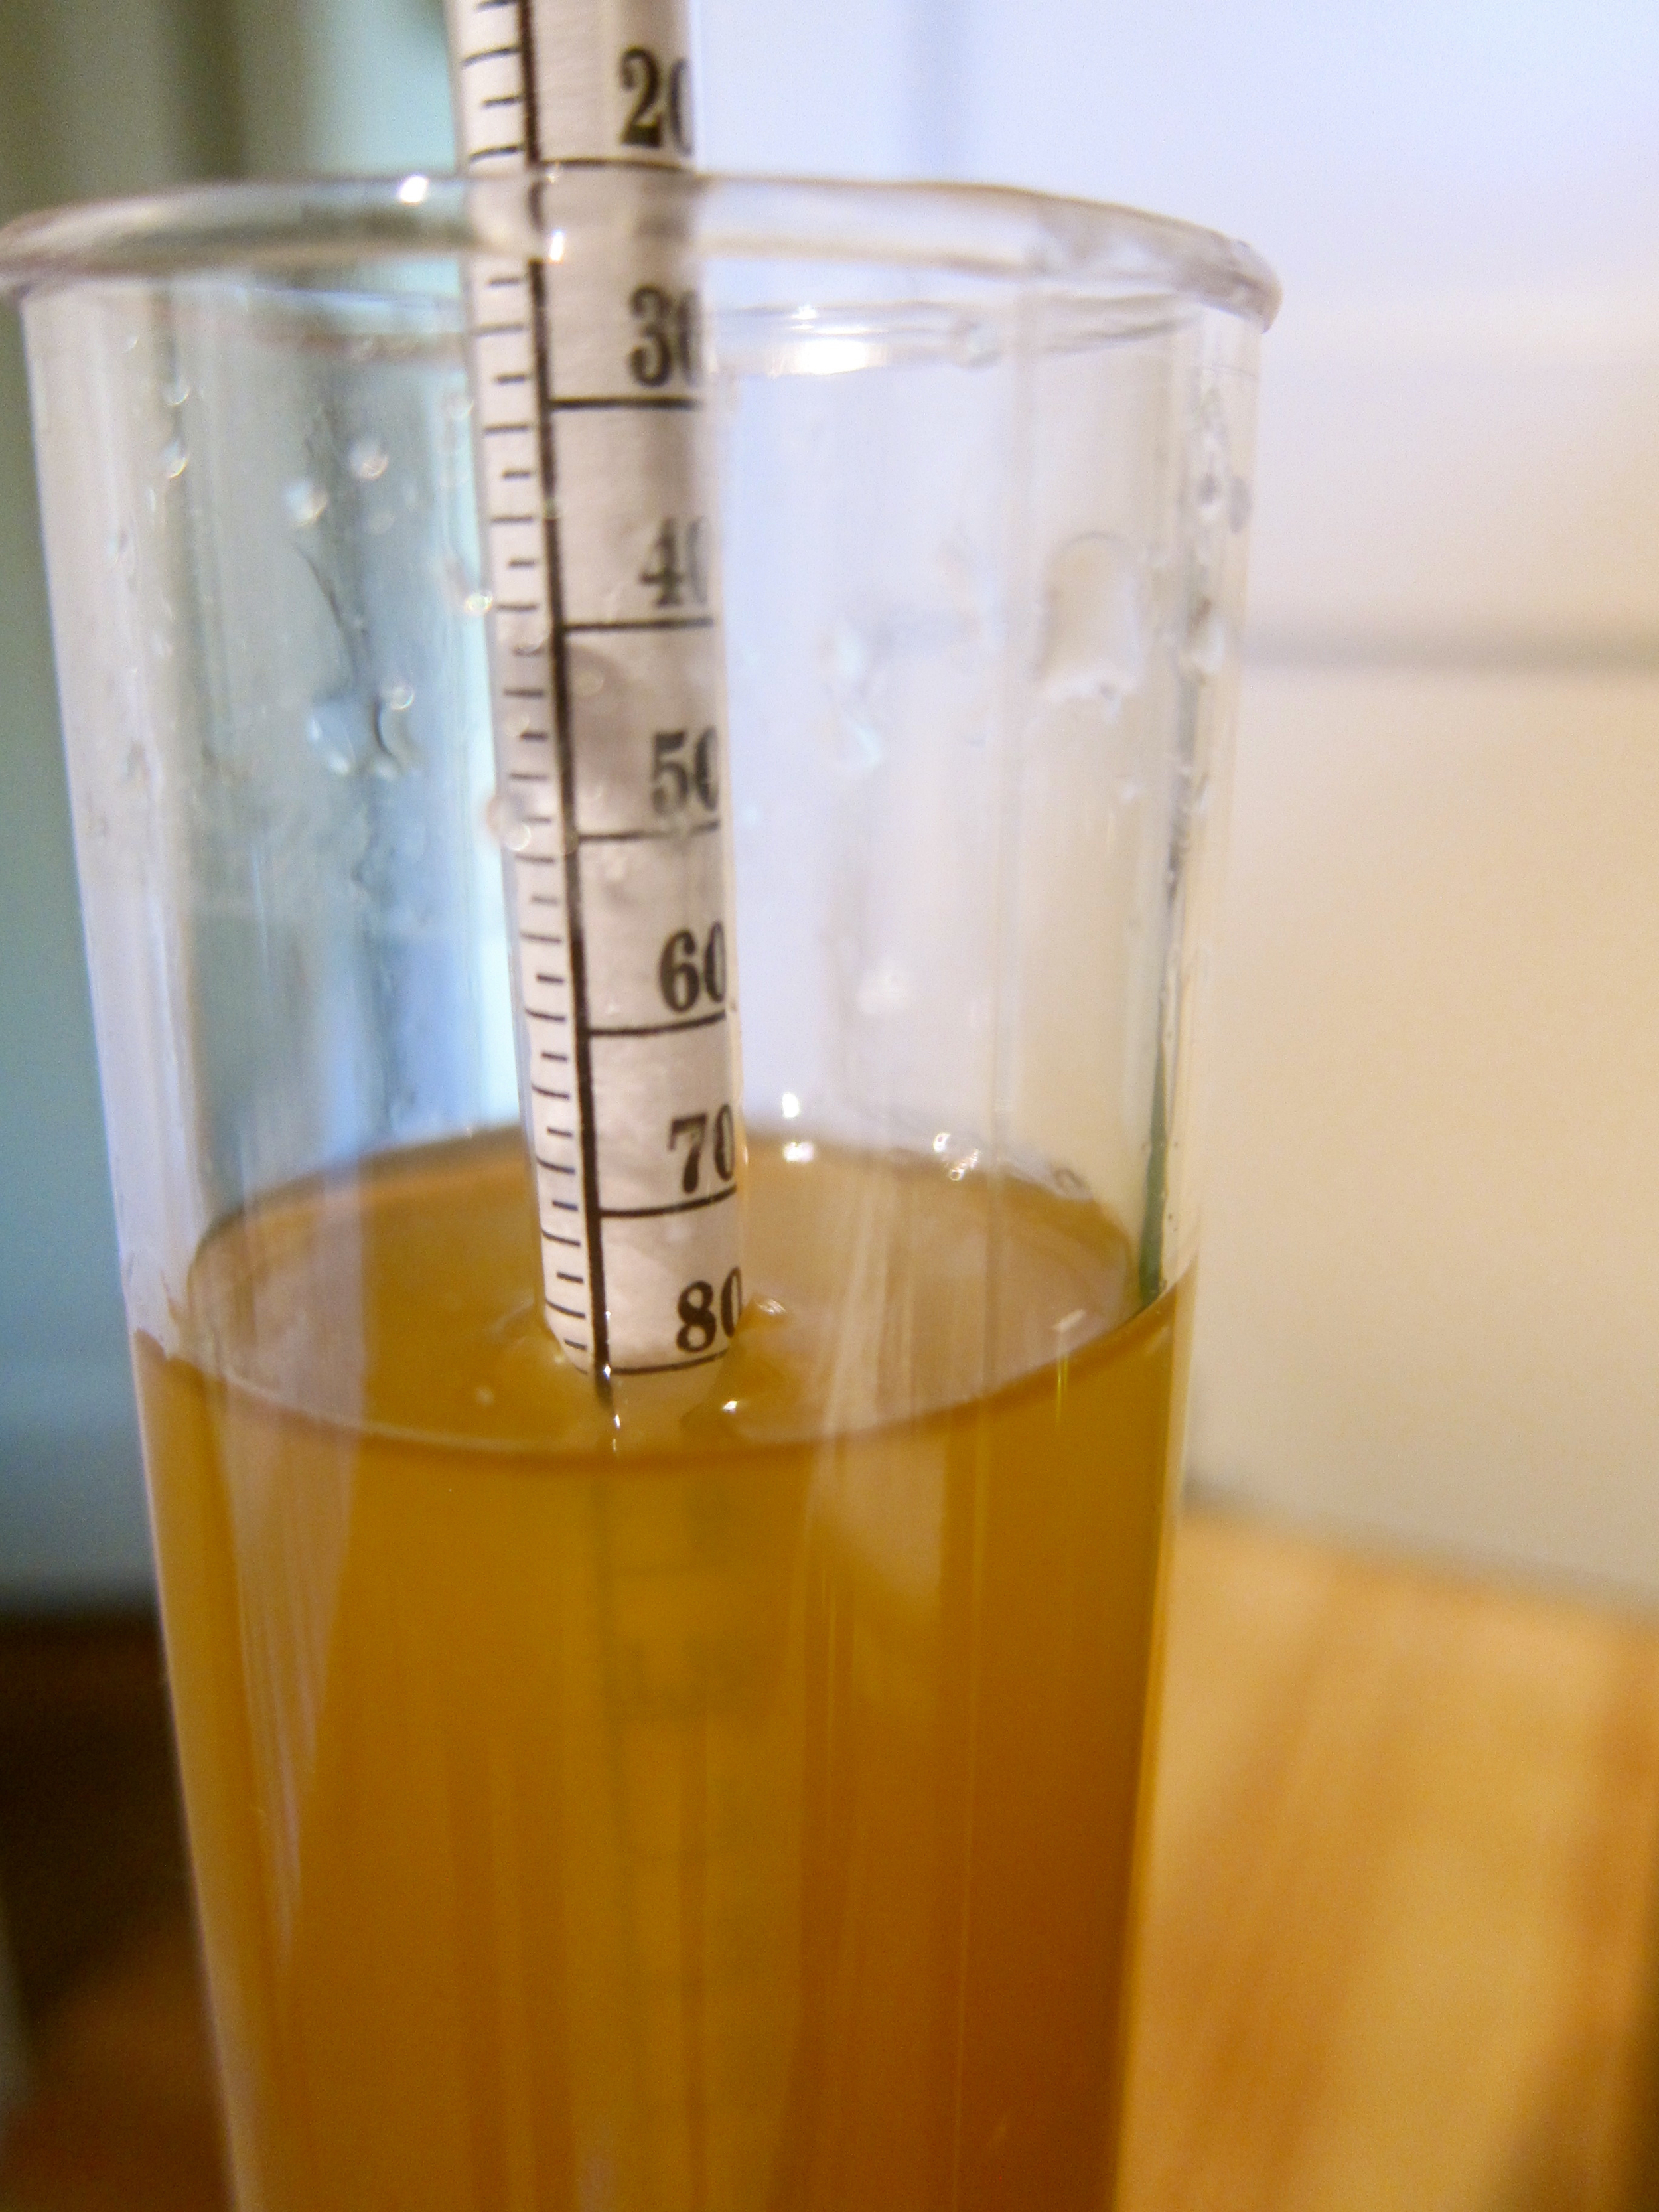
Take the specific gravity or brix to determine your “Potential Alcohol”. Essentially, by measuring the sugar content, you can determine how much nutrient is available for the yeast to turn into alcohol, but depending on where you stop fermentation, your wine will have more or less alcohol. My specific gravity at this point was 1.08 (Brix = 20%), which is a PA of 11%. There’s a calculation that I got really excited about, but ended up using this table.
Put in jug with yeast and nutrient, cork with fermentation lock or cover with cheesecloth (more risky bacteria-wise, I used lock) for 1-3 weeks, or until bubbling stops. You can stop the process anywhere you’d like, depending on desired alcohol content and sweetness (longer=more alcohol, less sweet). I stopped mine after bubbling stopped.
Take specific gravity/brix again so you can determine the alcohol %. My specific gravity was 1.00, or 0% alcohol, meaning that all of the sugar had been eaten by the yeast. This took about 2 weeks because the weather was quite warm. To determine the total alcohol, I just subtract this from the PA, 11-0 = 11%. No residual sugar, which I prefer.
Process Three - Aging (6 months - 1 year)
When your wine has reached the desired alcohol/sugar content, remove from large jug and bottle. I tasted it at this point - definitely tastes like ridiculously young (and not so good wine - but has potential!)
Age 6 months - 1 year in cool place.
See you at the winter solstice!
Update: Here's how it tasted after 6 and 12 months. An 8 month fermentation may be optimal!