
Prickly Pear Harvest and Processing

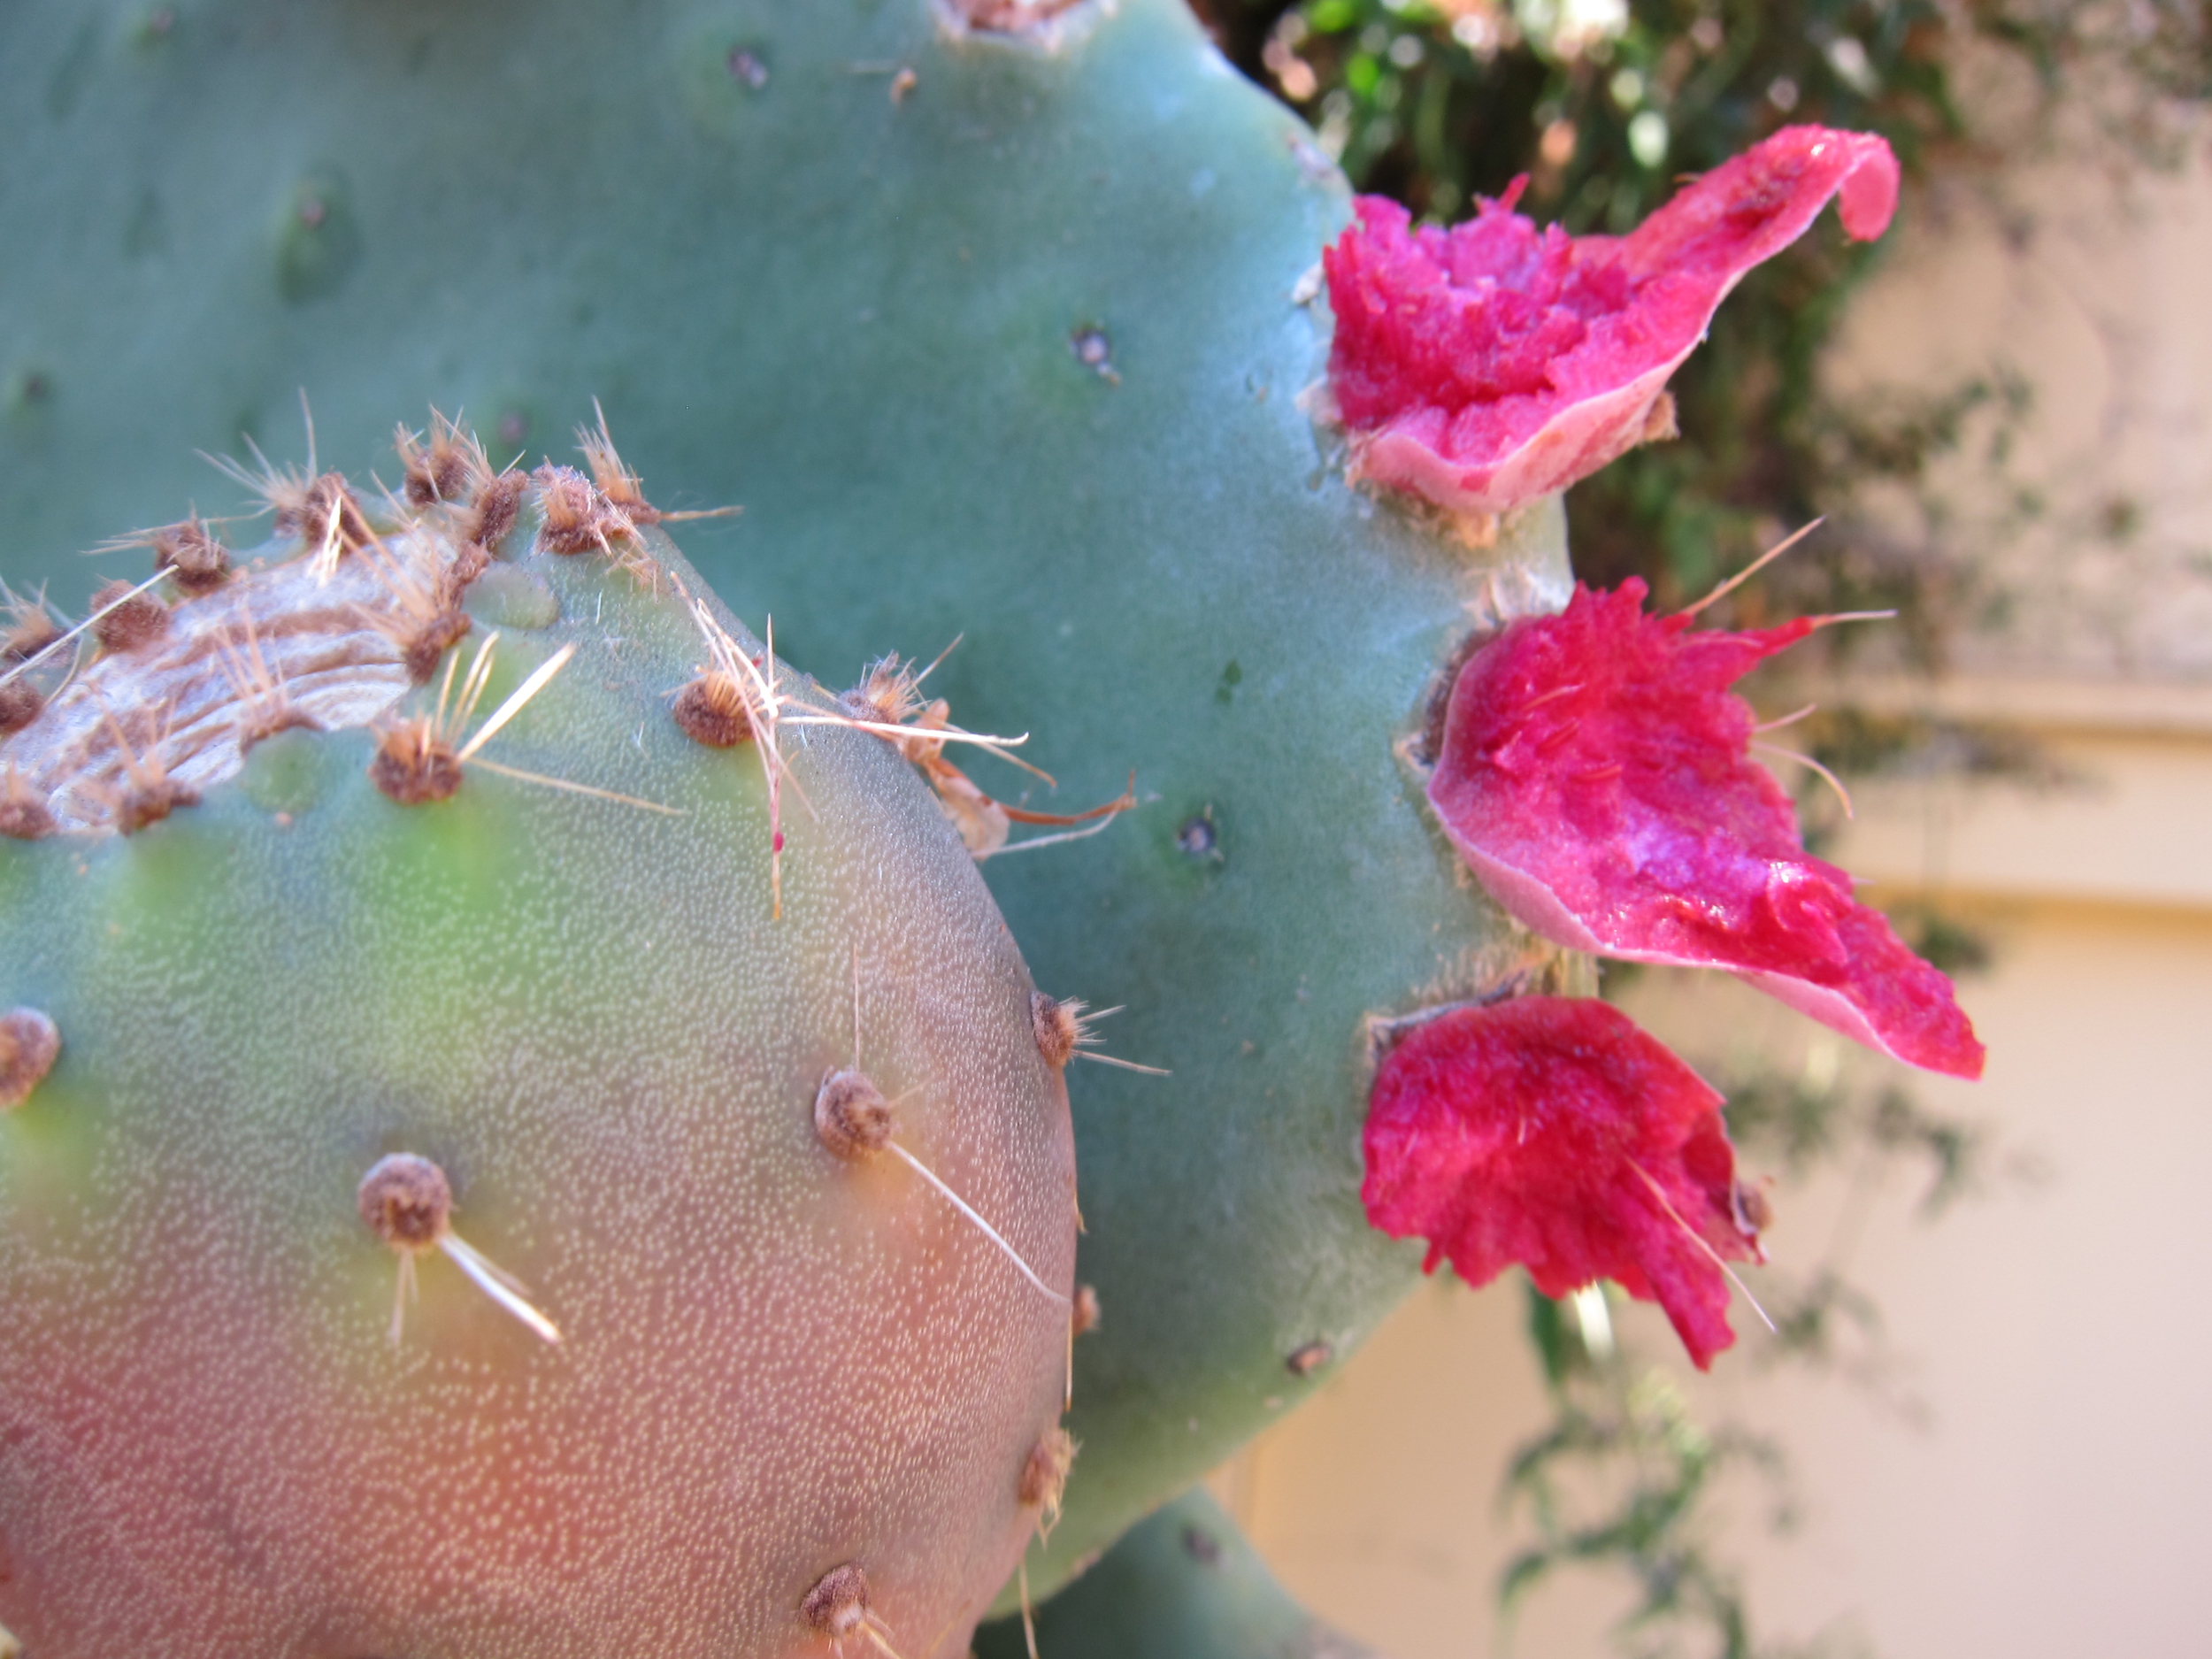
By now one would think I should be a master prickly pear parer, but alas - I still acquire many little spikes in my hands and in other peculiar places (for example, I once found a few on my tongue over a week after processing) when I pick and process the fruit, just less than before.
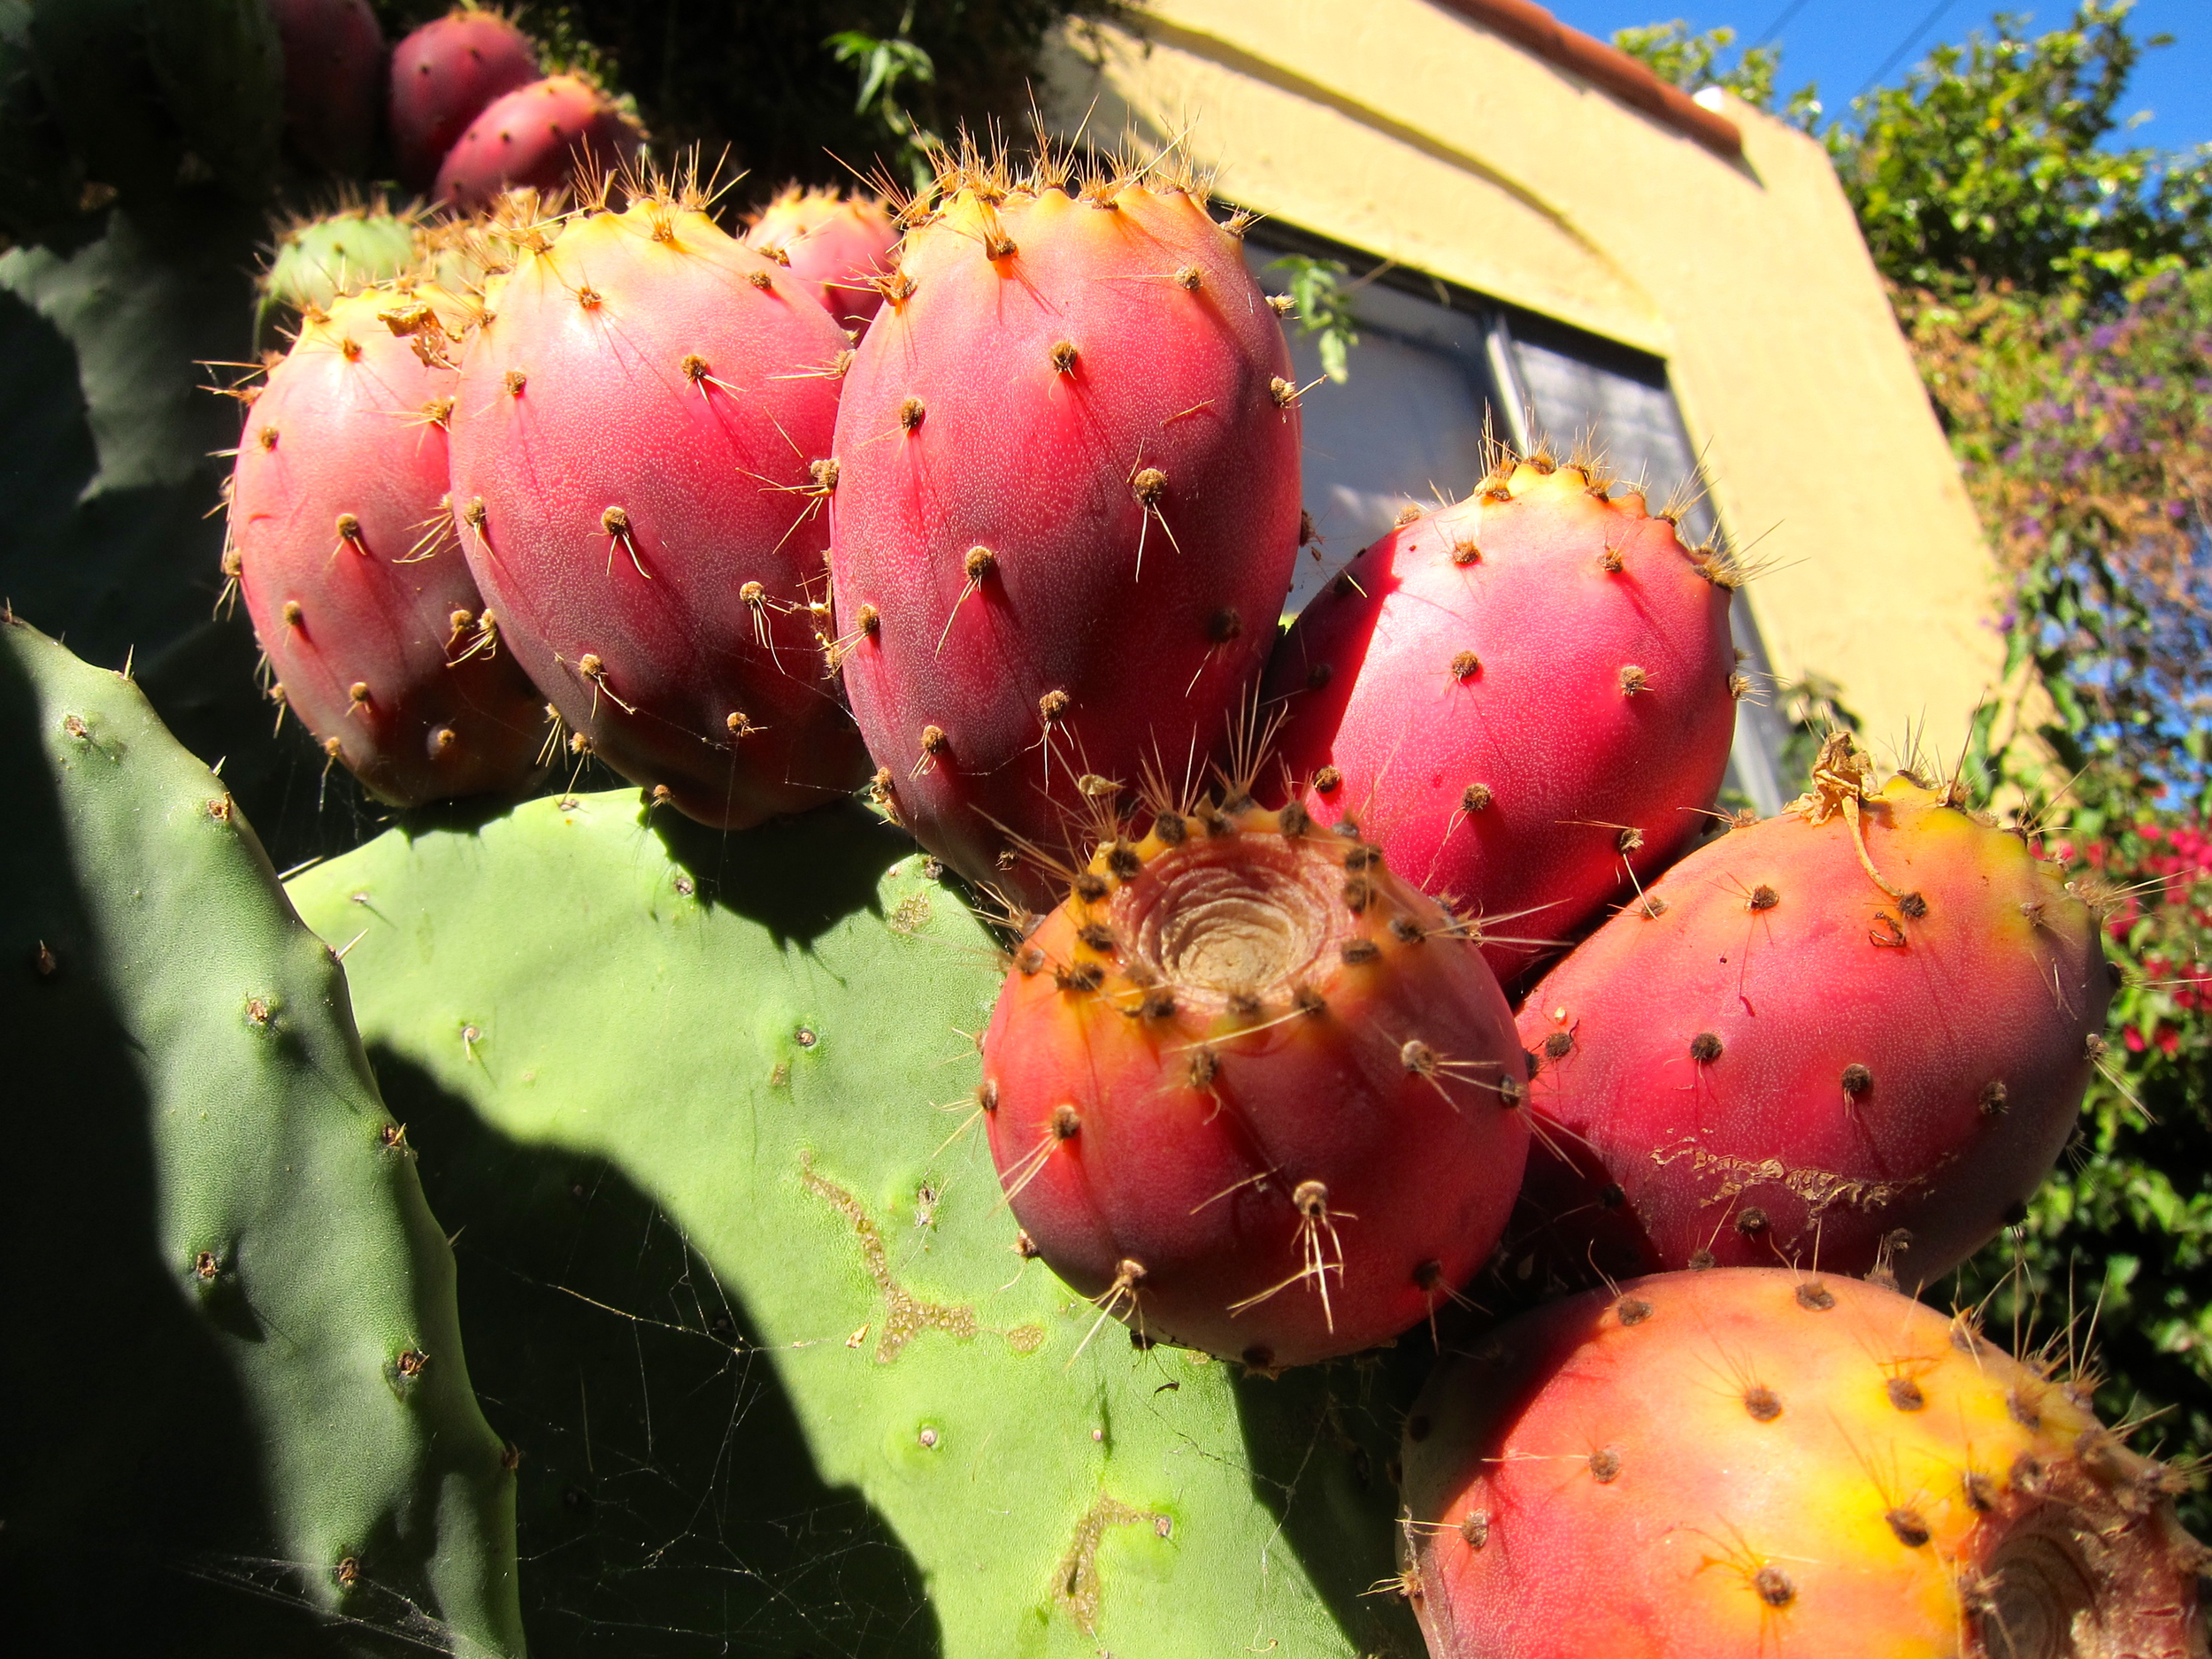
The cactus plant in front of my cottage is such a large and active producer of prickly pear fruit (also known to Spanish-speakers as "tuna") that I’ve found during the late summer and fall, prickly pear harvesting and processing can be a part-time job. Luckily, I have some skills from my time in Arizona and have a few fine-tuned processes allowing for maximum production in minimal time with as few pricklies in fingers as possible.
Process 1: If you want to keep the whole fruit intact for smoothies and other recipes requiring the flesh. Note that this process is more difficult, but uses as much of the fruit as possible, preserving fiber and other beneficial nutrients found in the flesh. However, when you use the whole fruit there are black seeds that are very hard and difficult to remove or pulverize. I don't mind these seeds, but I've found that others do.
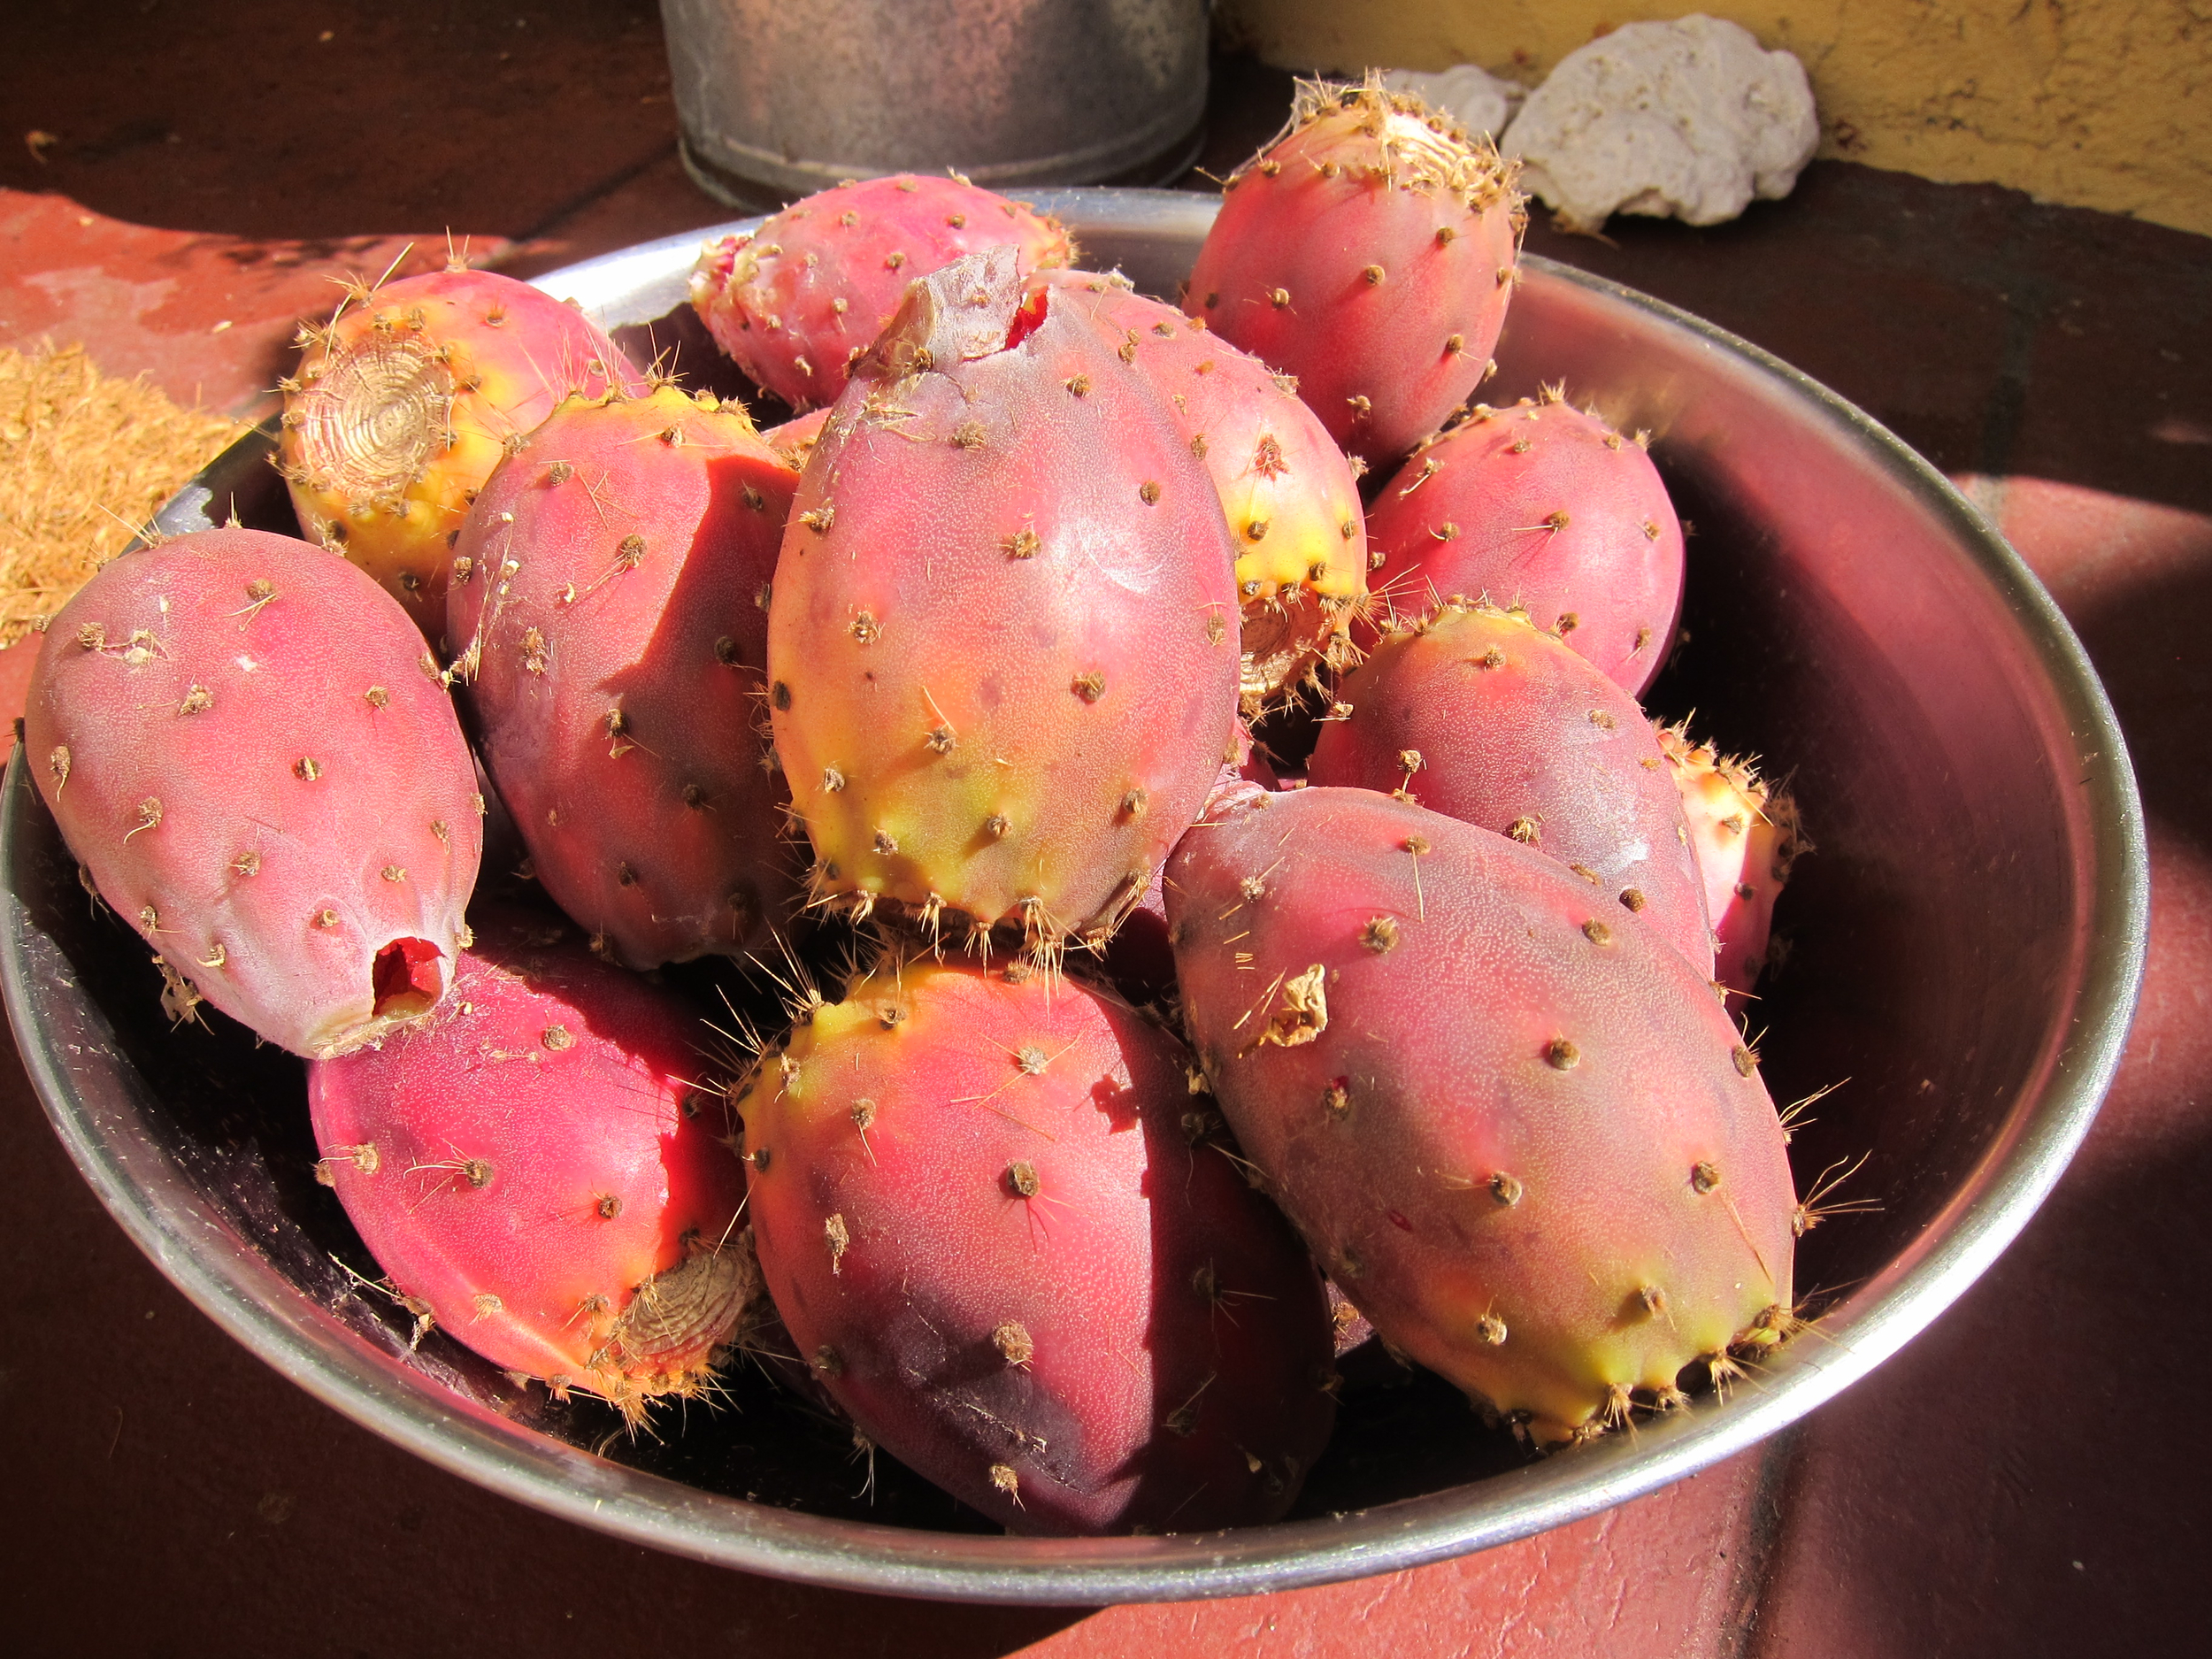
Step 1. Pluck the pears using tongs -in fact, use tongs throughout this whole operation wherever possible. Be very careful which way the wind is blowing - obviously, try to avoid standing downwind and close your eyes if you see danger.
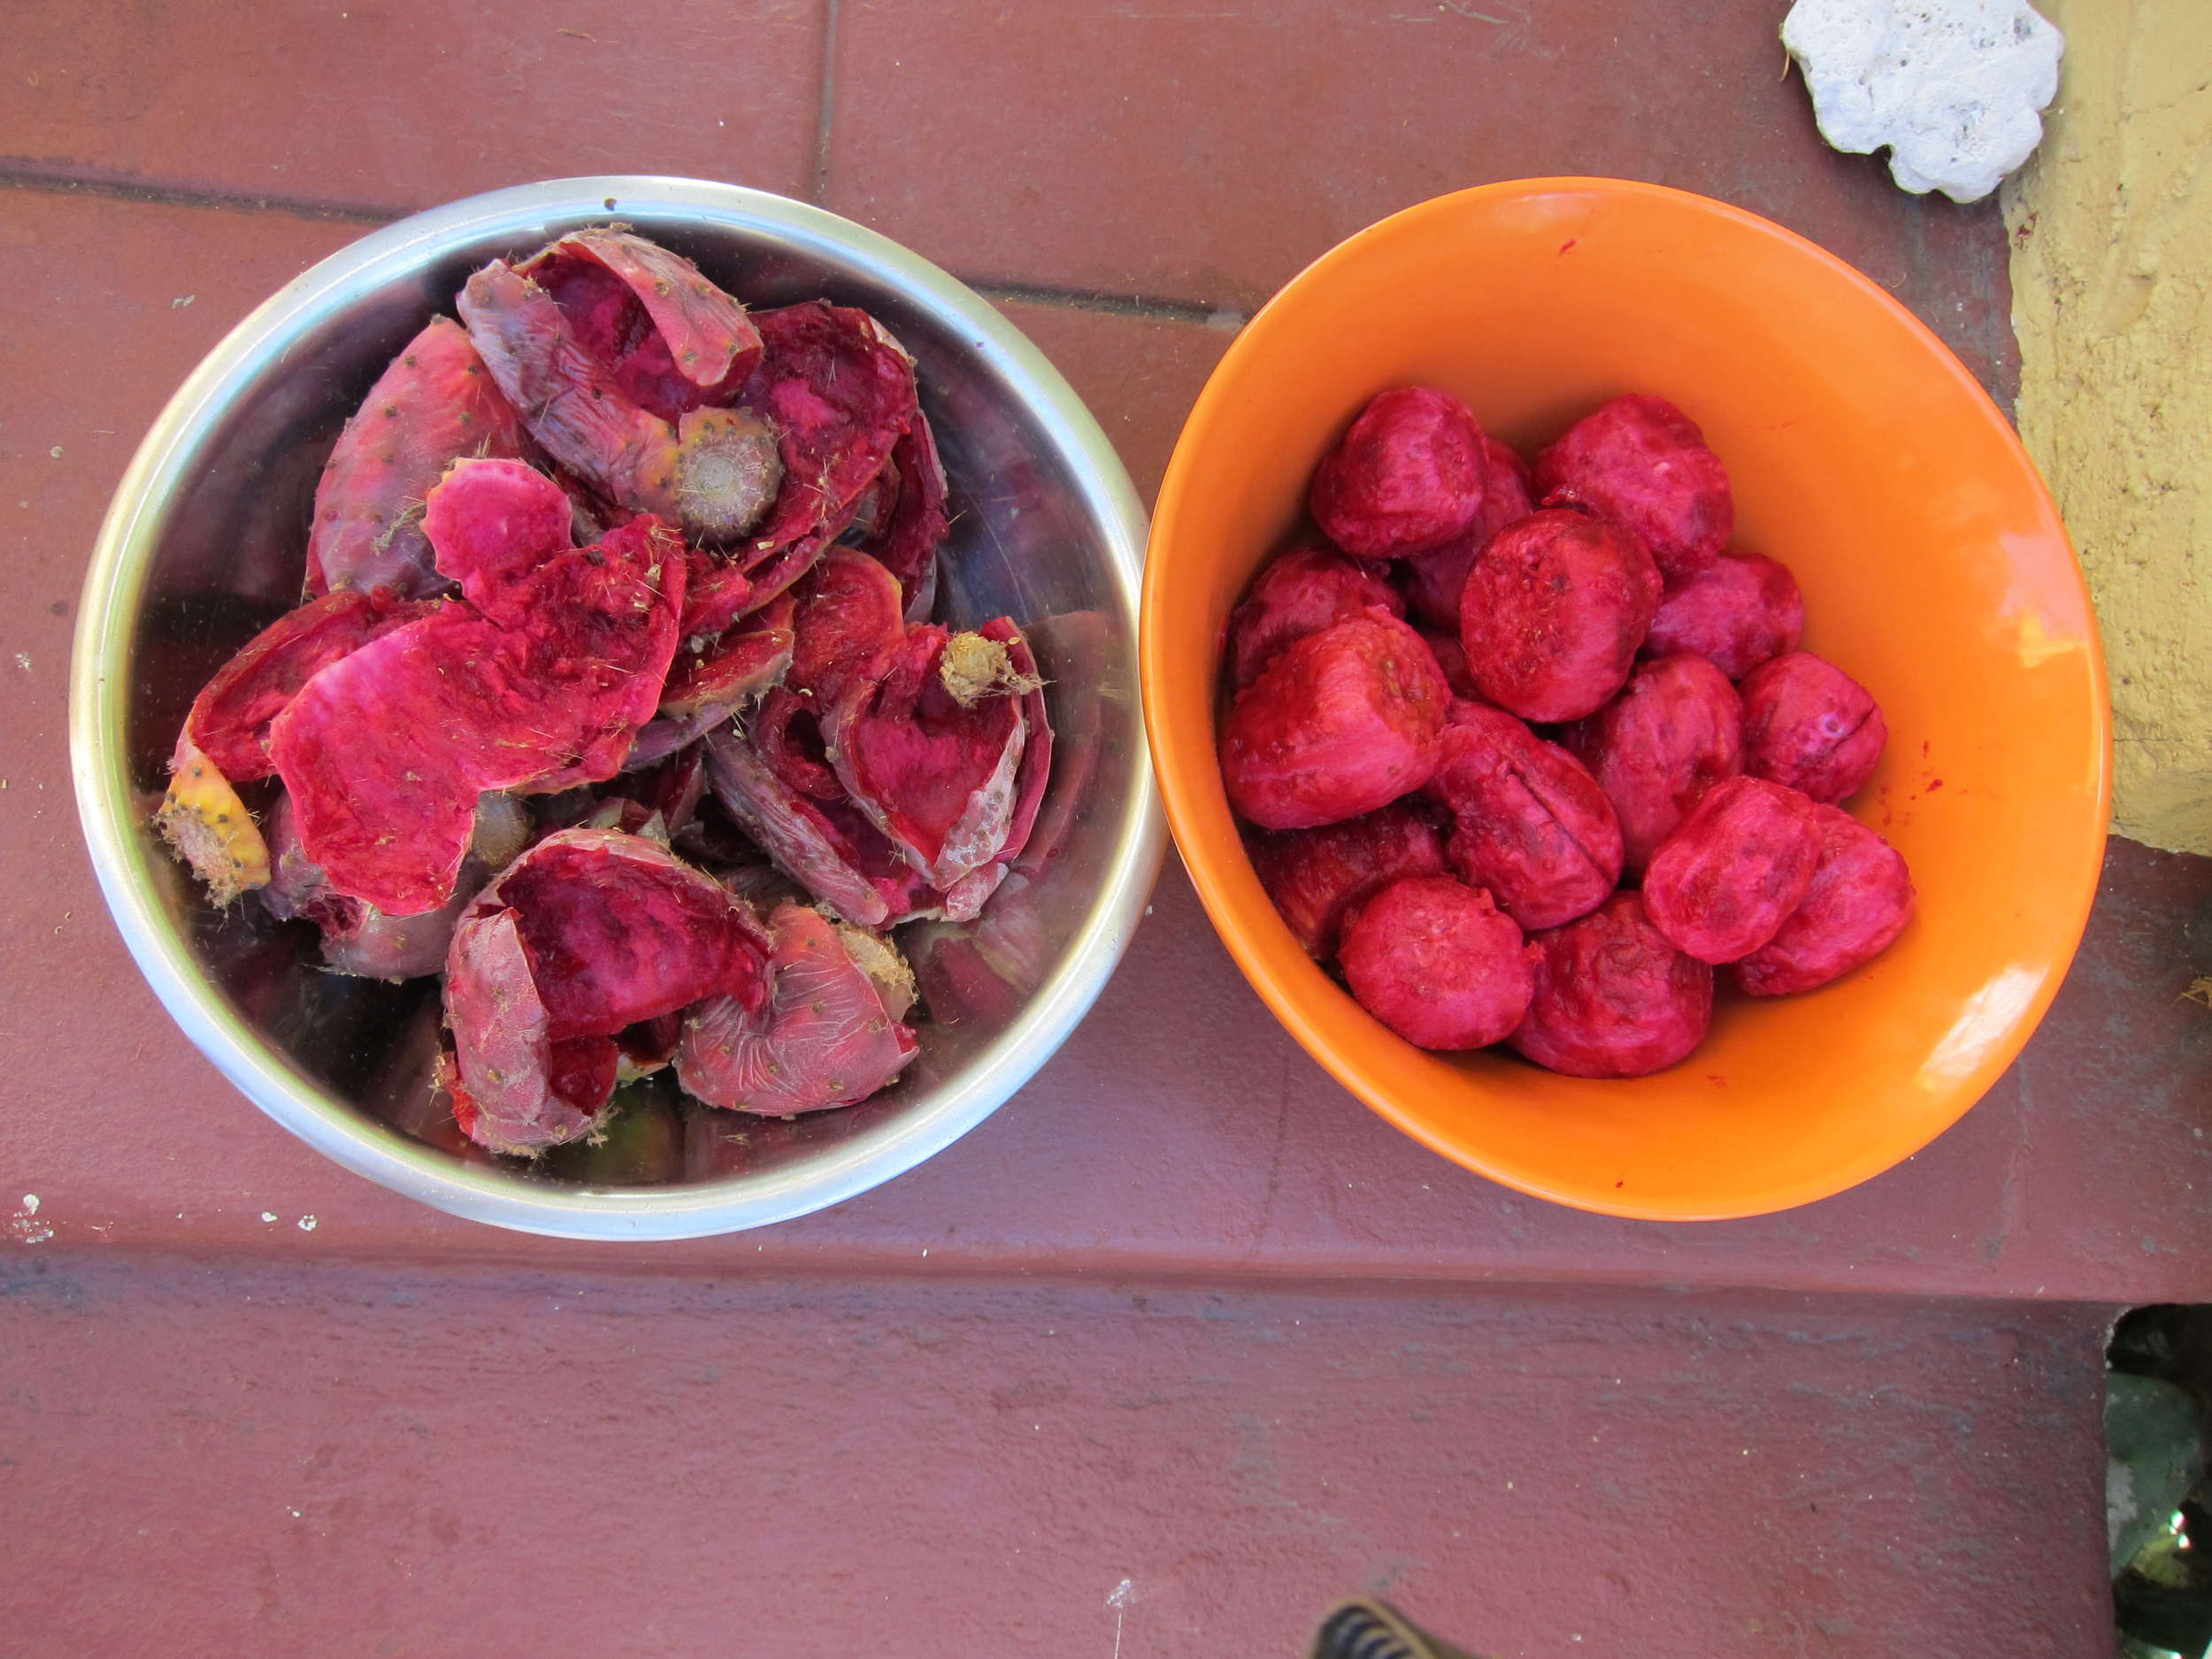
Step 2. Set up your operation - place pears in a big bowl and get ready to peel them. I like to have 3 bowls for this - 1 for the unpeeled pairs, one “working bowl” where you slice them, and one for peels.
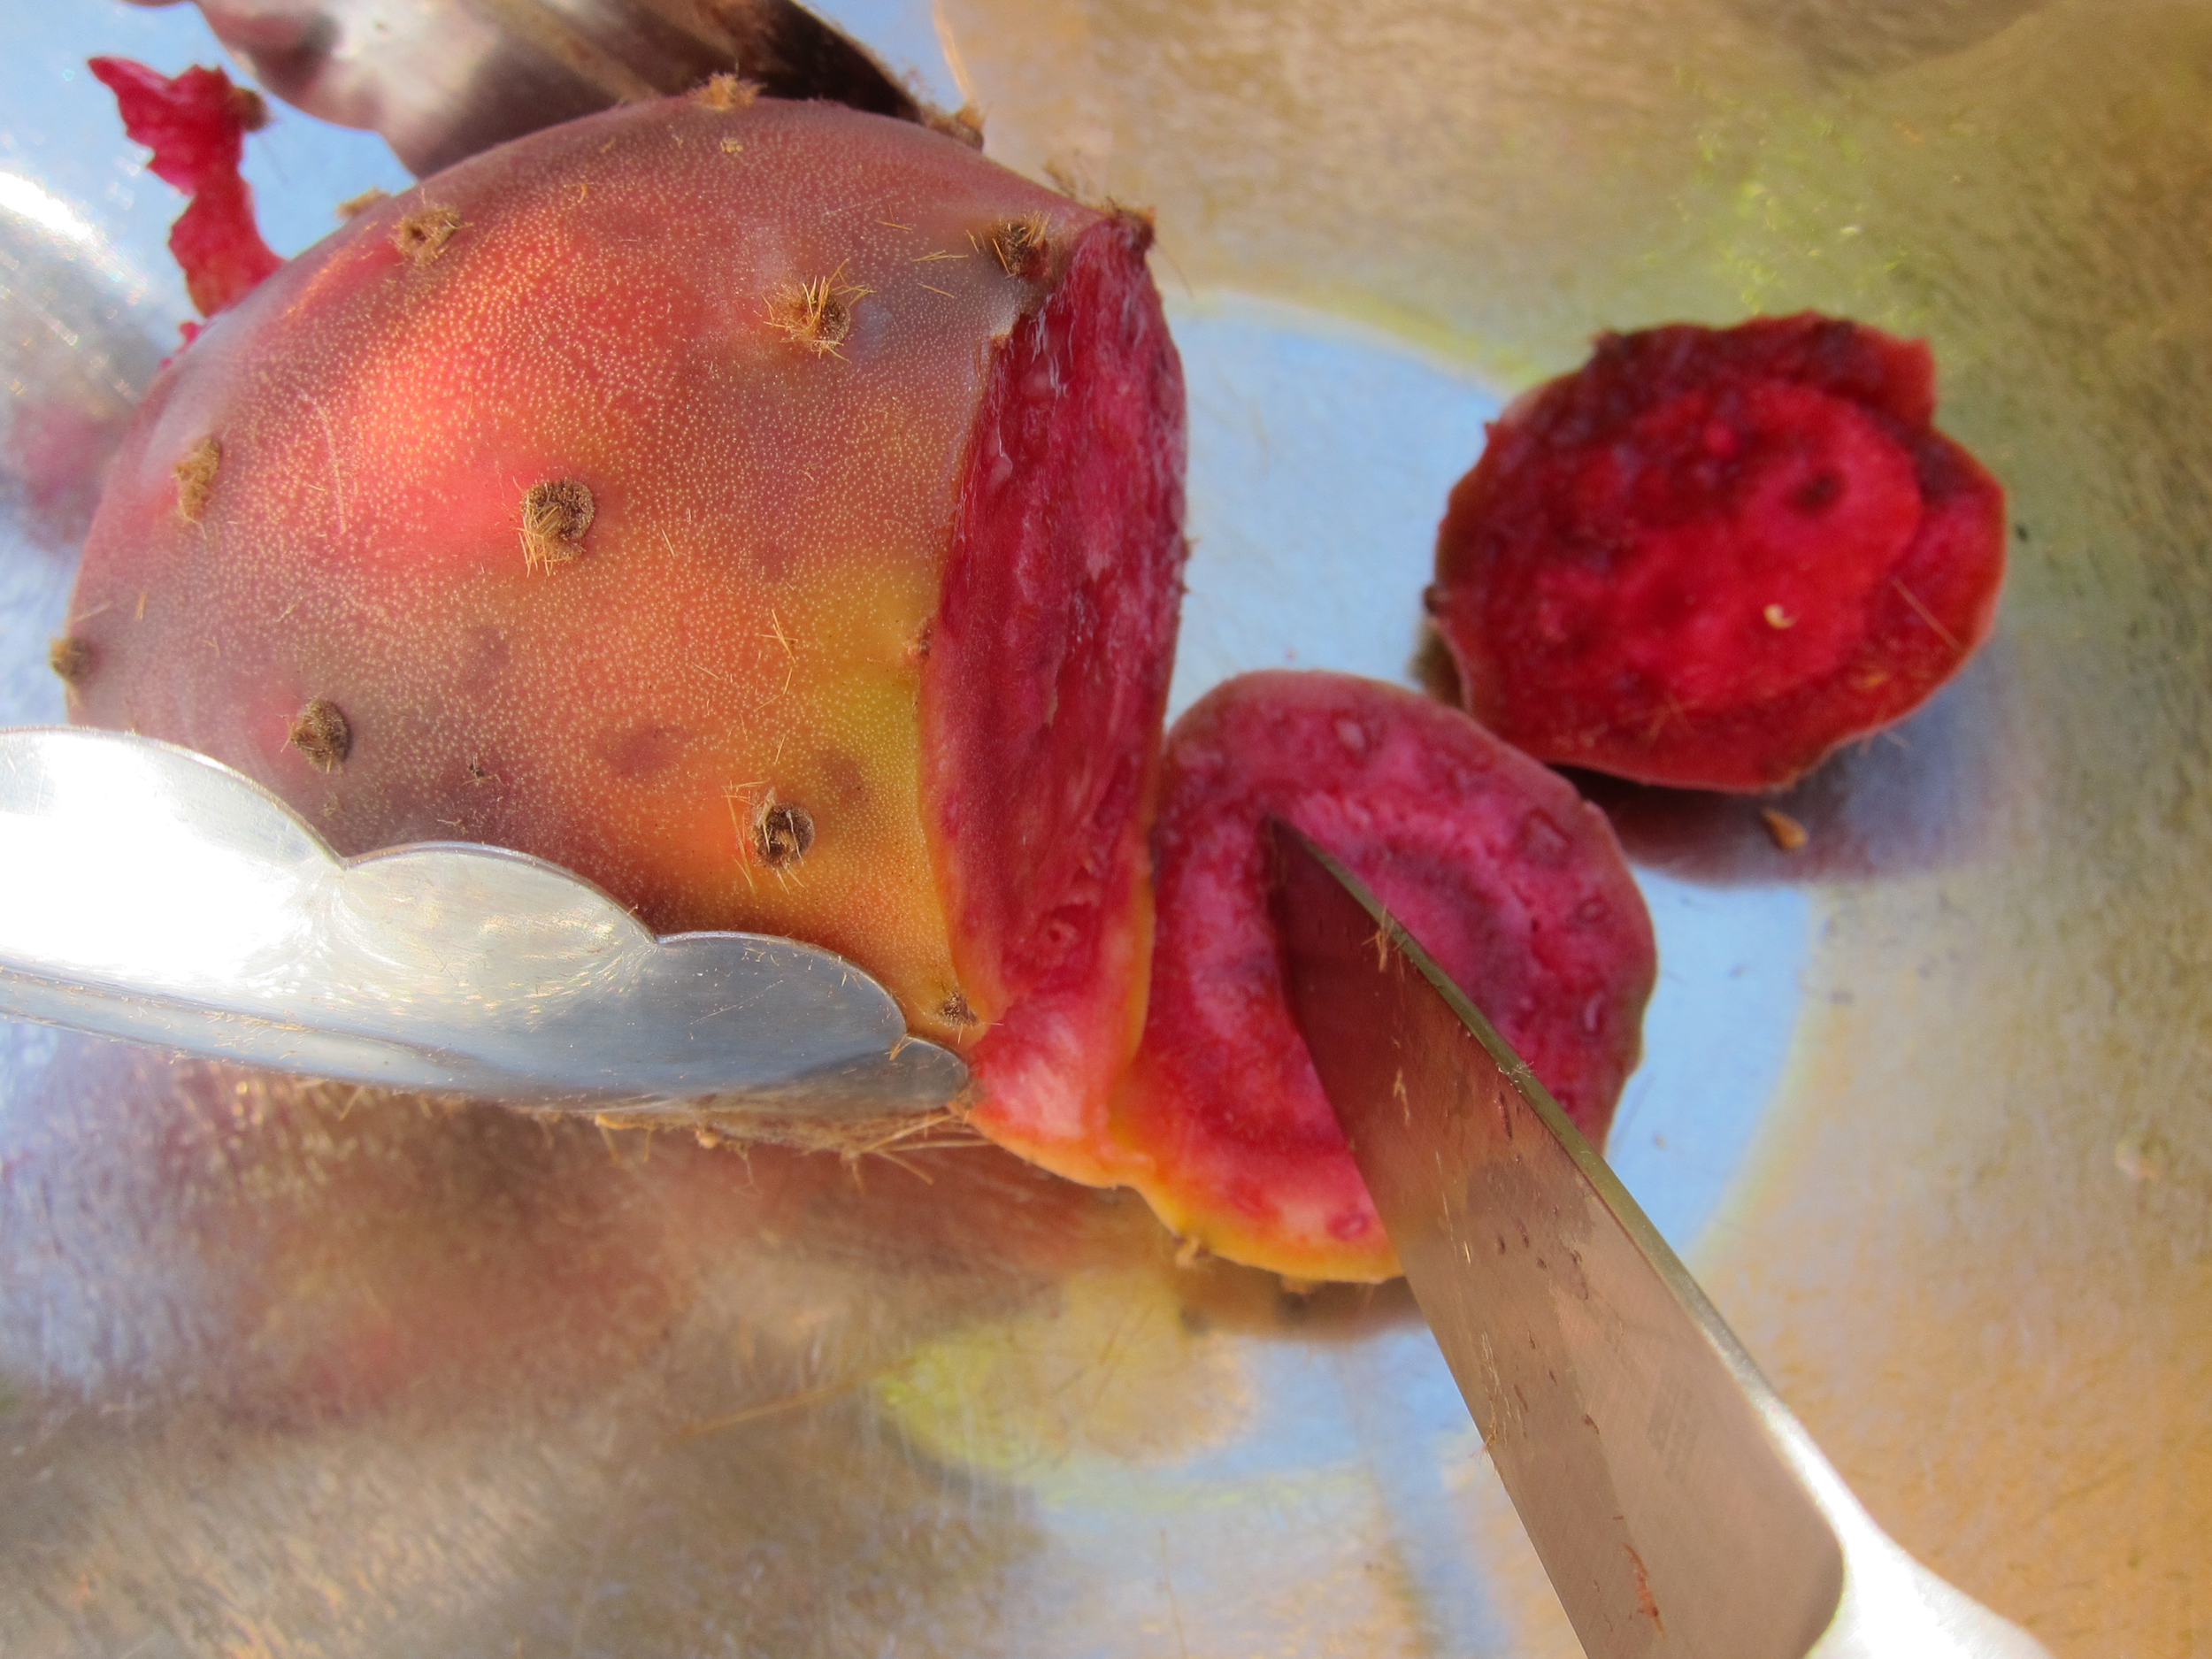
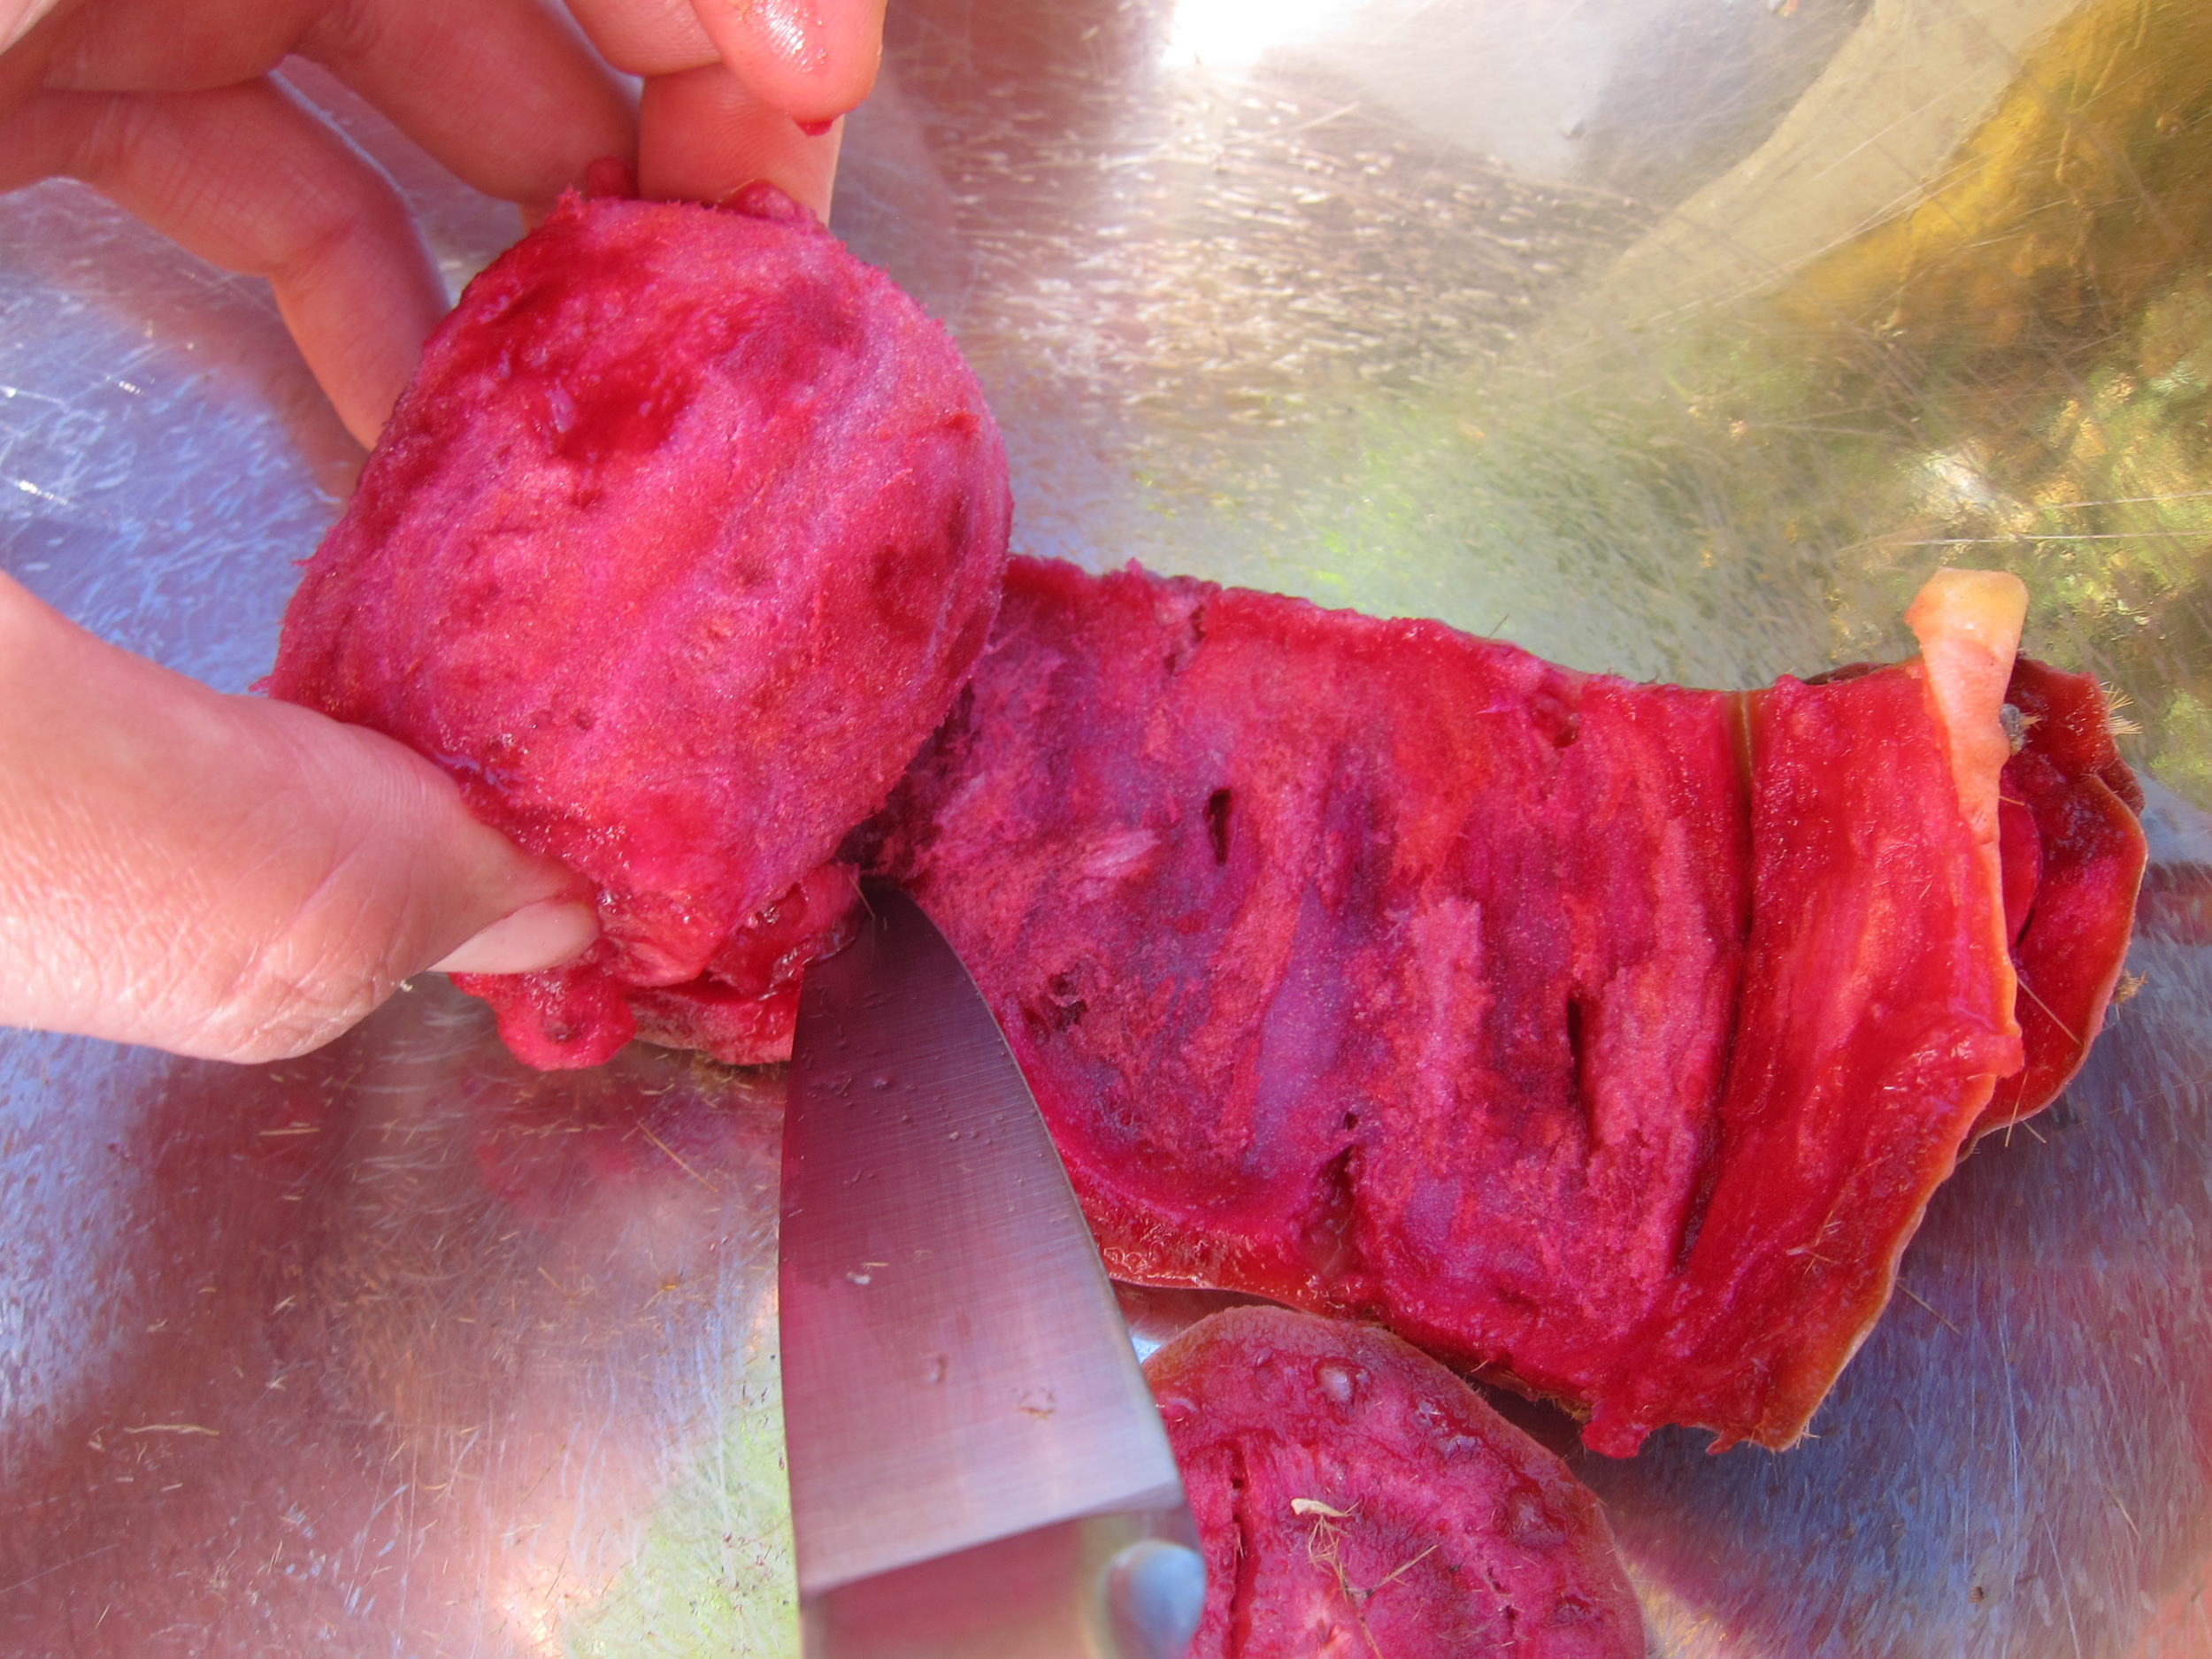
Step 3. Cut off each end of the pear.
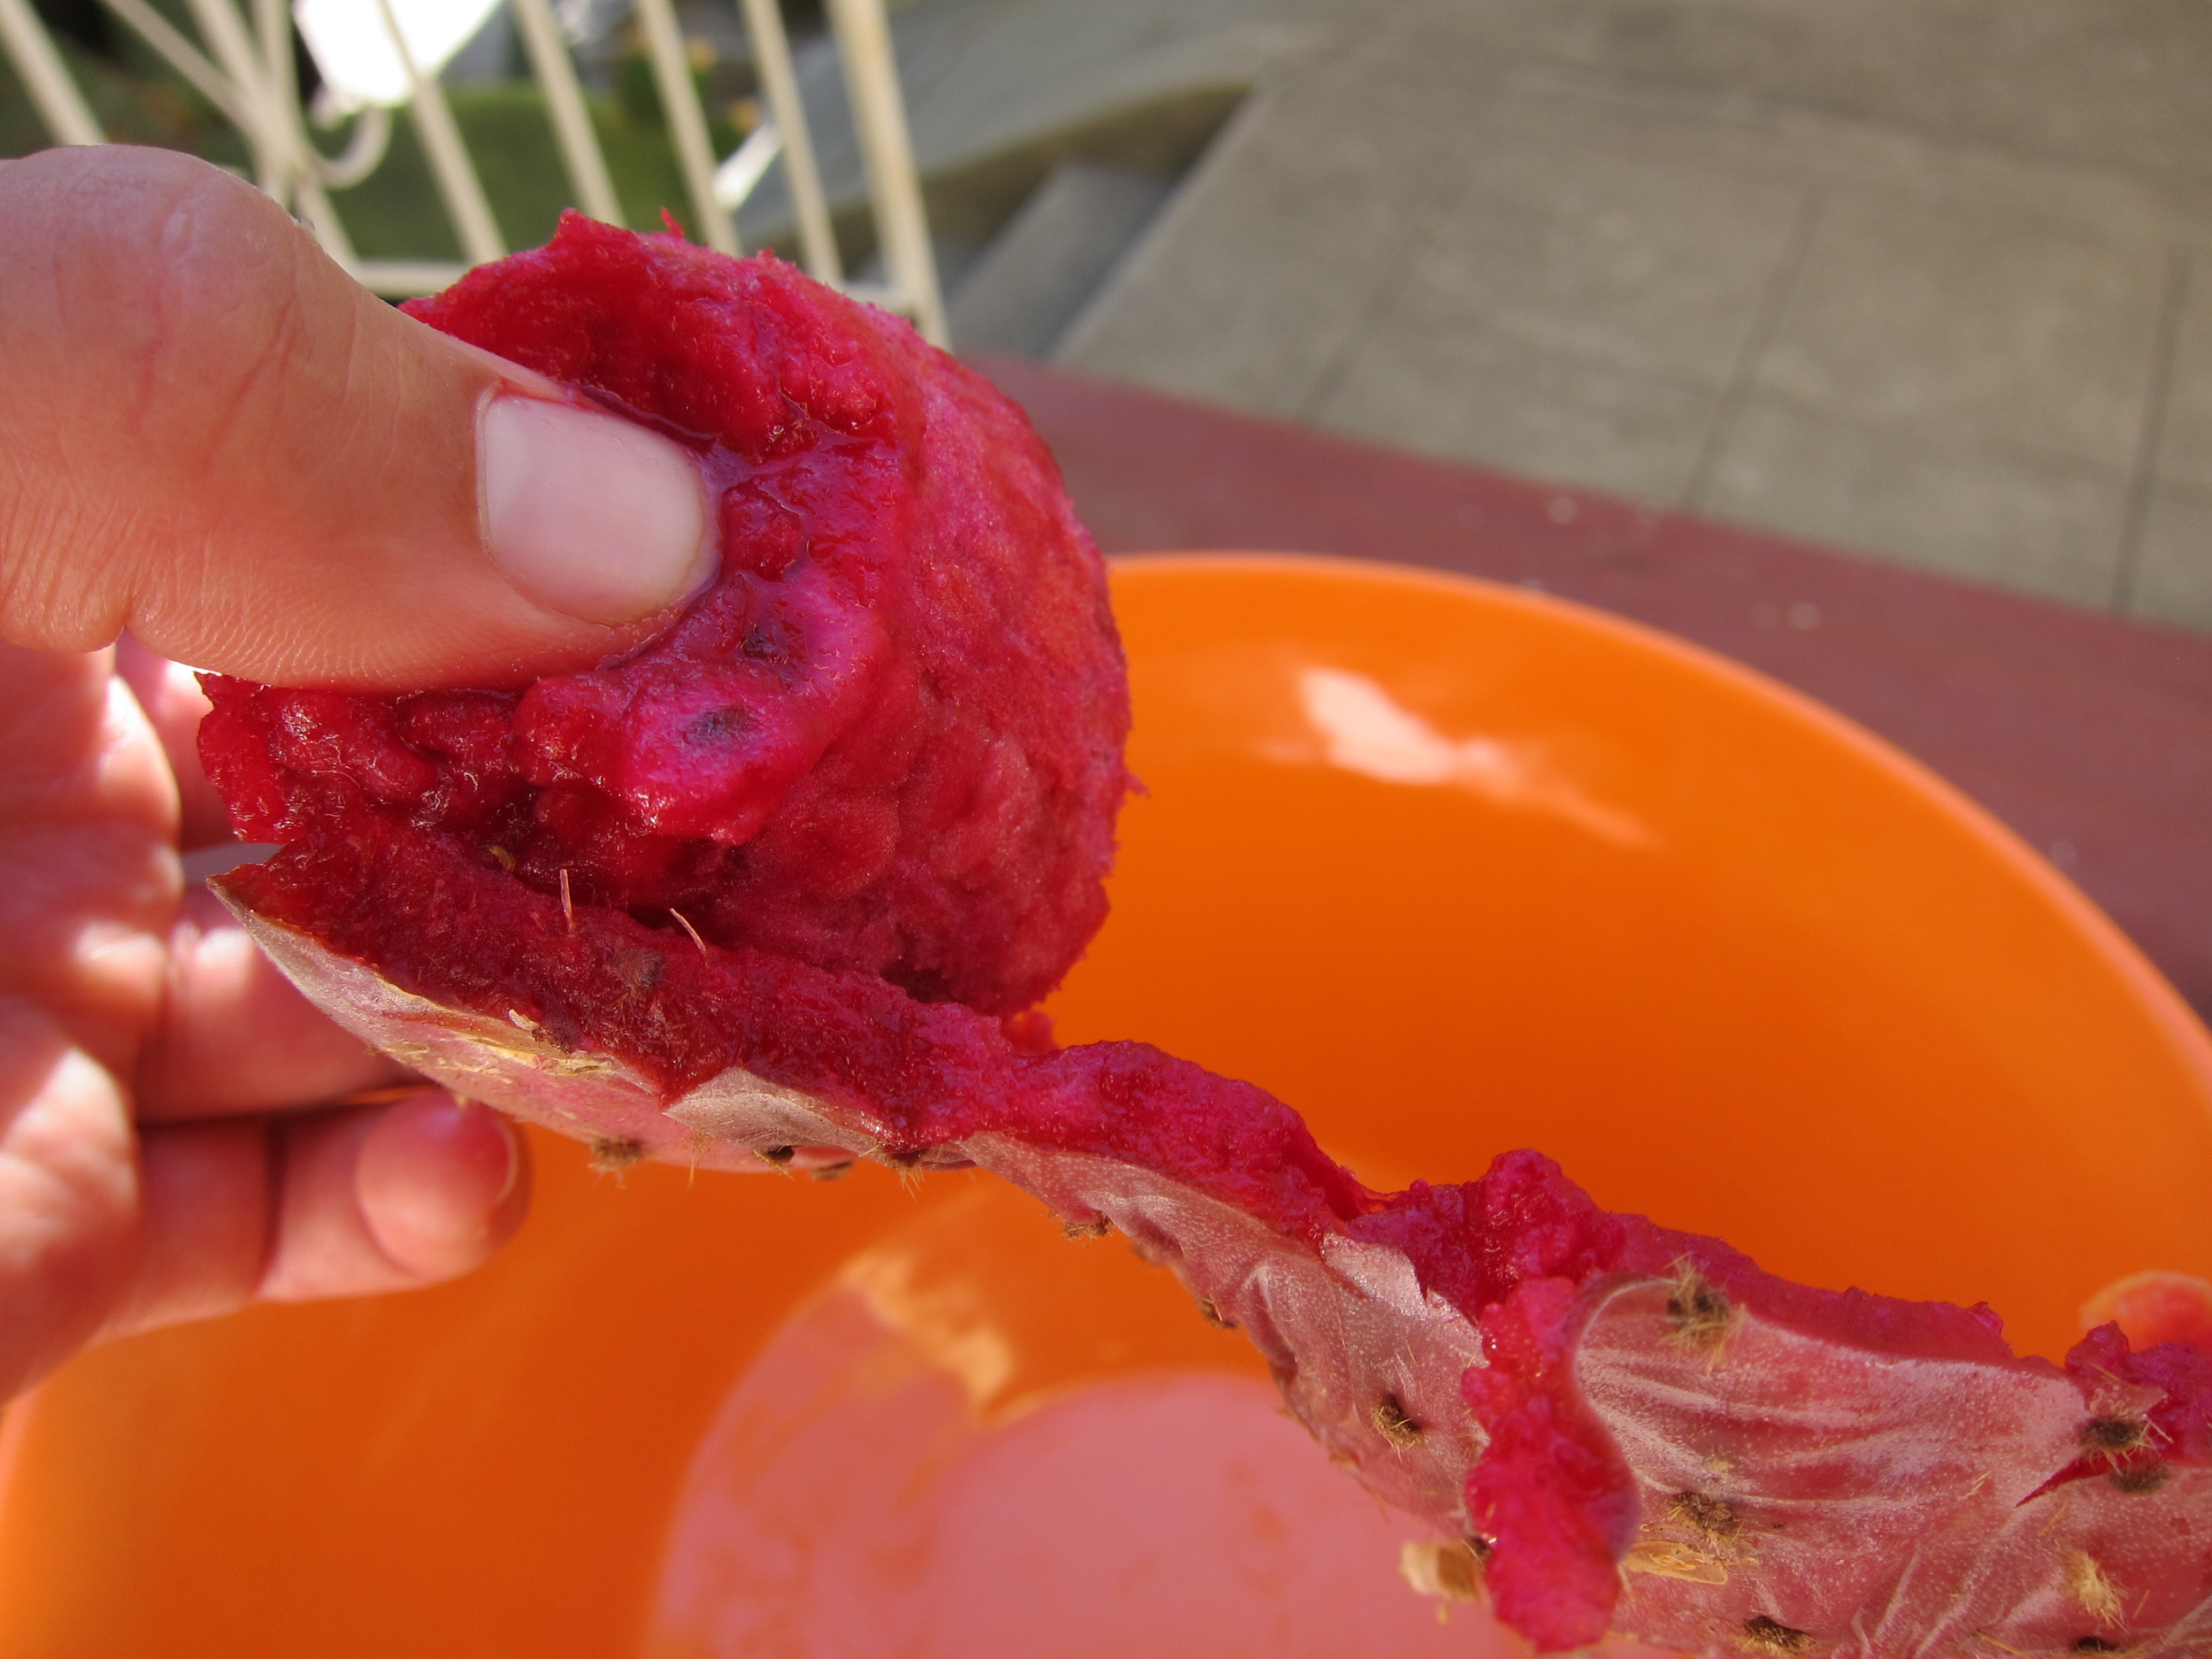
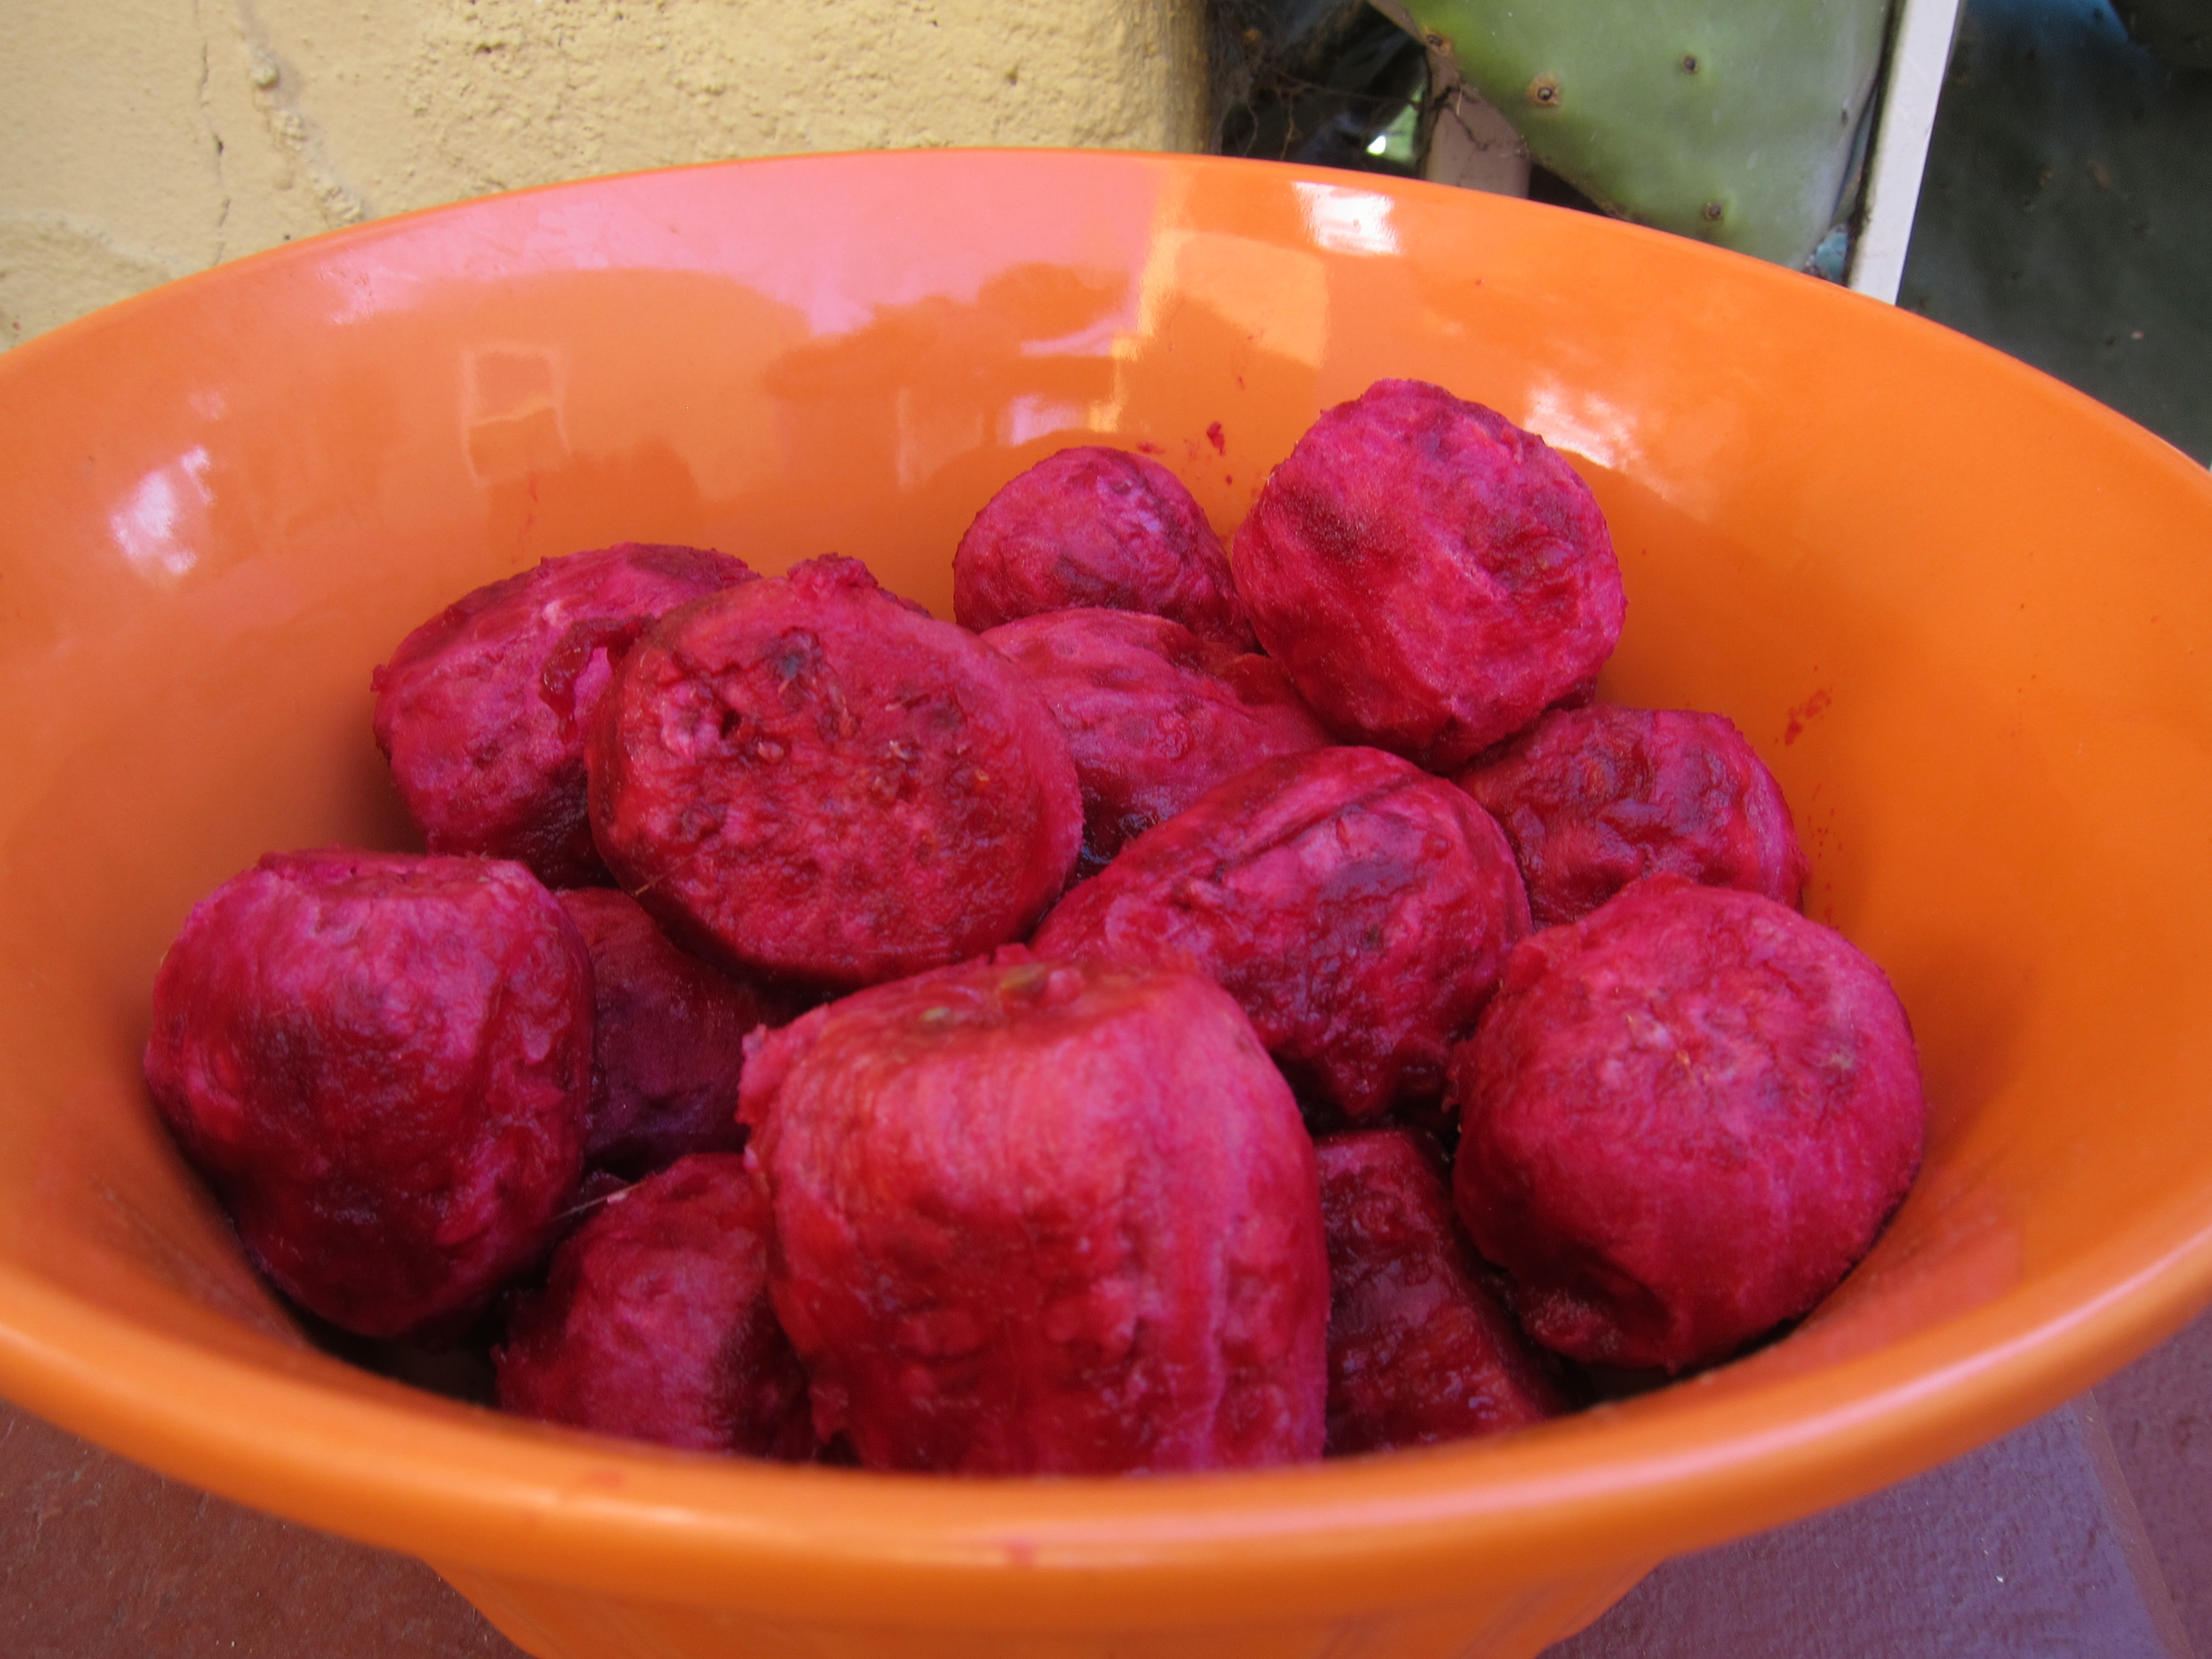
Step 4. Make a slice down the middle and scoop out the fruit. This is a pretty cool step because the fruit comes away from the skin quite naturally. Toss skin in one bowl and fruit in another. This loses some of the fruit on the edge of the skin, but there’s really no other way unless you want to get stickers everywhere.
Step 5. Consume or freeze for later use.
Process 2: If you just want to use the juice. Note that it is not incredibly efficient and the flesh is discarded. However, I've started doing this process more often than not because of how productive my cactus plant is and for the following benefits: This process is way easier, less time consuming, and you'll have fewer spines (if any) in your hands at the end of it.
Step 1: Pluck the pears using tongs and put them into large ziplock bags. Again, be very careful which way the wind is blowing - obviously, try to avoid standing downwind and close your eyes if you see danger.
Step 2: Freeze the fruit overnight or for up to 1 year.
Step 3: Pour frozen fruit from bag into a colander and rinse. Place colander over a large pot or bowl and put something heavy on top of the fruit (I use a very large mason jar filled with water).
Step 4: Wait for 1-2 days (depends on temperature) as the juices come out of fruit, through the colander and into the bowl. You can press down on the heavy object and slice open the fruit as needed to encourage this process.
Step 5: Once as much juice is out of the fruit as possible, strain juice through a fine mesh colander or cheesecloth (to remove any remaining spines) and discard pulp.
Step 6: Use juice immediately, refrigerate for up to a month, or freeze for up to a year.
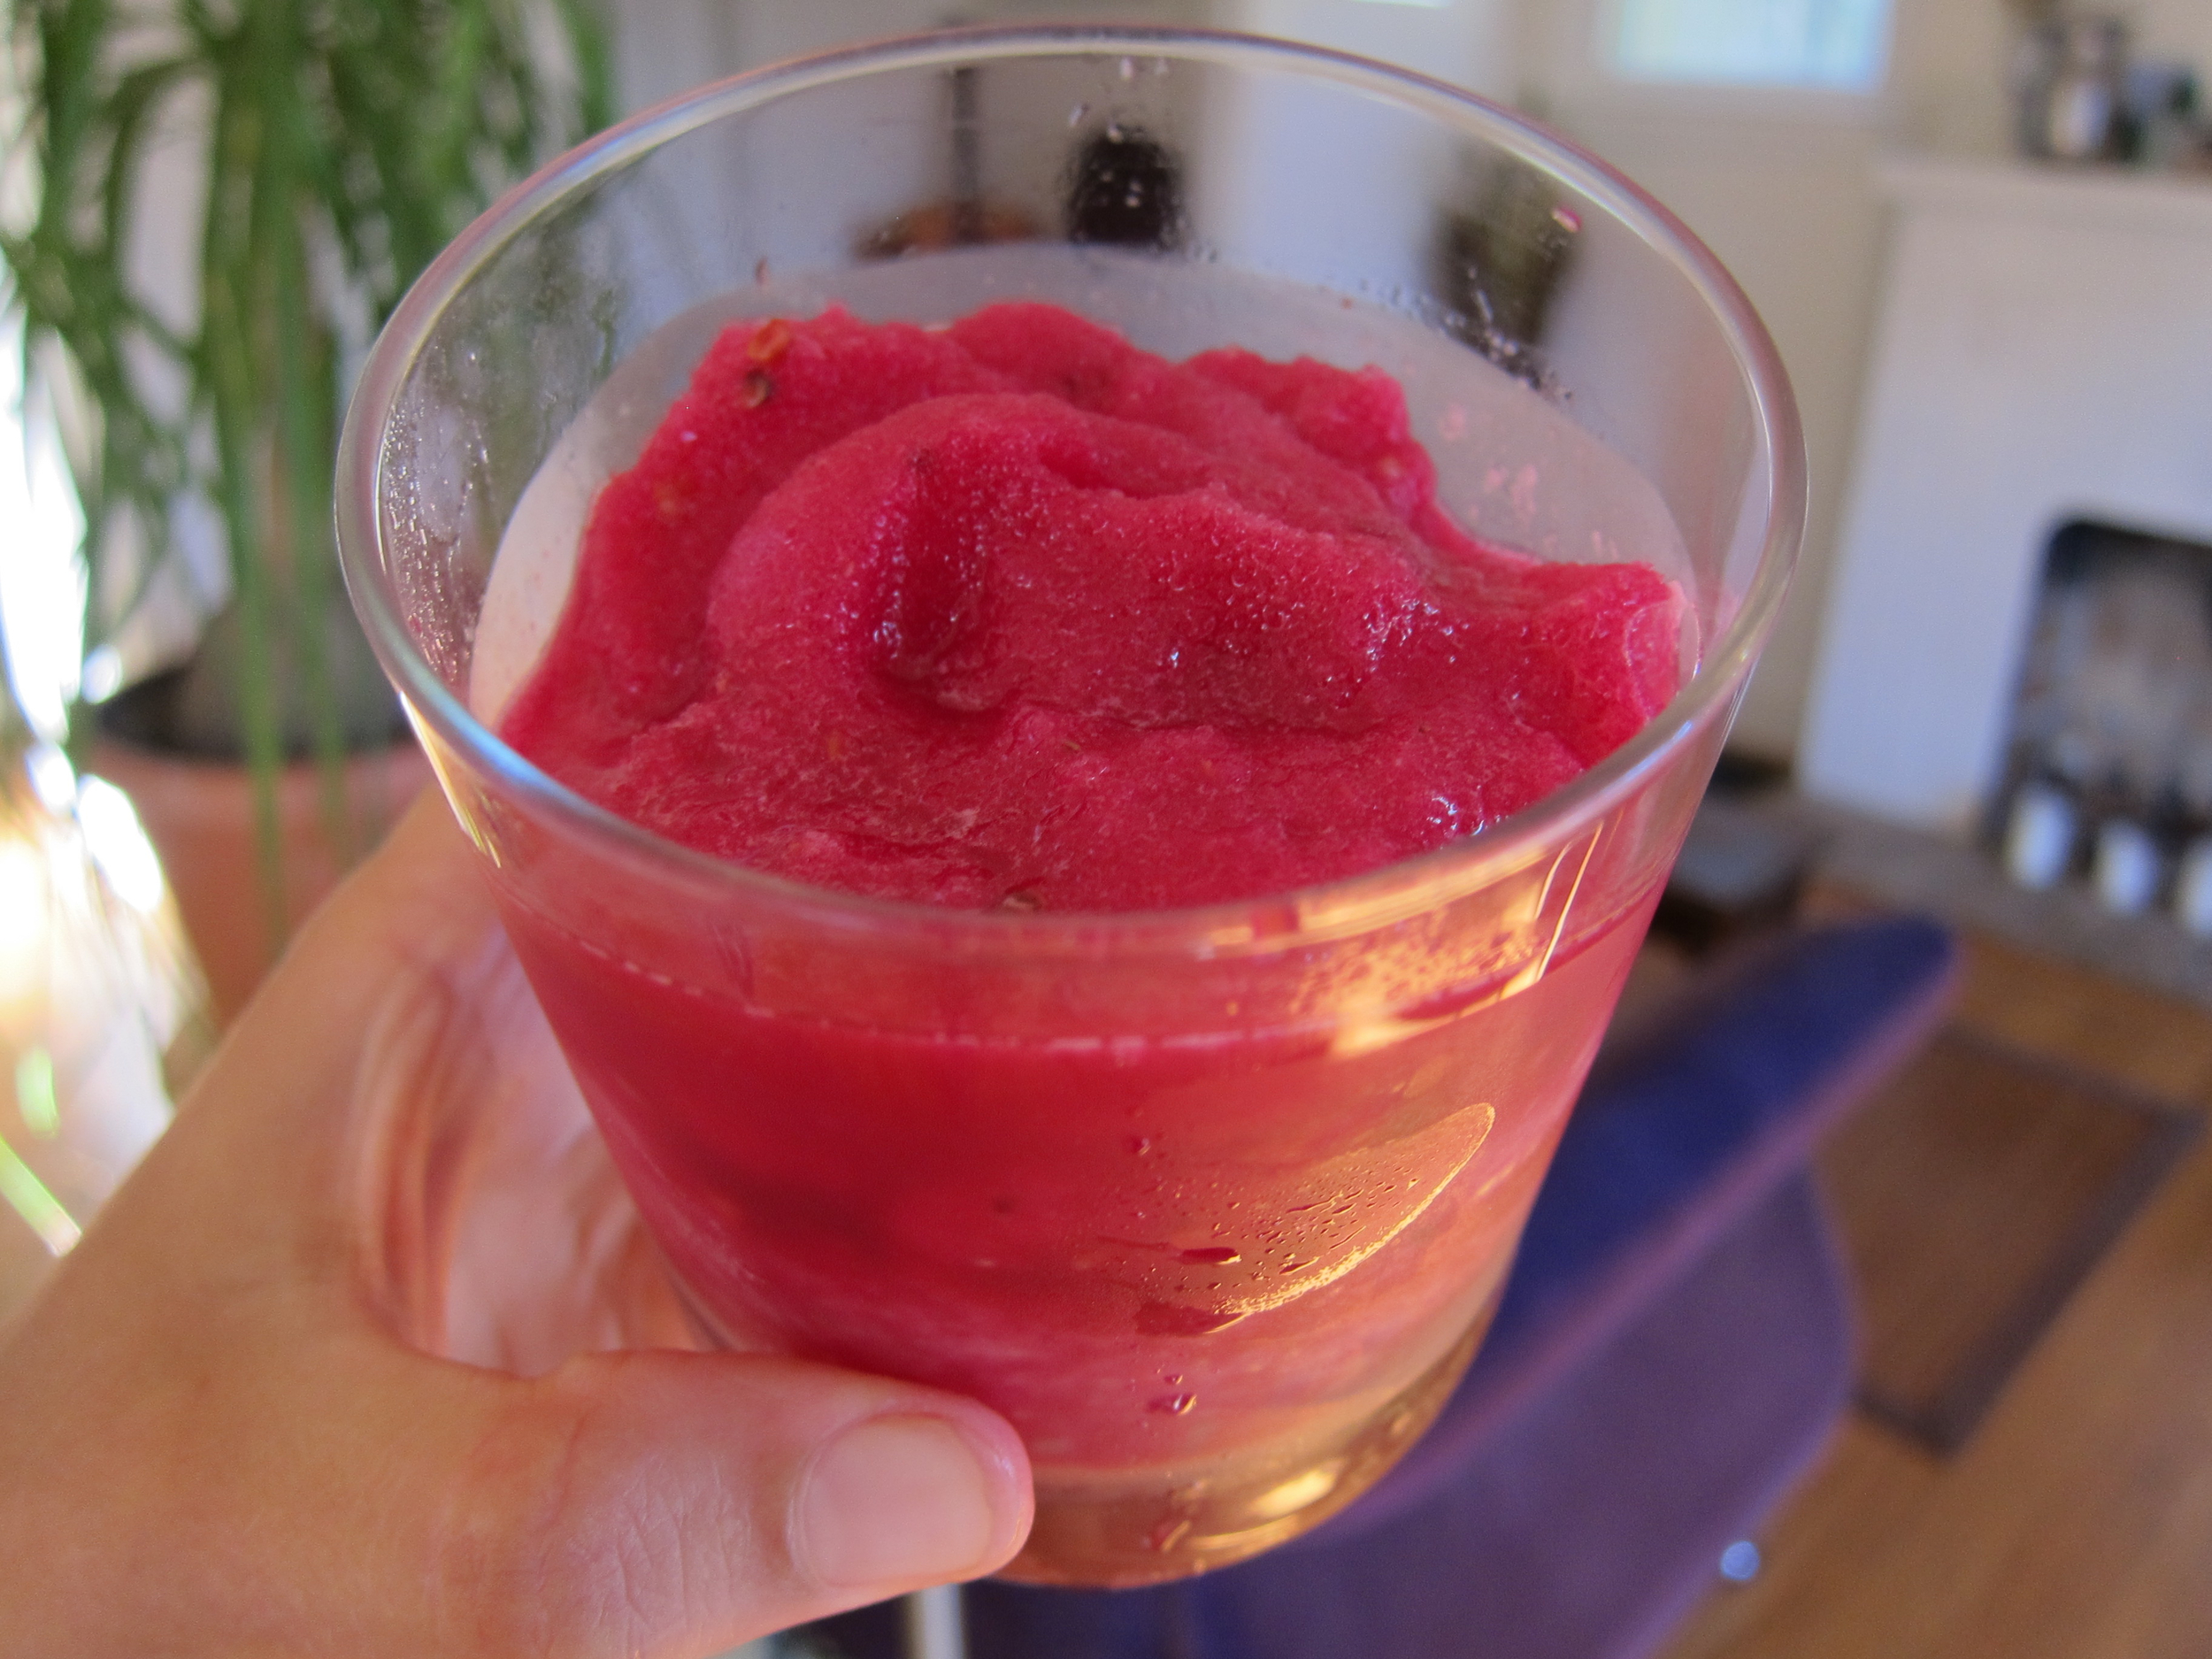
Prickly pear granita: Blend frozen pears with ice and lime. Add black pepper or cayenne for an optional spicky kick.
Prickly pear recipe suggestions: Prickly pear margarita, prickly pear manhattan, prickly pear granita, prickly pear cheesecake, prickly pear chutney/jam, prickly pear sorbet.