Prickly pear salty caramels
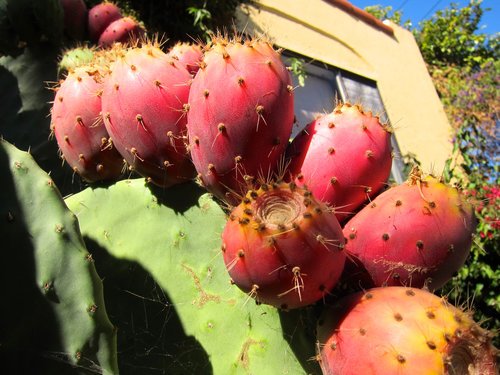
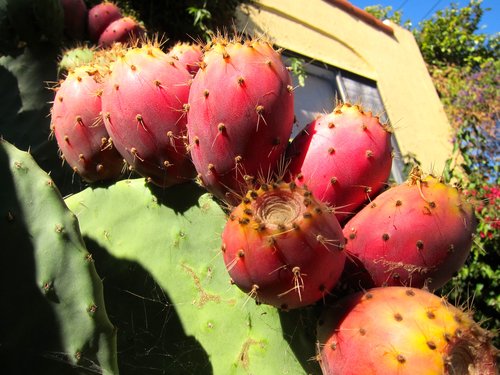
Prickly pear margaritas, prickly pear sorbet, prickly pear cheesecake, prickly pear fermented beverage, prickly pear marinade - you name it, I've tried it with prickly pear. This is primarily because at my house in Oakland has a giant prickly pear cactus (Opuntia) that is very, VERY productive. Like, part-time job in the late summer/fall productive. At first, I was so pumped that I wasn't very generous with the fruit, but now, when I hear someone comment on the prickly pear cactus (which happens quite often) I run out and give them a bag of frozen fruit. You can read more about my harvesting methods here. Since there's so much fruit, I now pretty much stick to the second process listed, which is a loss of the pulp, but dramatically less work.
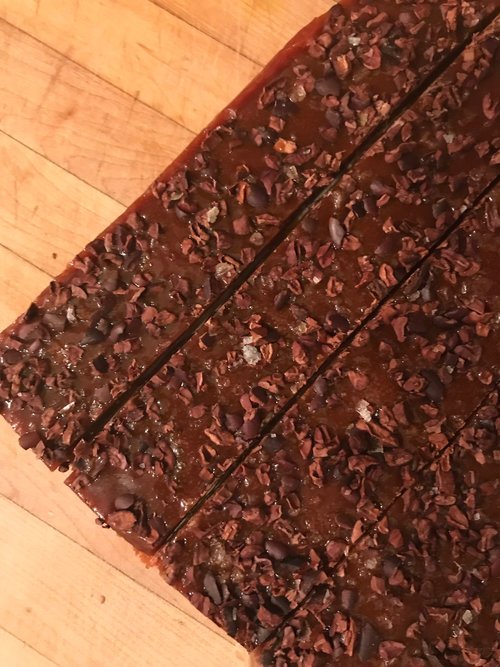
Cutting caramels into squares.
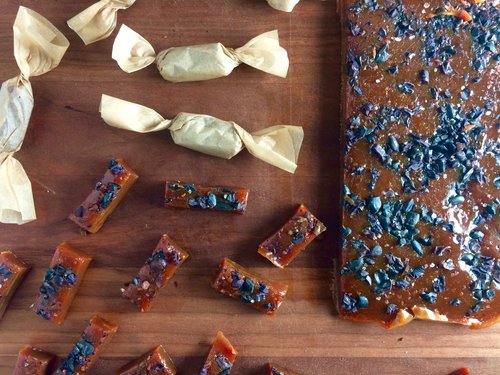
A few years ago, in an effort to get rid of as much juice as possible, I was trying to think of recipes where reducing the juice was required. I remembered making apple cider caramels at some point, so I decided to give that a try using this Smitten Kitchen recipe for apple cider caramels, but substituting out cider for prickly pear juice. There are also a few other changes, like adding cacao nibs to the top and omitting cinnamon (wouldn't be bad, but just already a lot going on). The caramels were above and beyond my expectations - a deep, rich sweetness balanced by the salt and toasty cacao nibs. Really so, so good and now my favorite prickly pear concoction. Additionally, they can be wrapped and keep well, so a great unique holiday gift item! Recipe makes about 50 caramels, depending how large they are cut.
4 cups (945 ml) prickly pear juice
8 tablespoons (115 grams or 1 stick) unsalted butter, cut into chunks
1 cup (200 grams) granulated sugar
1/2 cup (110 grams) packed light brown sugar
1/3 cup (80 ml) heavy cream
Up to 1/4 cup cacao nibs
Up to 2 teaspoons flaky sea salt, such as Maldon, or less of a finer salt
Neutral oil for the knife, if needed
Boil the prickly pear juice in a 3- to- 4- quart saucepan over high heat until it is reduced to a dark, thick syrup, about 1/2-3/4 cup in volume. This takes about 40-60 minutes on my stove. Stir occasionally.
Meanwhile, get your other ingredients in order, because you won’t have time to spare once the candy is cooking. Line the bottom and sides of an 8- inch square metal baking pan with 2 long sheets of crisscrossed parchment. Set it aside. Put salt and cacao nibs in a small dish.
Once you are finished reducing the juice, remove it from the heat and stir in the butter, sugars, and heavy cream. Return the pot to medium- high heat with a candy thermometer attached to the side, and let it boil until the thermometer reads 252 degrees, only about 5 minutes. Keep a close eye on it. Stir occasionally. (Don’t have a candy or deep- fry thermometer? Have a bowl of very cold water ready, and cook the caramel until a tiny spoonful dropped into the water becomes firm, chewy, and able to be plied into a ball.)
Immediately remove caramel from heat and give the caramel several stirs to distribute it evenly. Pour caramel into the prepared pan then sprinkle with cacao and salt. Let it sit until cool and firm—about 2 hours, though it goes faster in the fridge. Once caramel is firm, use your parchment paper sling to transfer the block to a cutting board. Use a well- oiled knife, oiling it after each cut (I have never had to do this...), to cut the caramel into 1-by-1-inch squares or 0.5-by-2-inch. Wrap each one in a larger piece of parchment or wax paper, twisting the sides to close. Caramels will be somewhat on the soft side and will keep for 2 weeks at room temperature, 1 month in the refrigerator.
Cornmeal-battered nopales with smoked paprika
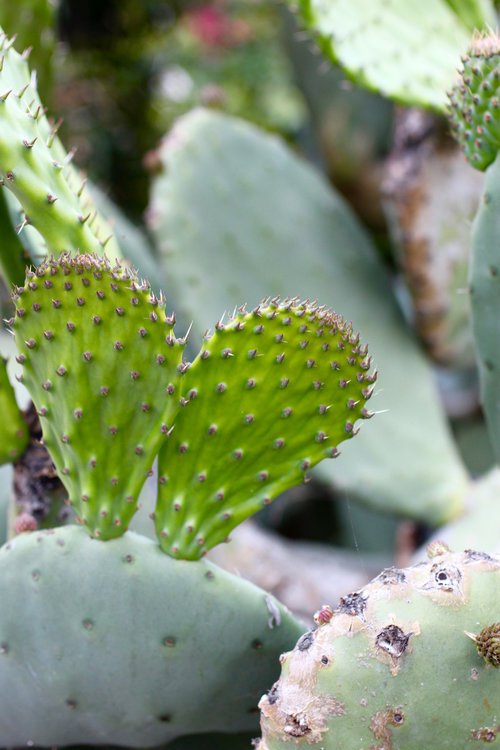
I had a very, very productive nopal cactus in front of my house in Oakland. So productive, in fact, that harvesting and processing its fruit felt like a part time job in the summer/fall. Nopal is the common name for members of a group (the Opuntia genus) within the cactus family, with the plural being nopales. Usually however, I see nopales referring to the cactus pads specifically, with prickly being the fruit. If you see a big cactus with large flat "paddle" leaves with thorns and bright red fruit, it's an Opuntia cactus and is edible. Some are better tasting than others and there are also better times to harvest the cactus pads. See my past post on harvesting nopal cactus pads for more details. The best piece of advice is to be careful because the thorns on the fruit have a tendency to jump onto you!
Oh how I loved my very productive Opuntia cactus.
This recipe is really just guidance, as the specific quantities aren't incredibly important. If serving as an appetizer or in tacos, which are probably the best uses, make about 1 medium cactus pad per person.
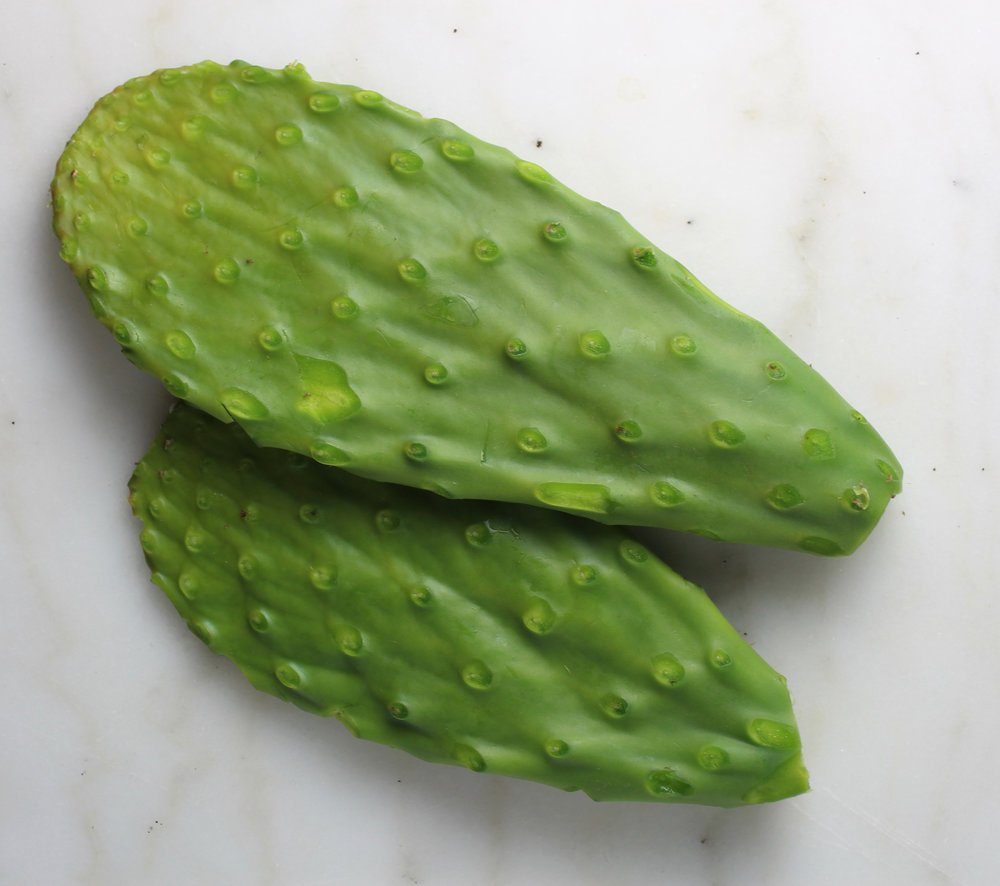
Nopales (cactus pads) that are at optimal tenderness - just remember to remove the spines!
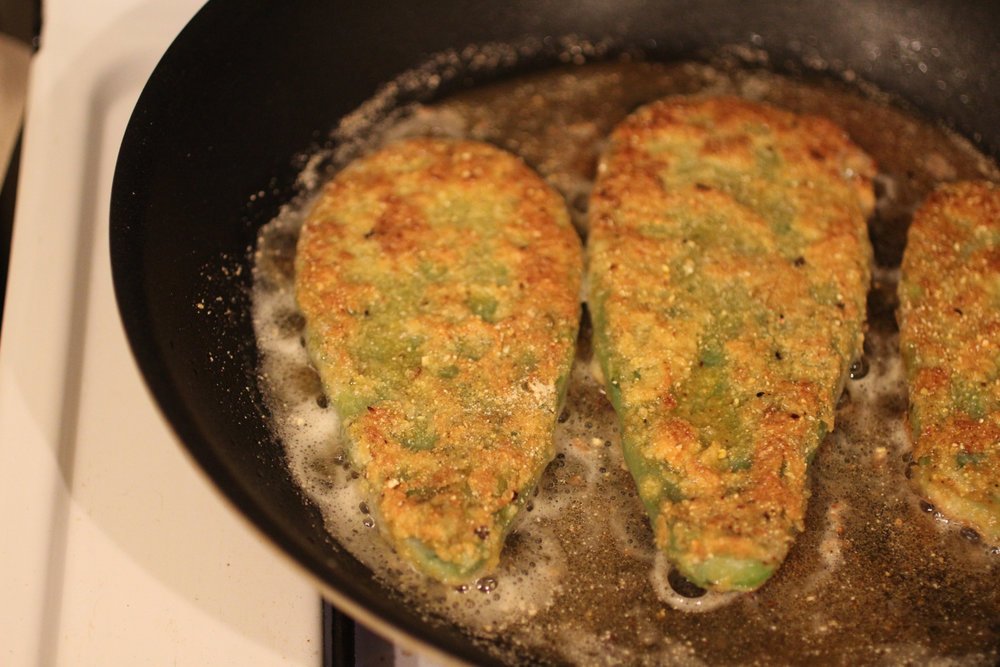
What I like about it is the dry heat method of pan-frying helps to limit the viscous quality that can happen with nopales (similar to okra). And, of course, cornmeal crunch is always appreciated. Feel free to play around with the cornmeal to flour ratio, herbs and spices, and dipping sauces. I have also thought about cutting the nopales into strips before battering and frying, which might help further reduce the viscous qualities and make for easier serving. Enjoy!
Young/tender nopales pads
1 part medium-grind cornmeal (about 1/2 cup for 4 medium cactus pads)
2 parts all-purpose flour (about 1 cup for 4 medium cactus pads)
Smoked paprika or chili powder (about 1 teaspoon for 4 medium cactus pads)
White or black pepper (about 1/4 teaspoon for 4 medium cactus pads)
Salt (about 1 /4 teaspoon for 4 medium cactus pads)
Eggs, beaten (1-2 eggs for 4 medium cactus pads)
Oil for frying (about 1/3 cup for 4 medium cactus pads)
Cactus pad with spines removed.
To prepare
Coating with all-purpose flour before the egg and cornmeal batter.
Remove thorns from cactus pads (see this post for information on removing spines). Set up a plate with paper towels to lay the nopales after you fry them.
Mix cornmeal, 1/2 cup flour, spices, and salt on a plate. Set other 1/2 cup all-purpose flour on a different plate.
Toss each cactus pad in pure flour mixture to lightly coat then dip in beaten egg and shake off excess. Dredge each egg-covered pad in the cornmeal mixture so that it covers all sides and set aside.
Add oil to frying pan - oil should be about 1/4-inch high - and heat on high.
When oil is hot, cook nopales about 2 minutes per side, or until browned, and set on paper towel. You may cook these in batches if needed, adding more oil as necessary.
Serve hot with a squeeze of lemon and a dipping sauce such as aioli, romesco, or an herb blend (optional). Cactus can be cut into strips prior to serving.
Frying to a golden-brown.
Prickly Pear Harvest and Processing
A few easier ways to take on the prickliest of pears.

By now one would think I should be a master prickly pear parer, but alas - I still acquire many little spikes in my hands and in other peculiar places (for example, I once found a few on my tongue over a week after processing) when I pick and process the fruit, just less than before.
The cactus plant in front of my cottage is such a large and active producer of prickly pear fruit (also known to Spanish-speakers as "tuna") that I’ve found during the late summer and fall, prickly pear harvesting and processing can be a part-time job. Luckily, I have some skills from my time in Arizona and have a few fine-tuned processes allowing for maximum production in minimal time with as few pricklies in fingers as possible.

Process 1: If you want to keep the whole fruit intact for smoothies and other recipes requiring the flesh. Note that this process is more difficult, but uses as much of the fruit as possible, preserving fiber and other beneficial nutrients found in the flesh. However, when you use the whole fruit there are black seeds that are very hard and difficult to remove or pulverize. I don't mind these seeds, but I've found that others do.
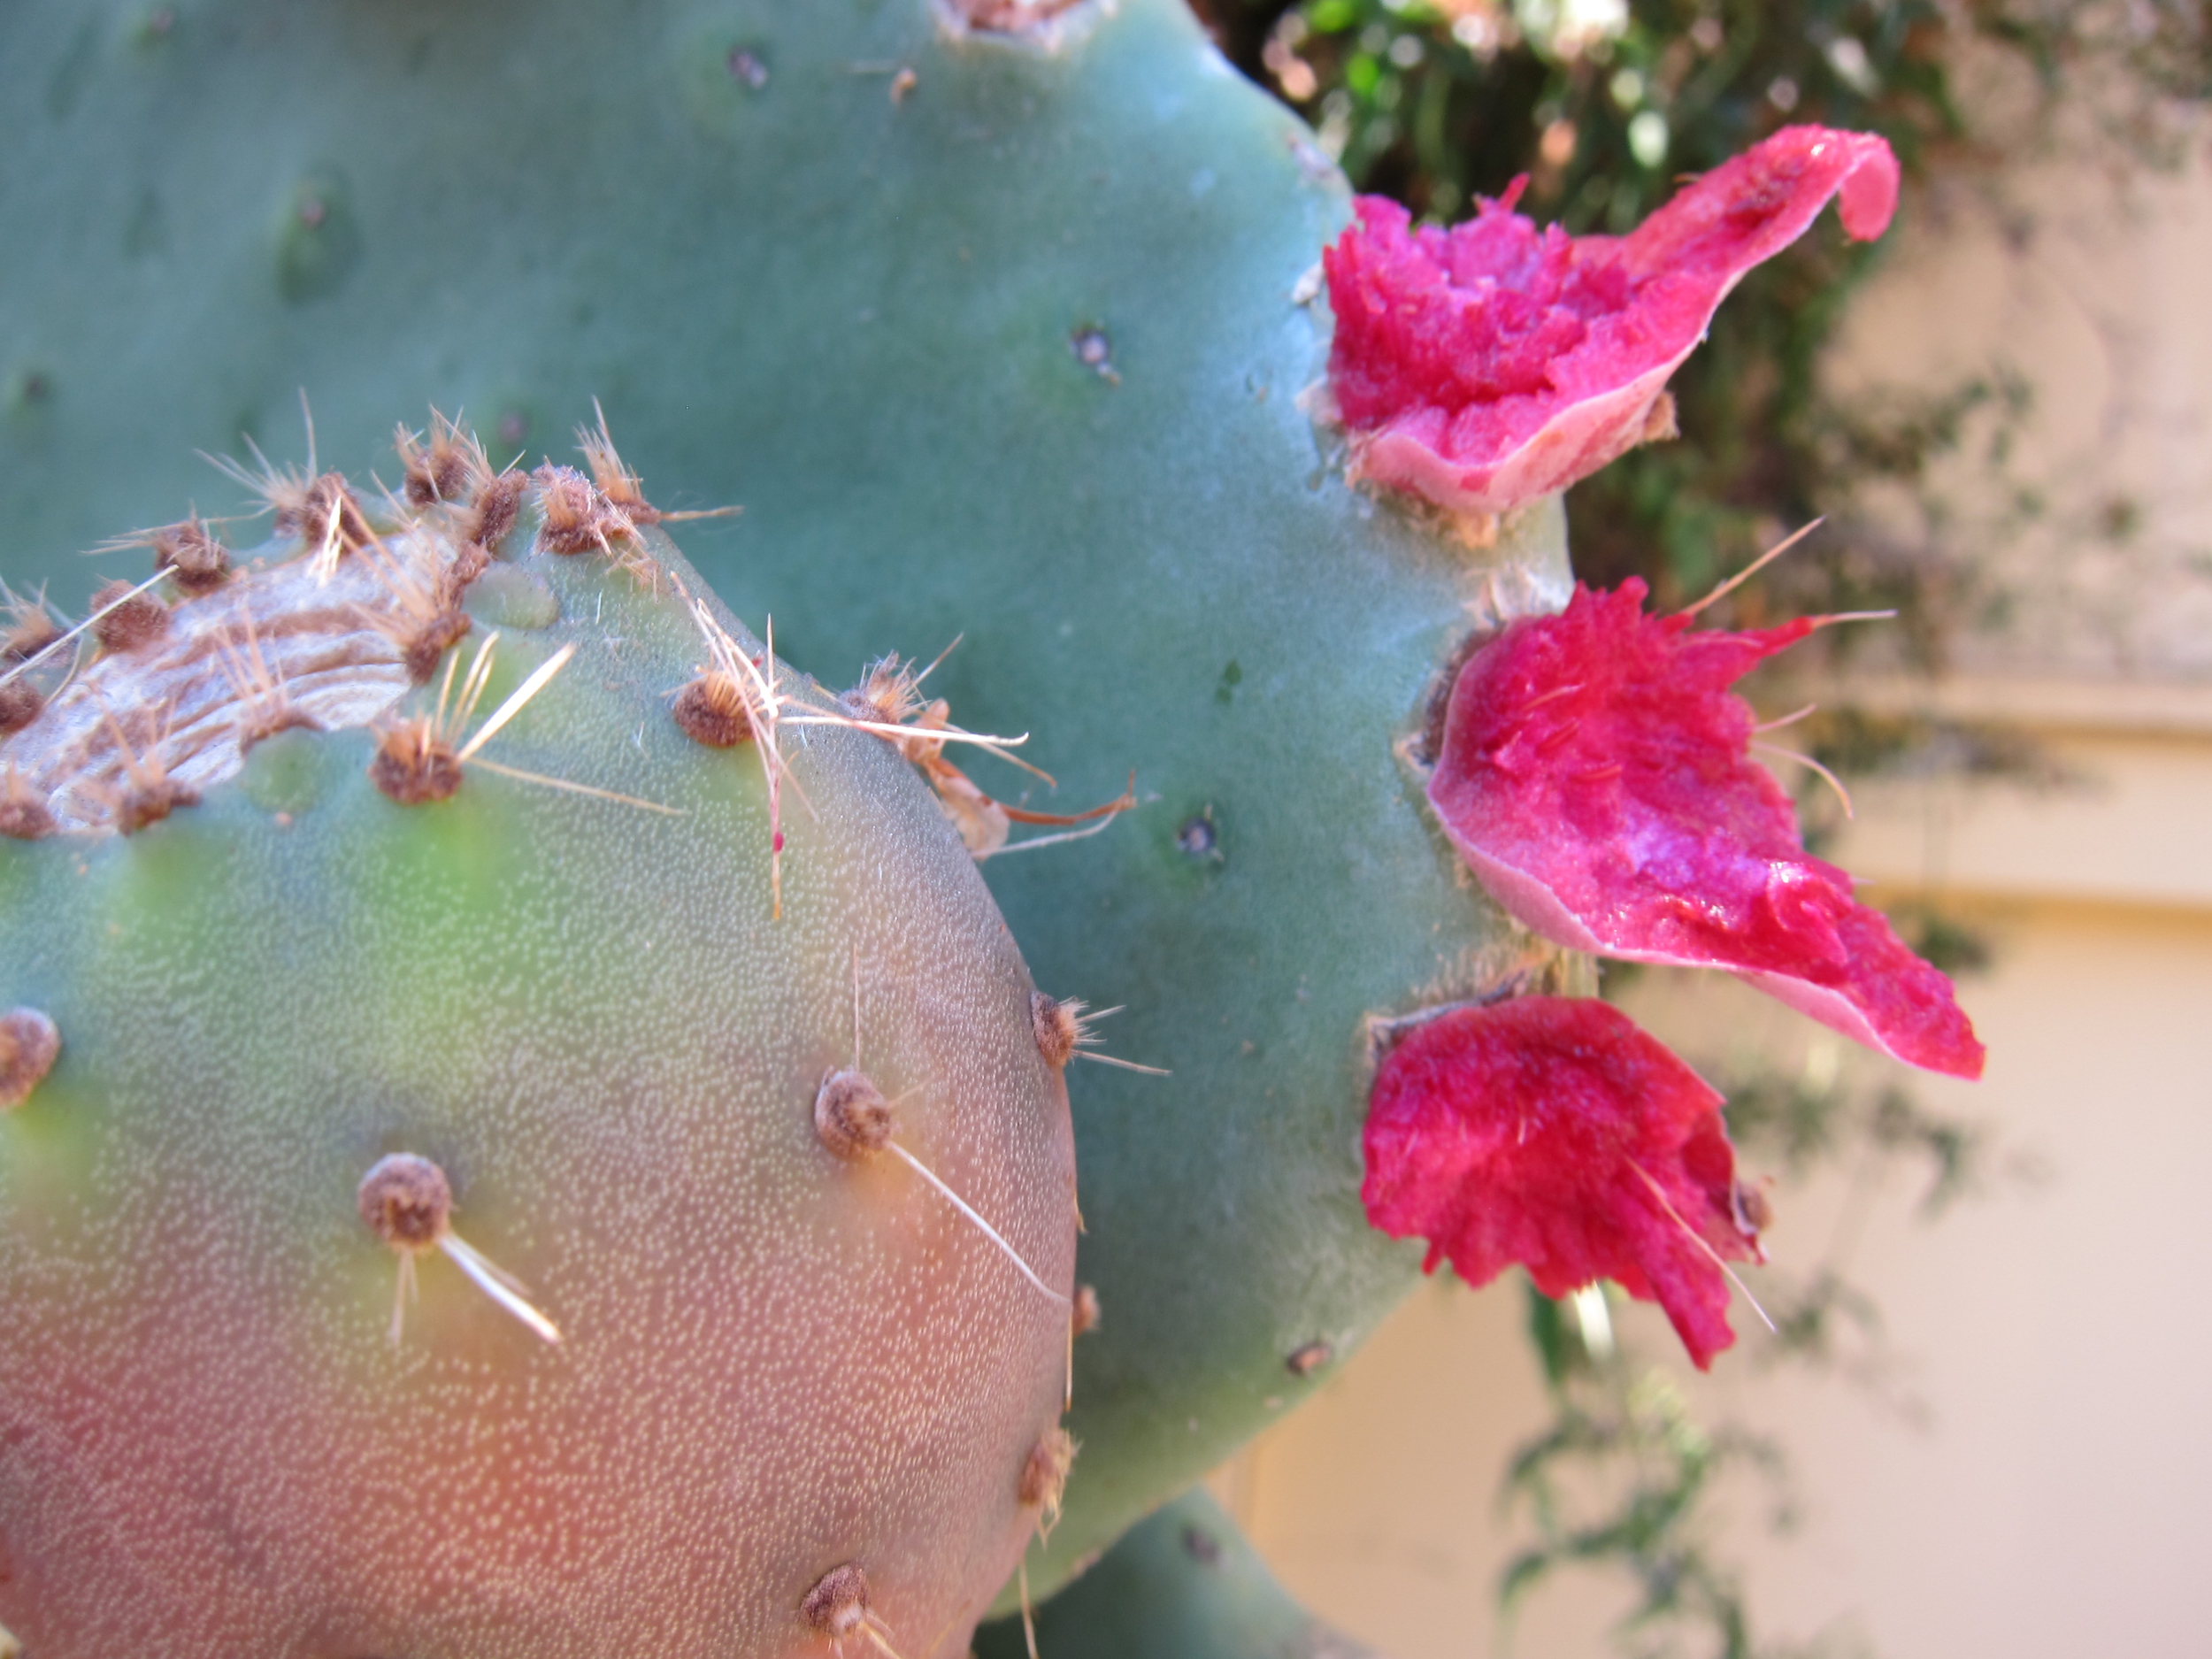
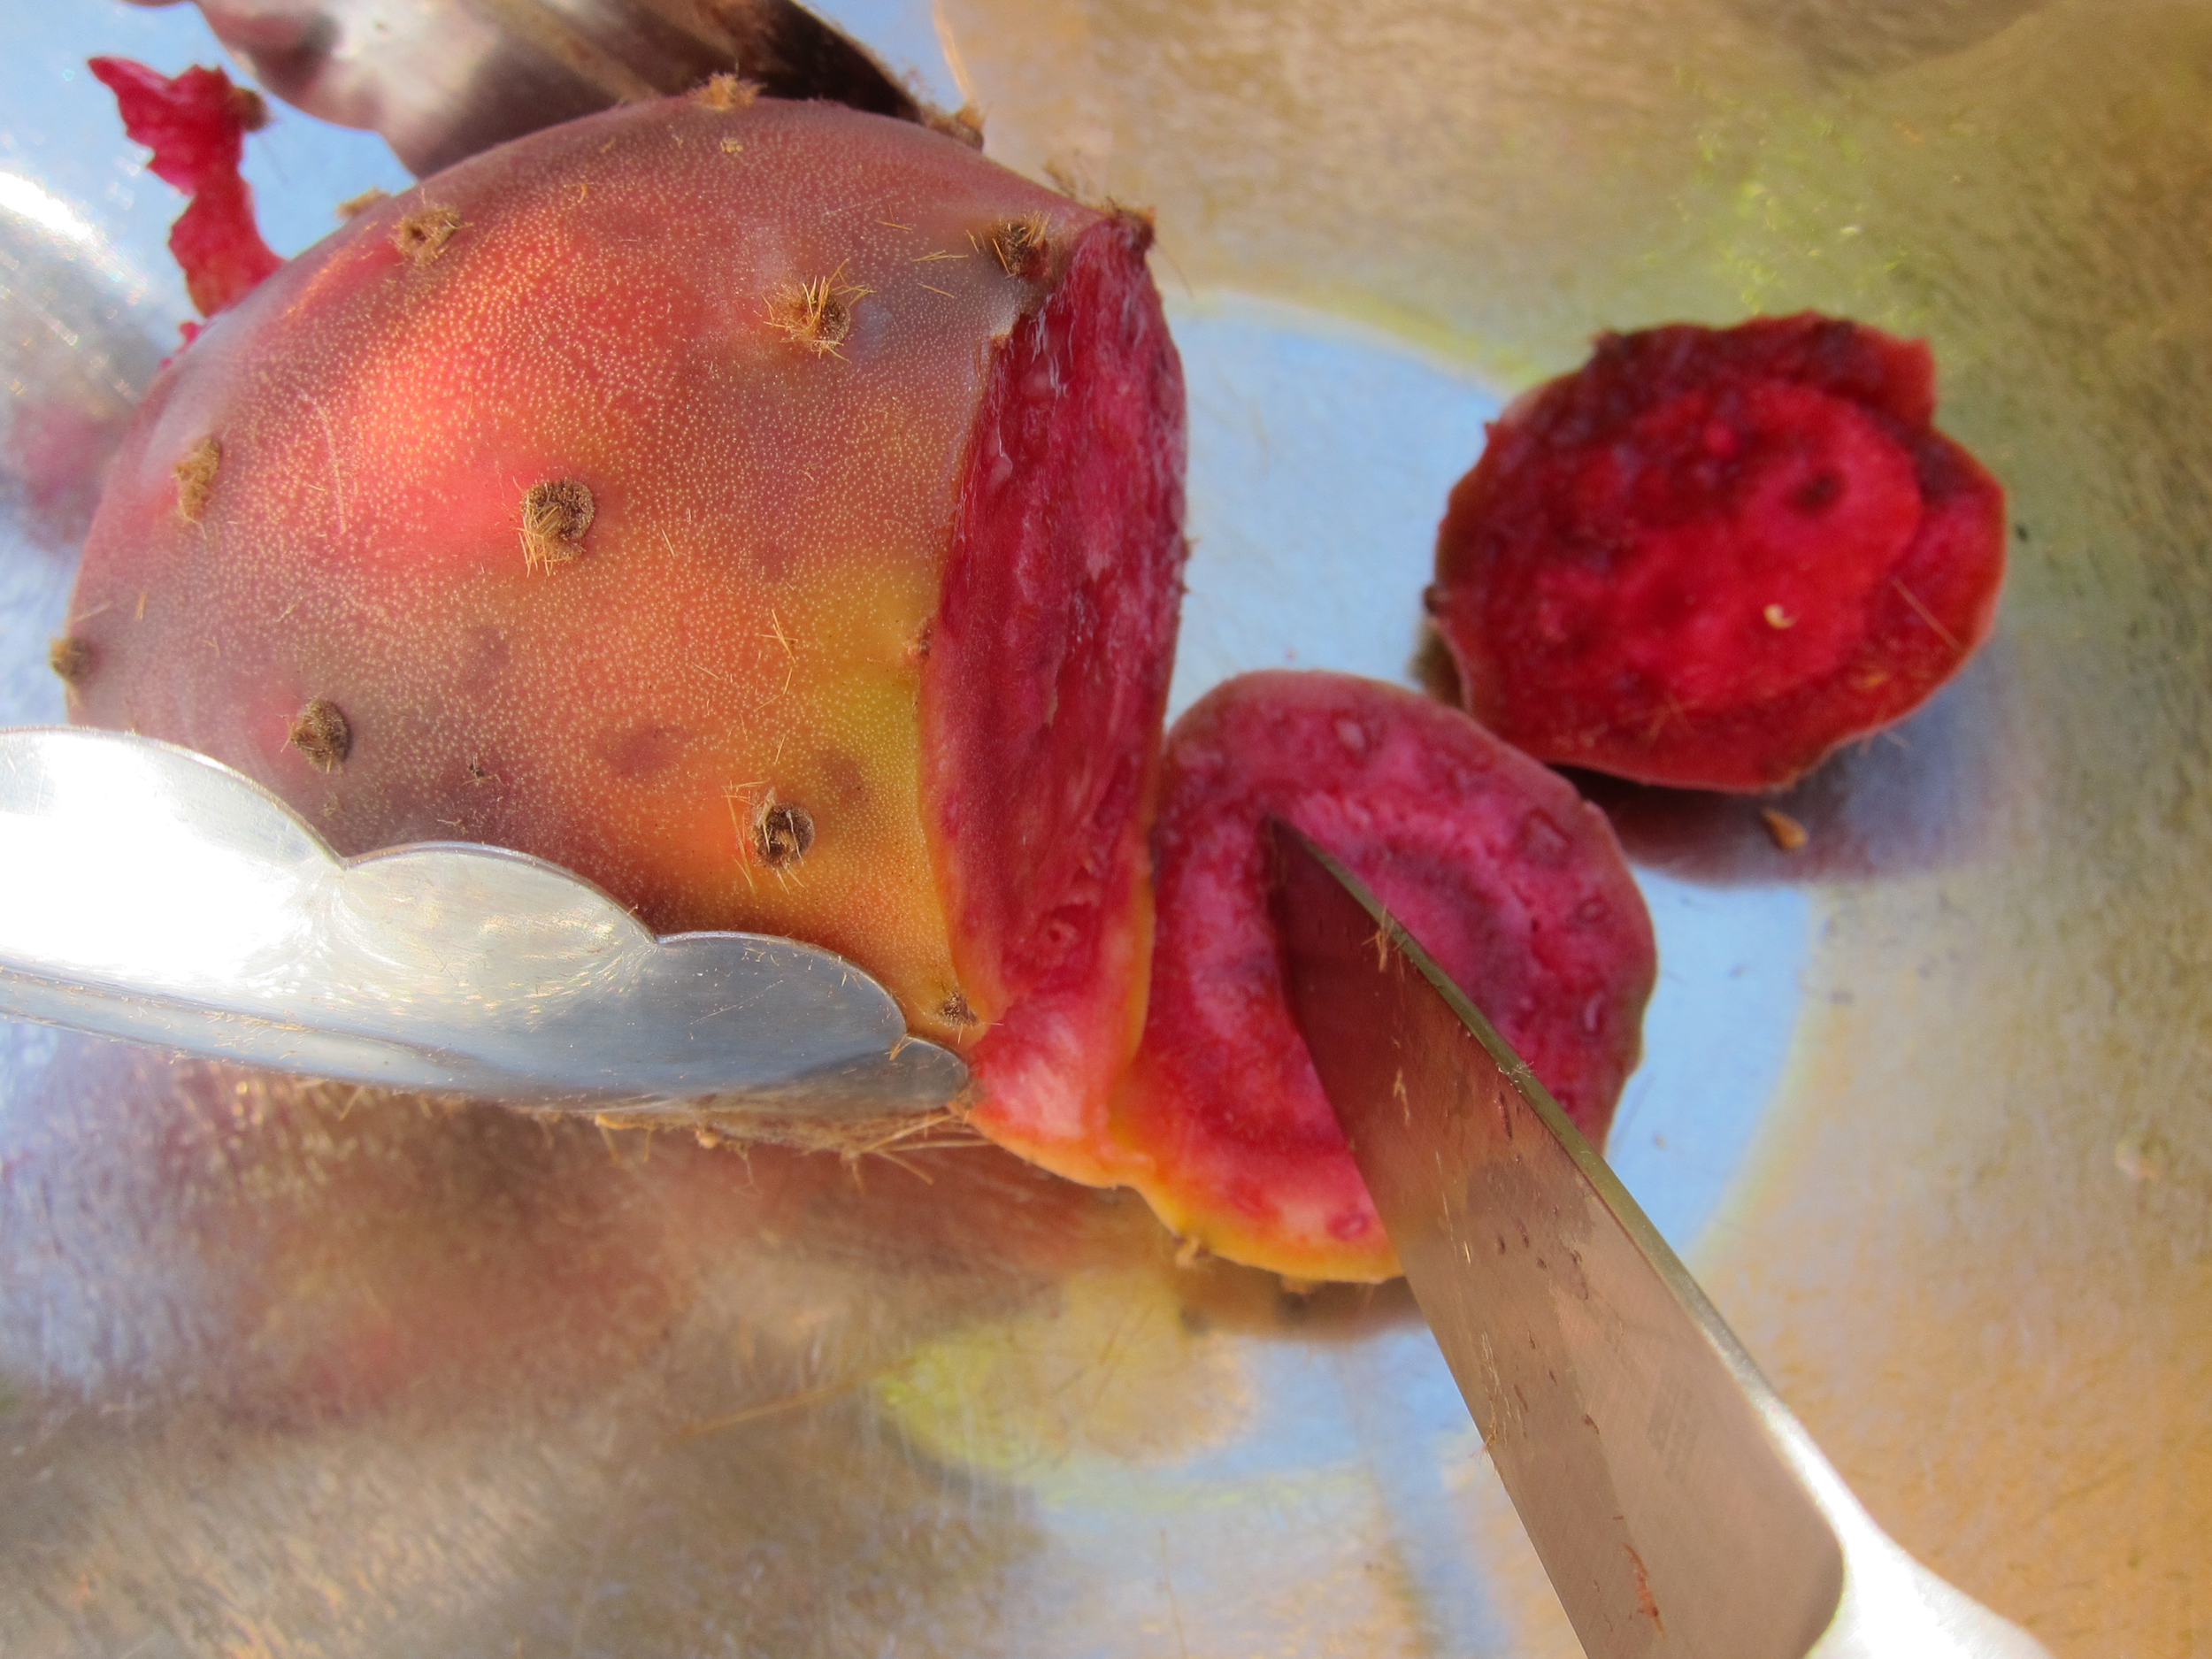
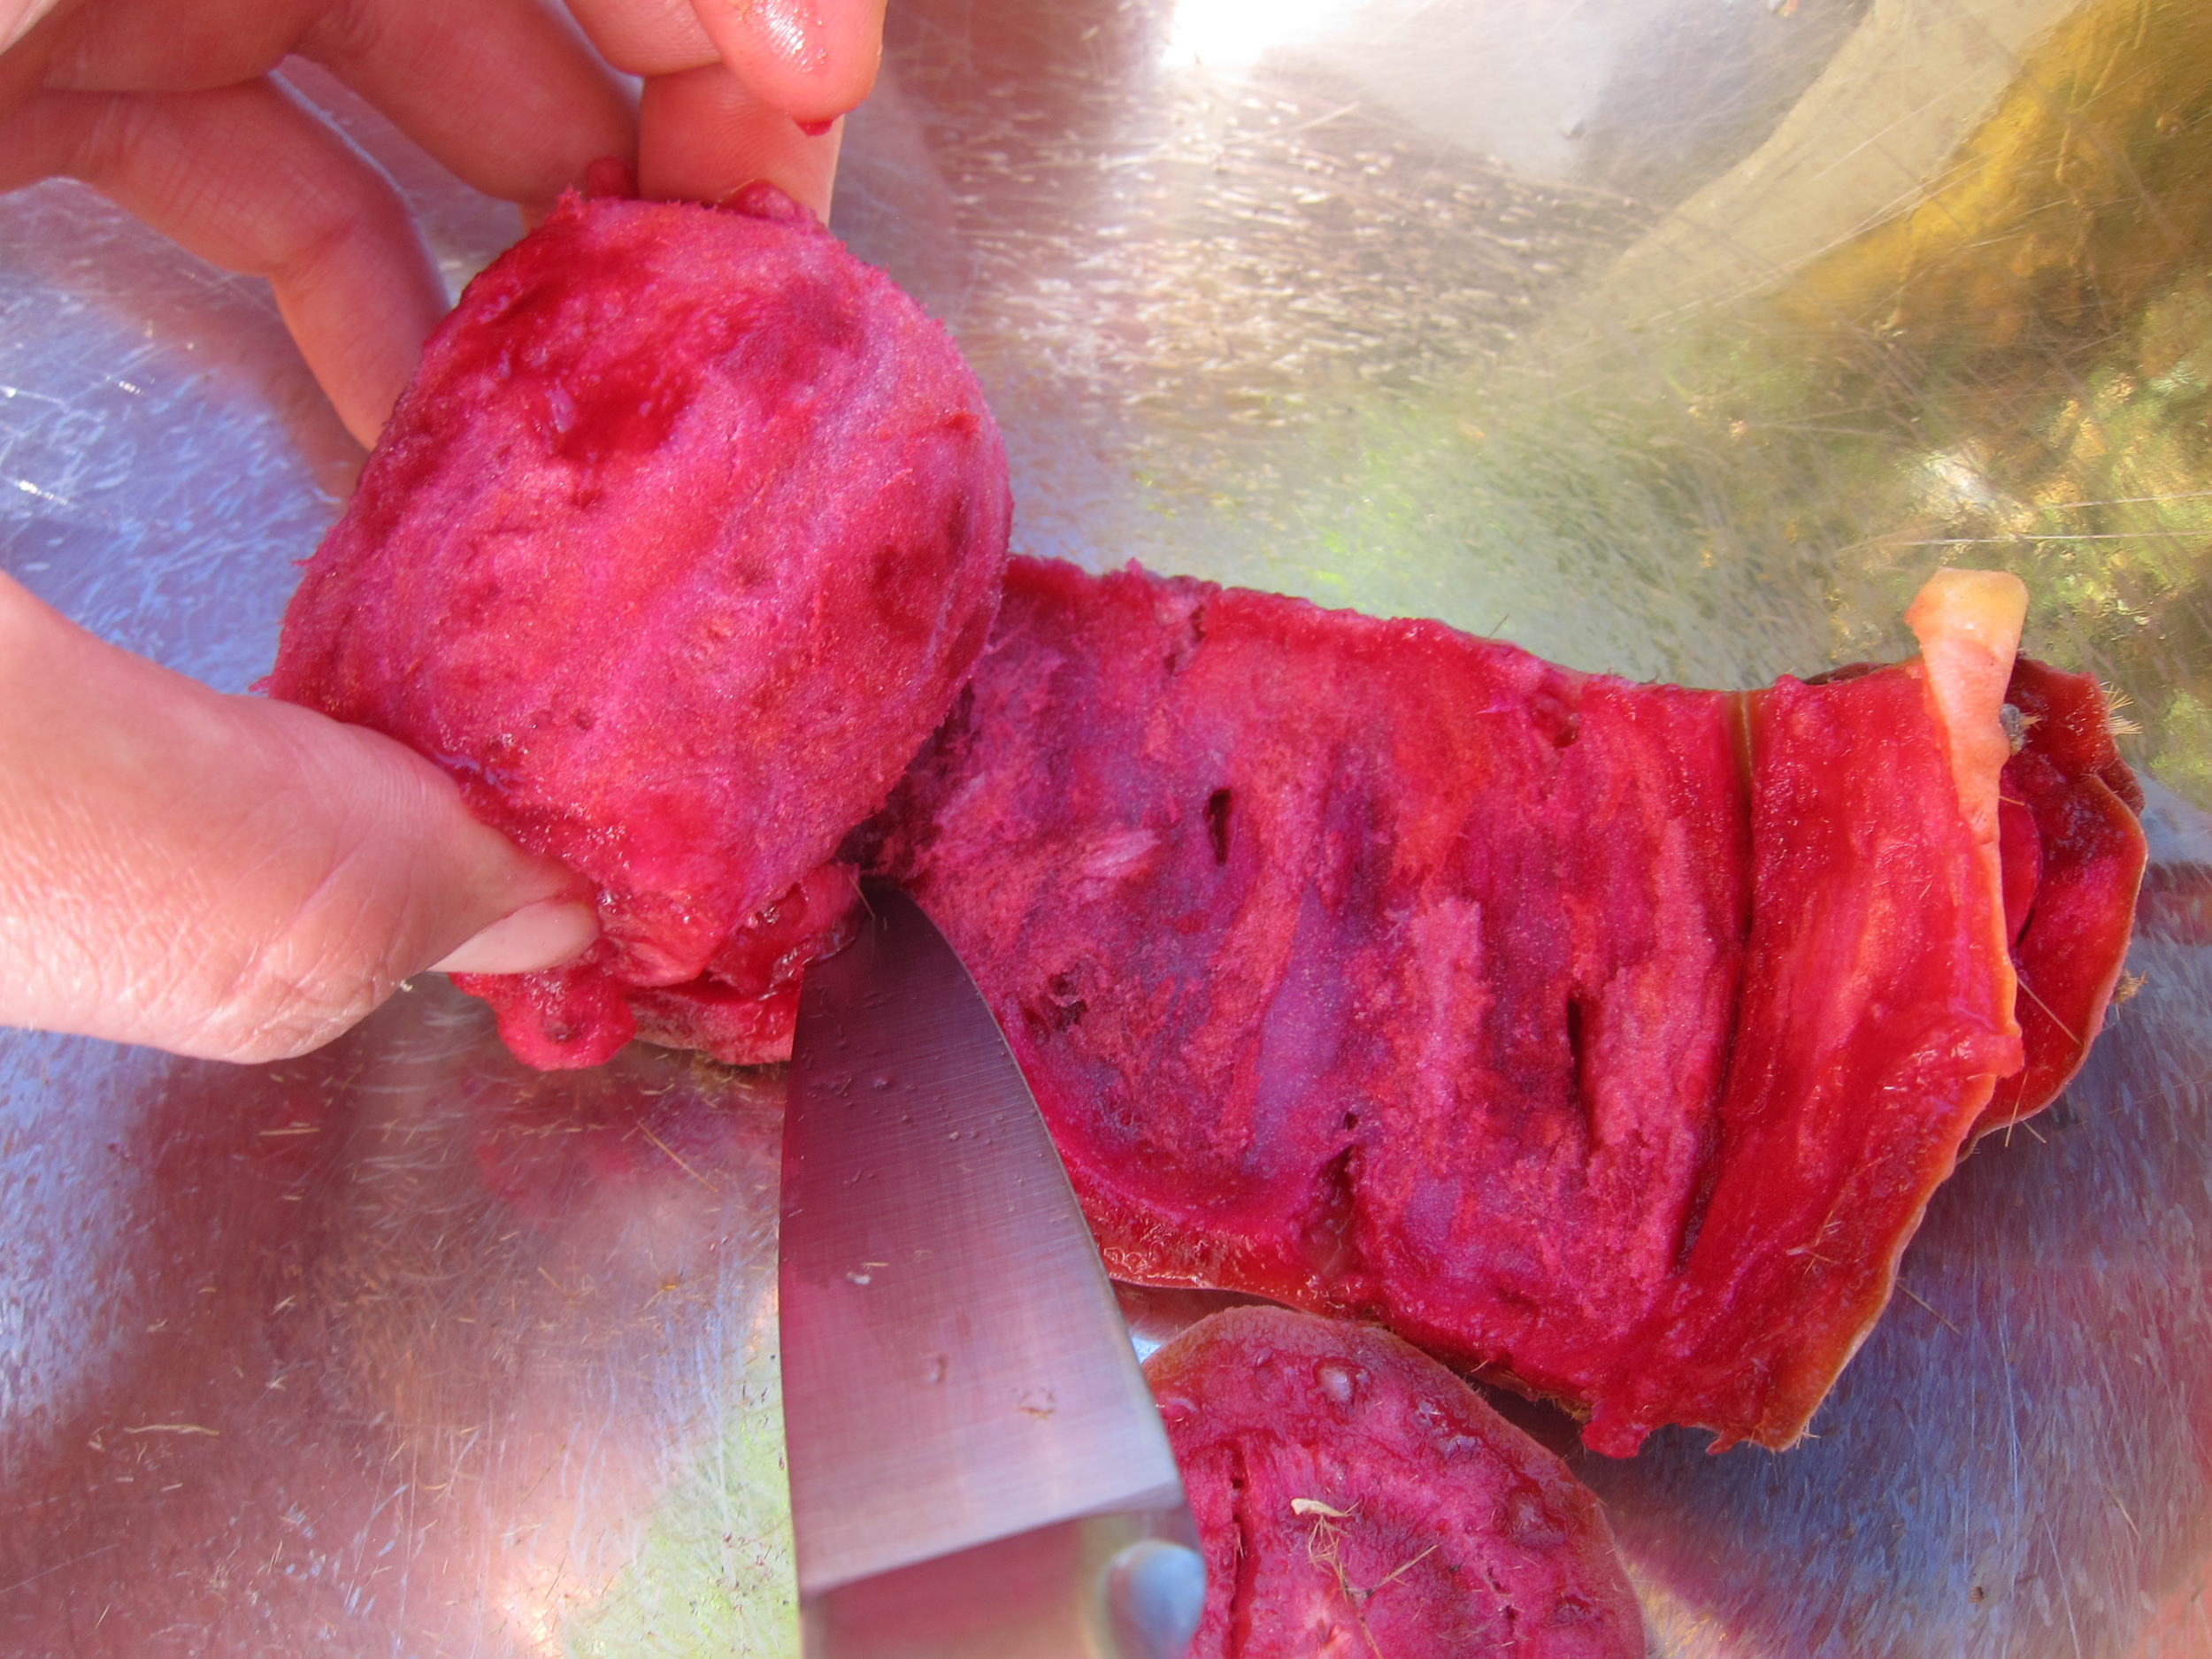
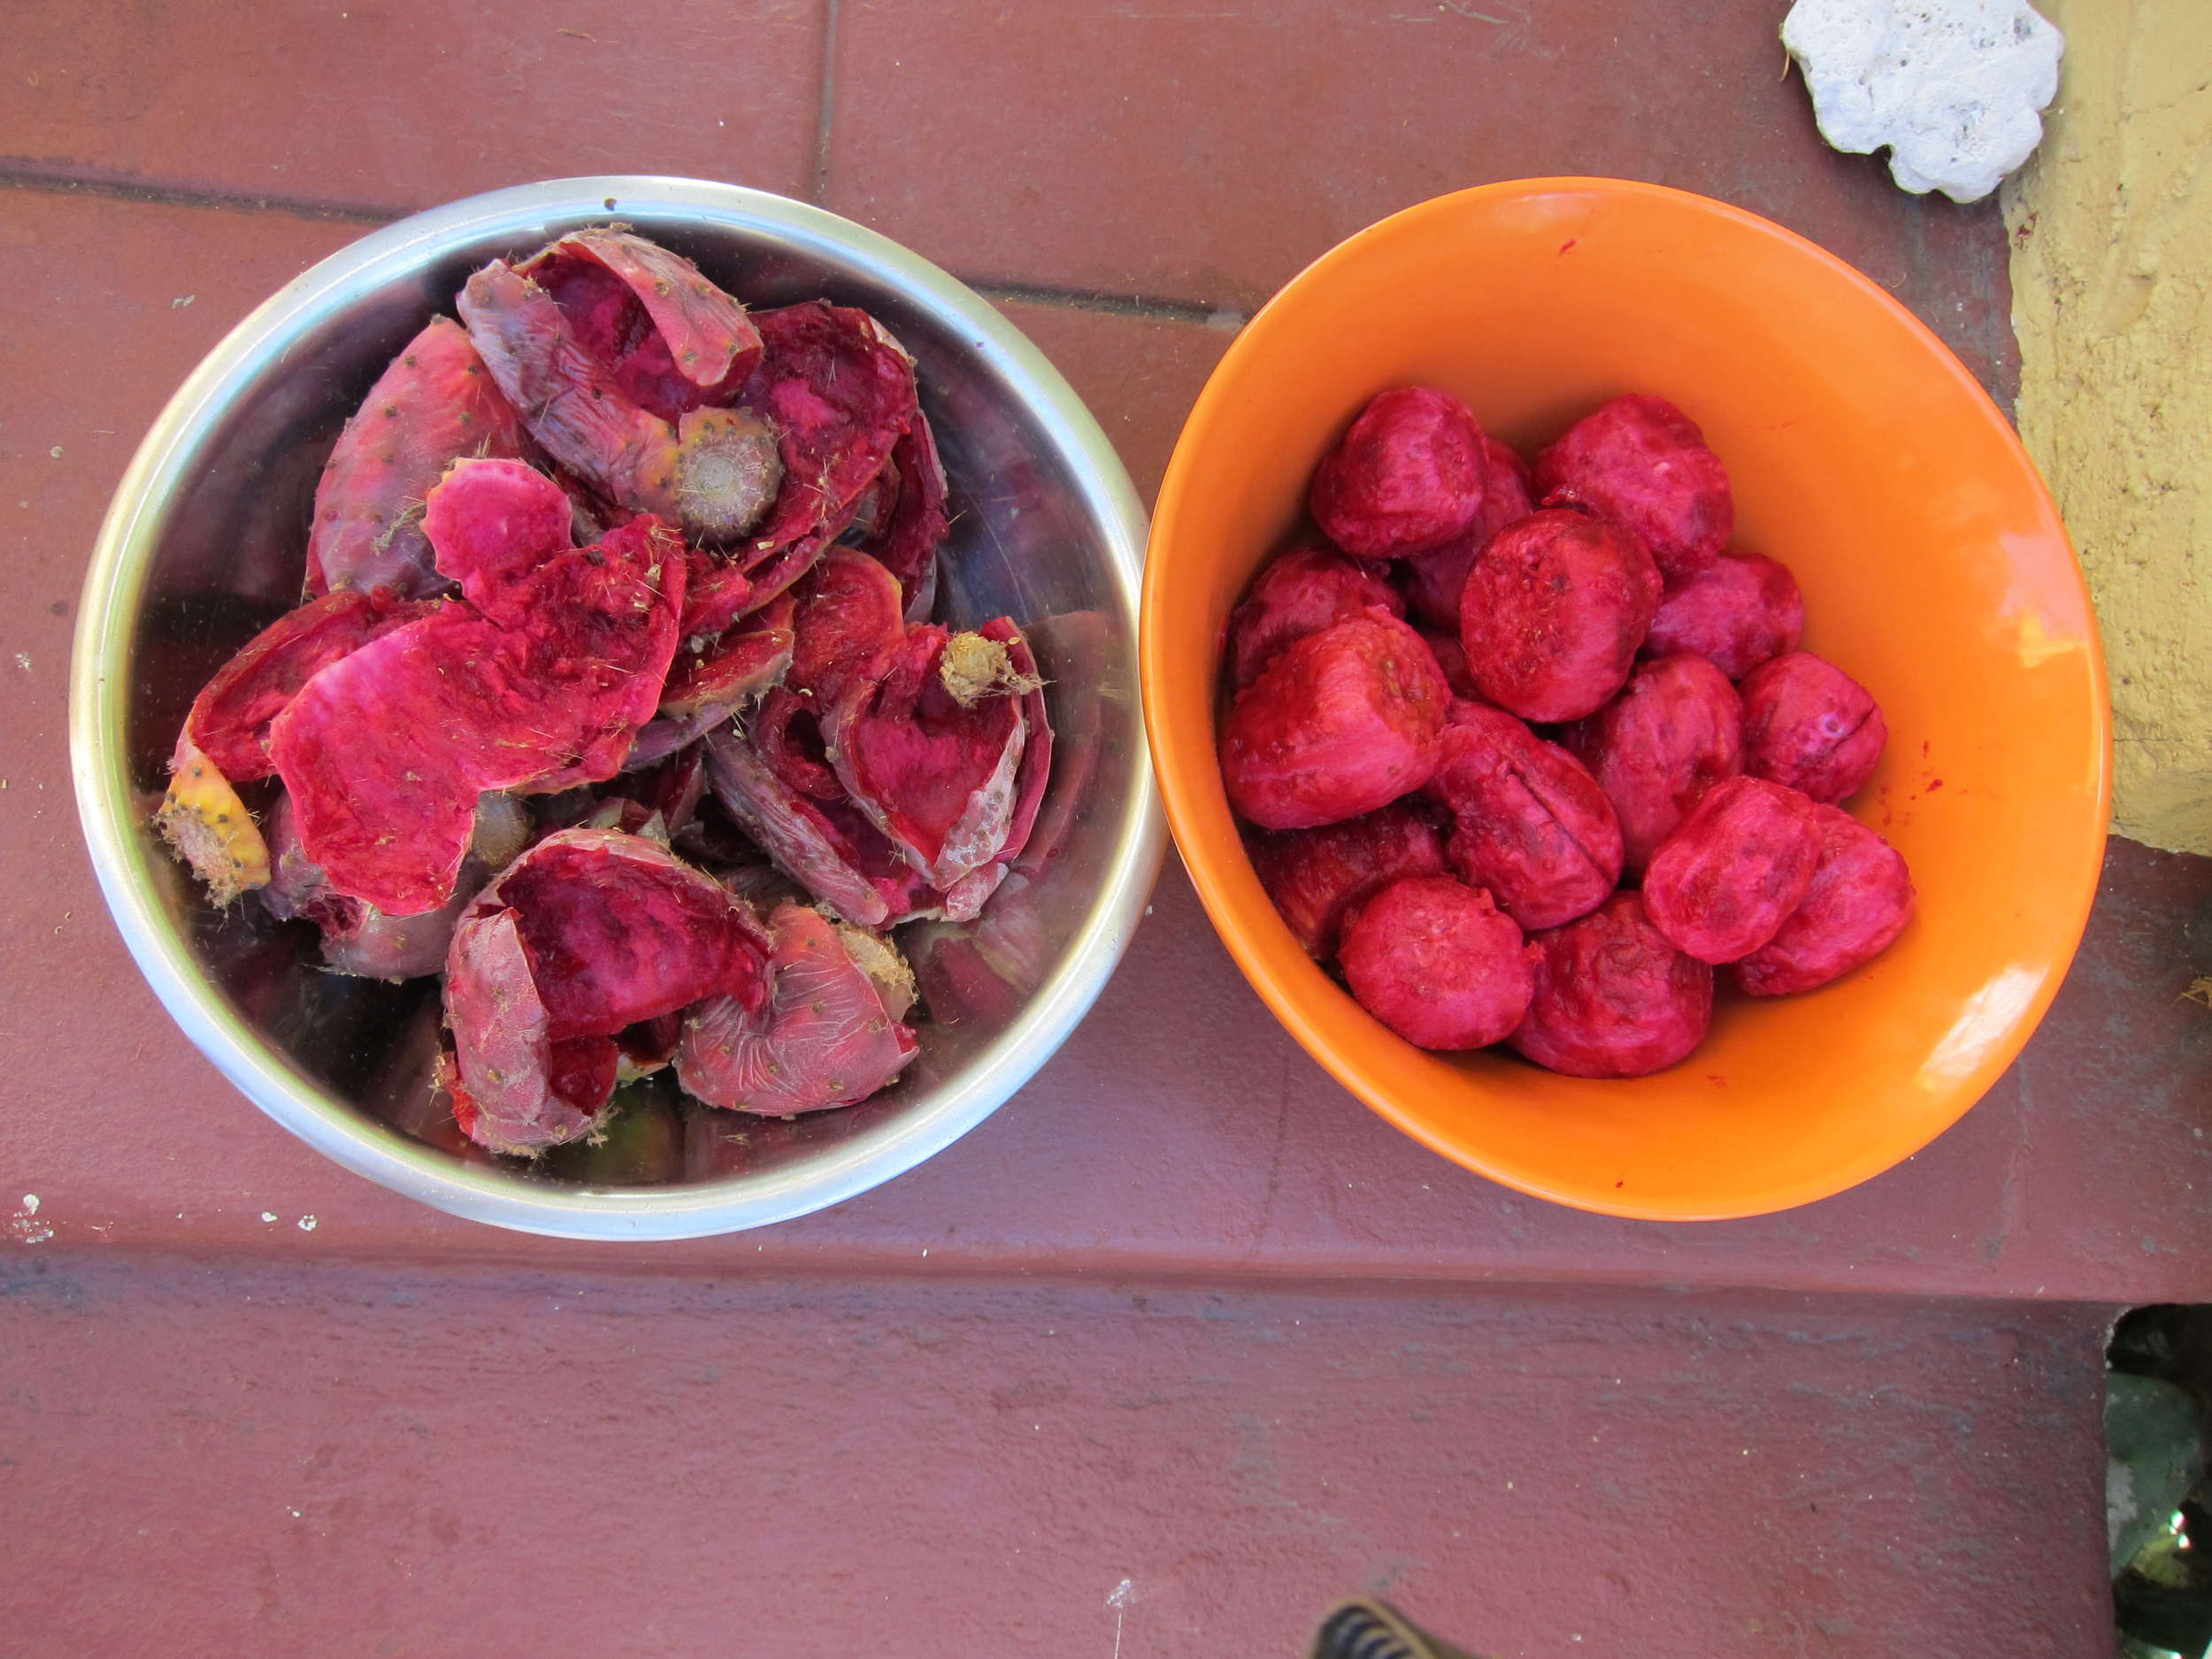

Step 1. Pluck the pears using tongs -in fact, use tongs throughout this whole operation wherever possible. Be very careful which way the wind is blowing - obviously, try to avoid standing downwind and close your eyes if you see danger.
Step 2. Set up your operation - place pears in a big bowl and get ready to peel them. I like to have 3 bowls for this - 1 for the unpeeled pairs, one “working bowl” where you slice them, and one for peels.
Step 3. Cut off each end of the pear.
Step 4. Make a slice down the middle and scoop out the fruit. This is a pretty cool step because the fruit comes away from the skin quite naturally. Toss skin in one bowl and fruit in another. This loses some of the fruit on the edge of the skin, but there’s really no other way unless you want to get stickers everywhere.
Step 5. Consume or freeze for later use.
Process 2: If you just want to use the juice. Note that it is not incredibly efficient and the flesh is discarded. However, I've started doing this process more often than not because of how productive my cactus plant is and for the following benefits: This process is way easier, less time consuming, and you'll have fewer spines (if any) in your hands at the end of it.

Step 1: Pluck the pears using tongs and put them into large ziplock bags. Again, be very careful which way the wind is blowing - obviously, try to avoid standing downwind and close your eyes if you see danger.
Step 2: Freeze the fruit overnight or for up to 1 year.
Step 3: Pour frozen fruit from bag into a colander and rinse. Place colander over a large pot or bowl and put something heavy on top of the fruit (I use a very large mason jar filled with water).
Step 4: Wait for 1-2 days (depends on temperature) as the juices come out of fruit, through the colander and into the bowl. You can press down on the heavy object and slice open the fruit as needed to encourage this process.
Step 5: Once as much juice is out of the fruit as possible, strain juice through a fine mesh colander or cheesecloth (to remove any remaining spines) and discard pulp.
Step 6: Use juice immediately, refrigerate for up to a month, or freeze for up to a year.

Prickly pear granita: Blend frozen pears with ice and lime. Add black pepper or cayenne for an optional spicky kick.
Prickly pear recipe suggestions: Prickly pear margarita, prickly pear manhattan, prickly pear granita, prickly pear cheesecake, prickly pear chutney/jam, prickly pear sorbet.
Processing Nopales
Cacti can be sticky business.
Nopales can be sticky - it’s true. But, when your front yard hands them to you, what choice do you have but to work with them?

The same succulent plant in my yard provides a plethora of prickly pear (tuna) that I have experimented with many times, but this was my first foray into the flat leaved nopales. The processing was leagues easier than their prickly fruit counterpart, which was refreshing and less painful, but they did have a pretty distinct sliminess that you have to get used to. We also tried pickling them, which helped with the sliminess a bit and both the grilled or pickled nopales were great in tacos and on chili. Also delicious in fried in cornmeal batter with smoked paprika!

To Process:
Find the youngest, most soft and plump nopale, as it will make your life easier and be much tastier.
Remove spines with a knife.
Grill on high heat until blistering on both sides.
Slice and eat with tacos or atop other such dishes.


