
Umeboshi with Wild Plums
Wild plums and red shiso make for impressive color.
As it turns out, you can't find ume plums (Prunus mume) easily on the West Coast to make a truly traditional umeboshi, or Japanese salt-pickled plum. Fortunately, wild plums are small and tart enough to work in much the same way. Ume plums are actually more closely related to an apricot, so if you eat them raw the texture will (theoretically, I have never eaten them myself) be very different than a wild plum from the West Coast, but when pickled the different is very subtle.
By preserving wild plums in salt, you keep the harmful bacteria out and, over time, create many amazing complicated flavors. The resulting wild plum umeboshi can be chopped and used as a condiment to bring bright, tart, pungent, savory/sweet flavor to a wide variety of dishes. Traditionally, it's eaten with rice, but I've tried it sautéed with sweet corn and in a nectarine compote that topped seared pork and I'm definitely looking forward to more experimentation! The salty-tart juice leftover from the umeboshi can be used for quick-pickling radishes or as an interesting addition to sauces and dressings.
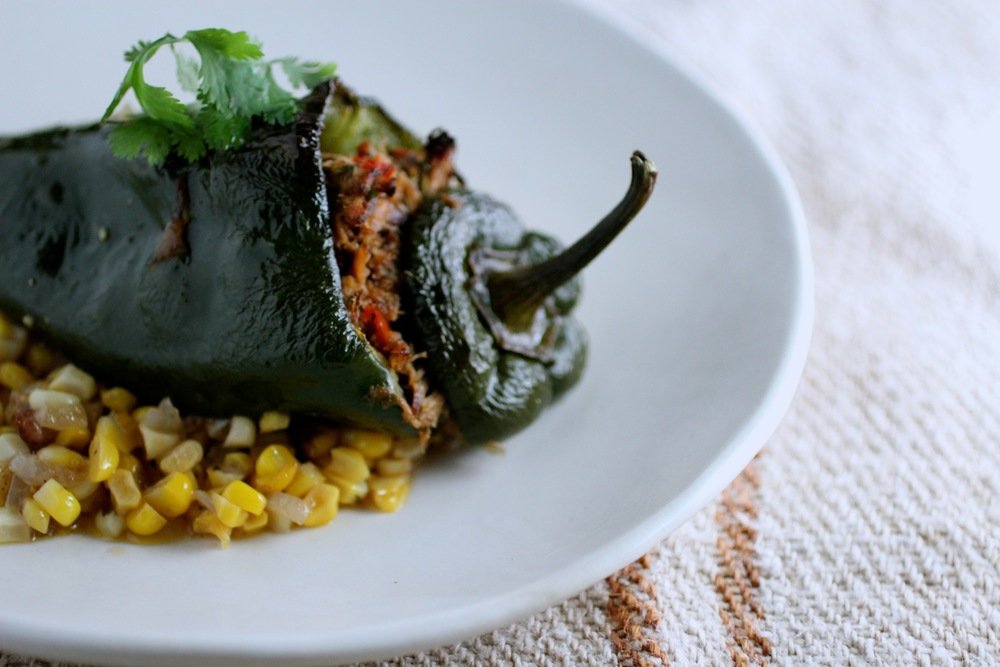
One of my favorite discoveries - sautéed sweet corn with umeboshi and butter.
The below recipe is adapted from from here, which is supposedly the most popular umeboshi recipe translated into English and can be adjusted as needed for amount of plums that you have. We made a few batches with shiso (purple shiso from our garden) and a few without and although the shiso is nice, it's pretty subtle and both versions are great. Be careful handle the plums VERY gently - any bruising and cutting can lead to mold.
1 pound (metric example = 1 kilogram) small wild plums, about the size of cherries or slightly larger and still firm (we picked up red ones from Tilden Park - yellow can be used, but the color will not be as characteristic)
2 cups (metric example = 1 liter) vodka or other distilled alcohol (such as shochu), for rinsing plums
1.6 ounces (metric example = 100 grams) red shiso leaves (about 10% by weight of plums)
1.6 ounces (metric example = 100 grams) coarse sea salt or Kosher salt (10% salt solution)*
Step 1: Sterilized the plums and process the shiso
Remove stems from plums. Wash plums in water twice then soak in a bowl of cold water and allow to soak overnight. This removes some of the bitterness in the plums (wild plums are less bitter than ume plums, but I went ahead and did this to be safe).
Drain plums, dunk in a bowl of vodka, and set out on a clean towel to dry. The alcohol helps to ensure any mold spores that might still be on the outside of the plum are removed/rendered safe.
Wash shiso leaves, remove tough stems, sprinkle with salt and massage leaves with fingers until they are limp.
Step 2: Get your plums nice and salty so they ferment
Clean a large, wide-mouthed container (such as a gallon-sized jar) that can hold all of your plums. Spray with vodka to disinfect it, then allow to air dry.
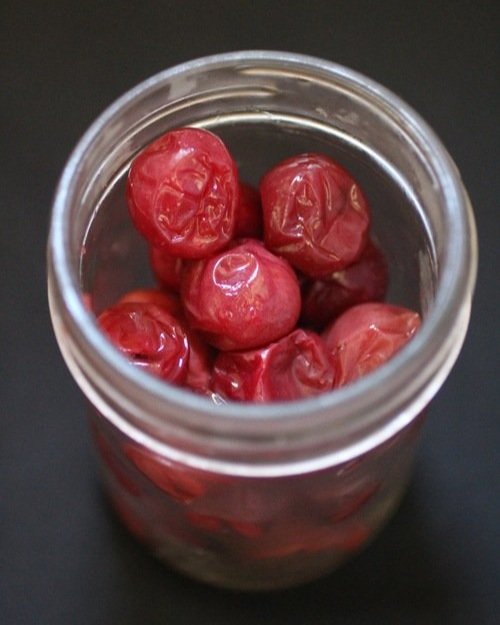
Fill your pickling container with salt and plums by starting with a layer of salt, then a layer of plums, followed by a portion of shiso. Repeat until all ingredients are used and weigh down with a plastic bag filled with water or another smaller jar filled with rocks and water (make sure these are clean). Once the container is full and weighed down, cover the top with cheesecloth and secure with a rubber band. You might have to wrap cheesecloth around the weight then secure with a rubber band. As long as the top is covered with cheesecloth, all is well. It doesn't have to be pretty!

Salt, shiso, and plums weighted down and covered with cheesecloth.
Leave fermenting plums in a cool, dark area until the plums are soft and completely immersed in a reddish liquid (about 1-2 weeks). This liquid is extracted from the plums by the salt. If liquid is not completely covering plums, try increasing the weight. Liquid should be about 1 inch above the top of the plums. Leave the plums in the liquid until you are ready to dry them, about 2-3 weeks.
Step 3: Hoshi/boshi ("to dry") your plums
Wild plums (or ume plums in Japan) are harvested in June and drying traditionally occurs on a specific date after the rainy season is over. Be sure to dry your plums at a time when the weather is dry and at least 2 weeks after plums have been submerged in liquid.
Put the plums in a single layer and the shiso leaves in spread-out clumps separately on flat baskets - we used a bamboo steamer - . Leave the baskets outside in a sunny place with good ventilation for about 3 days, turning them at least every 24 hours. If it rains, be sure to take them inside before they get wet. At the end of the drying process, they should look wrinkly.
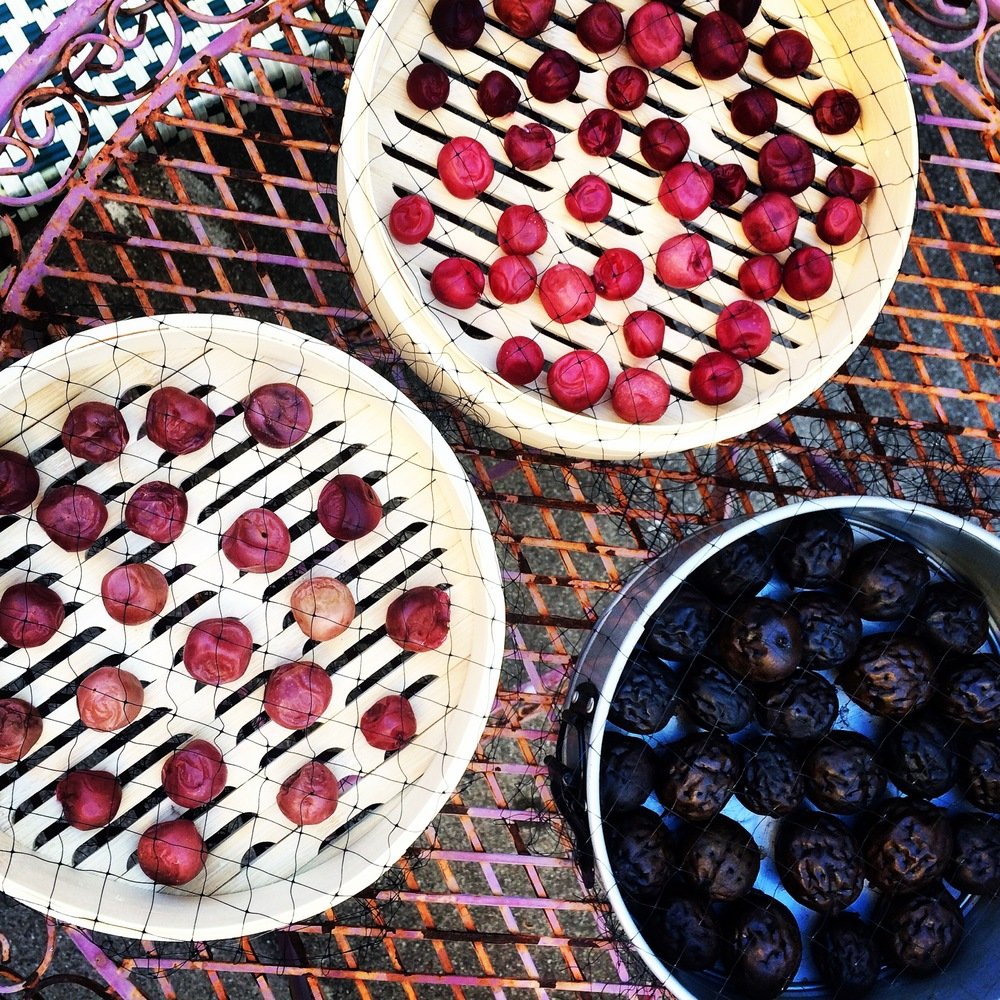
Umeboshi drying on bamboo steamer liners. Also in the photo are green walnuts in the process of pickling (but have nothing to do with the umeboshi, don't be confused!)
Step 4: Store and enjoy
Store plums in jars, pouring back in some of the ume liquid if you prefer softer plums (we did not do this, as we like them firmer). As I mentioned earlier, this ume liquid can be used for other things, such as quick pickles. The shiso leaves can be layered in with the plums, but we keep the shiso out for other uses, as they didn't have the best texture and we wanted to keep our umeboshi "clean". The umeboshi is now ready to eat - they can be eaten for up to 10 years (!) and grow in complexity over time, but I doubt we'll still have ours after even 1 year!
*Other salt solutions can be used, from 8% - 20%. The higher the salt percentage, the saltier the umeboshi will be (obviously). The lower the salt percentage, the more likely they are to mold. It is recommended that beginners use at least 10%.
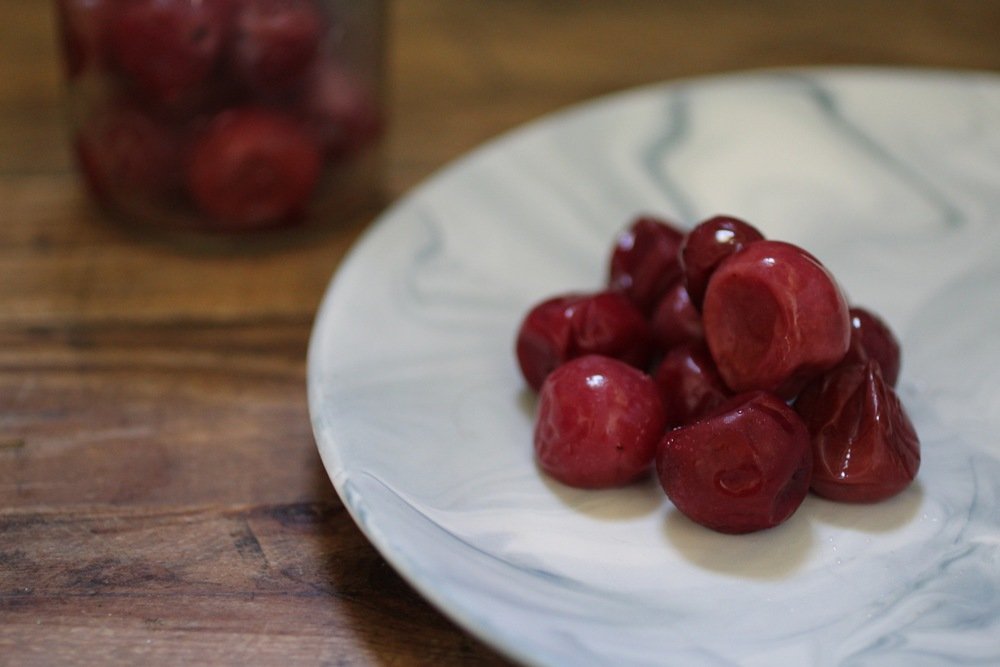
Finished umeboshi straight from the jar.